Name Activities for Kids Literacy Centers
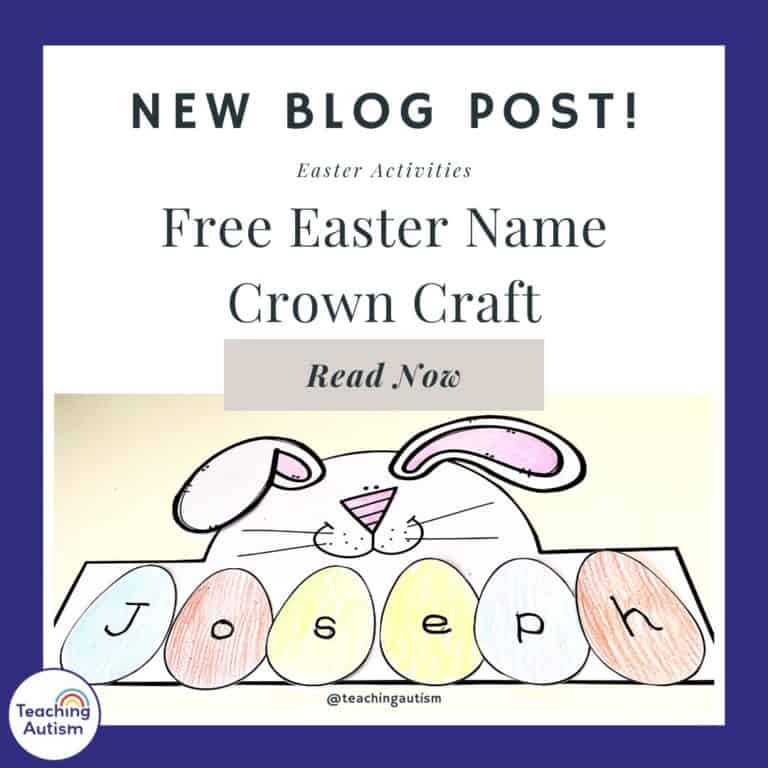
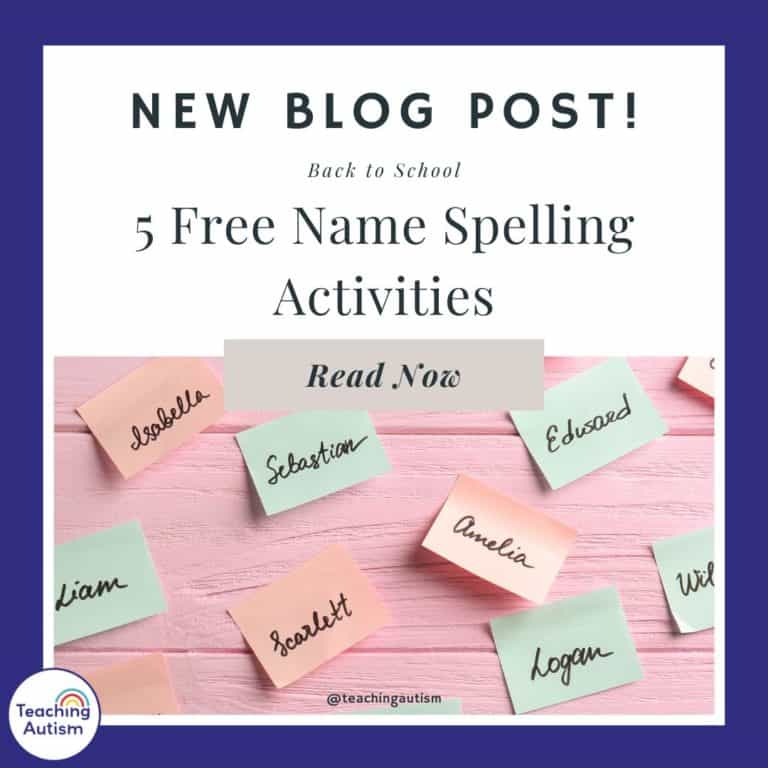
It’s really important for our students to be able to recognize and write their own name. That’s why today I’m sharing my top 10 name activities for kids. And I can guarantee these will be a huge hit with your students!
It’s important to differentiate for your students, because they’re all going to be at different levels for writing their name.
One student may pick up a pen or pencil and be able to instantly start to make marks and eventually form letters and their name. Others may find it harder to hold a pen/pencil. And they may not be able to make marks very well. Forming letters may be very hard for them.
So, take a step back and read through this blog post for lots of fun different ways to help your students work on writing their name – with more than just a pen and paper!
Sand
Sand is a great motivator for many students. They like the feel of it, the fact that it changes texture when wet/dry, that they can mould it etc. There are so many factors on why students love sand – but we won’t discuss all of them.
If you know your student loves sand, then using sand to help them write their name could be one of the best ways to approach them. Simply pour some sand into a tray – or table. And then have your student sit down in front of it. Use your fingers or tools i,e paintbrush, to form shapes and letters in the sand.
It’s really important that students can form marks and simple lines, shapes etc before pushing them to form letters. The sand is a great way to work on any aspect.
If your student is unable to independently spell their own name at the moment, you can always have a print out of it above for students to copy or you can write their name in the sand for them to copy too!
Example
You can try out this free resource with snowball writing prompts.
Chalk
Chalk is a great resource in the way that it’s also erasable so students don’t have to worry about making a mistake, they can simply wipe it off! You can have students use their chalk on the floor outside, the wall outside or even on chalkboards. It’s a great way for them to work in different settings and on different surfaces. Plus, with all the different colours available, they can make it even more fun!
Dry Erase Boards
White boards are pretty widely available now, which makes this idea such a great one! Get lots of different whiteboard markers and students are off! This is great because like the chalk, it’s also erasable so students don’t have to worry over making any mistakes.
The whiteboards are also great in a lot of different ways, with some students we have ‘dotted’ the formation of letters (like dot to dot) and students connect the dots to form the letters. They’re still working on their letter formation, writing their name and fine motor skills, just with a little added help!
Multilink Cubes / Unifix Cubes
Multilink cubes are a great resource for the classroom, not only does it help to improve students fine motor skills, it also encourages them to use their imagination and get creative with their creations.
However, it’s also a great tools for students to work on spelling their name. Although they aren’t necessarily writing – they’re working on spelling and forming letters.
Simply get students to write their name out of multilink cubes! They may find it difficult at first, but once they have the hang of it, it’s a great way to encourage those students who may be struggling with the spelling and order of the letters in their name.
If students are struggling on how to form the letters – try out this task box. My kids love using this task box to build letters out of cubes.
Water on a Pavement
This will work best on a dry pavement and can be done with water or paint – whatever wet substance you prefer, we use water just because it’s less messy!
Simply dip a paintbrush into the pot of water and have students form their name on the pavement outside. This is a great way for them to work outside of their classroom – let’s face it, sometimes we can all do with a break! Plus the water will disappear once it’s dried up – so students don’t have to feel self conscious over their name being left for everyone to see.
Paint
Now be warned, paint can be messy, I do suggest having a ‘messy’ area and getting lots of cloths, napkins and table cloth ready to help clean up the mess!
Simply get out lots of different paint colours into the palette on the table – or floor – and hand your students paintbrushes, encourage them to write their names using paint on the paper – or have a giant piece of paper (sometimes we use backing paper on the reverse side) and cover the entire table. Students can paint their names as many times as they like! Plus, paint is easy for them to cover up if they’re not happy with the way that their name came out!
Shaving Foam
Now, as someone who does not like textures, shaving foam always goes through me – and cream, but the kids LOVE it and it really does encourage them to work on their mark making and letter formation.
Simply spray some shaving foam or cream on the table and rub it out a bit to make it flat. Then have students use their fingers – or a paintbrush or similar if they don’t like the texture – to spell their name in the shaving foam/cream on the table.
Be warned it gets messy!
Play Dough
Play dough is such a great resource to have in the classroom. You can either make some ‘name mats’ where you print out students names on a piece of paper and they have to roll/mould the play dough into the different letters to form their name or simply allow them to freestyle and have them work out how they can make the different letters in their name with play dough.
This is a great way for students to work on their fine motor skills as well as letter formation.
You could also have students roll out some play dough on the table, then using play dough moulding equipment. Or even the bottom of a paintbrush, pen etc – have the students write their names into the pressed play dough piece.
We love to use this play dough letter formation task box. This helps my students be able to form letters – and then they can use these to spell their names.
Icing Pens
You’re probably looking at me crazy right now when I mention icing pens, but trust me, it’s going to work! You’ll just have to have eyes in the back of your head to make sure the students are writing with their icing pens and not eating them!
You can either do this on something the students have baked – or even bought from the store i.e biscuits/cookies – or just simply on a plate. It’s something different for students to use, it’ll smell great – and they know it’ll taste great! It’s a great motivator to have them working on their letters/name.
You can always reward your students with eating the icing once they’ve formed their name/letters.
Slime
Slime is actually pretty easy to make, we call it slime but it’s actually just cornflour gloop. Just simply mix some cornflour, water and add some food colouring to make it very slimy. It’s important to use around double the amount of cornflour to liquid to make it perfectly slimy.
Once it’s done – you’ll know, it gets very slimy! I recommend putting it into individual work trays or onto a table for students to work with. If they don’t want to use their hands, have them use different tools like paintbrushes or glue spreaders. It’s a great way for them to work on spelling/writing their name and forming letters as well as practising mark making.
And we all know students love getting messy – so this will the perfect way to combine mess with learning!
And there you have it, those were my top ten fun ways to help and encourage students to write their name.
There are so many more great ways for students to work on their name though such as:
- Magnetic letters – on a fridge or tray, or even just a table.
- Foam letters.
- Lego blocks.
- Cut out individual letters.
- Overwriting – you write in a yellow pen and then they overwrite in black etc.
- Bingo dabbers – use bingo dabbers to follow the letter formations.
- Cotton bud and paint – dabbing along the lines of letters or even following the formation of letters.
- Building Blocks – write letters on each individual piece for students to build across.
- Stones – have students collect stones from outside, or even bring them in from home, wash them then paint/write a different letter on each stone.
- Popsicle sticks – write an individual letter on the bottom of each lollipop stick, students have to lay them out in a row to form their name.
- Collage – print out the students them in a thick bubble font, then have students use different ways to decorate the name – could be a collage and stick down different colour small pieces of paper or even crayons, pens, pencils, glitter etc.
- Pegs – have the students name written somewhere then write individual letters on the bottom of clothing pegs, have students match the pegs to the letters of their name – or skip the matching phase and just have the pegs and have students peg their name across something – paper, card, hanger etc.
What ways do you work on names with your students? Let us know in the comments below. If you found this blog post helpful, please consider sharing it with your friends and colleagues on social media.
You can find more literacy activities here.

