Humpty Dumpty Classroom Crime Scene
Are you ready to try a Humpty Dumpty classroom crime scene with your special education students? I’m sure you’ve heard of the rhyme of Humpty Dumpty.. But have you heard the alternative version?
Where somebody PUSHED Humpty Dumpty off the wall!?!
Have your students put on their detective hats and come solve this hands-on and sensory fuelled classroom crime scene.. To solve who pushed poor Humpty Dumpty off the wall.
If you’ve been following me for a while, you’ll know that I do a crime scene every month in the classroom.. And how much me and my students love them too! In this blog post today I’m talking about my Humpty Dumpty crime scene. In this crime scene, students will need to investigate the crime scene and solve the clues to find out who the culprit is.
You’ll find a link in this blog post to download this activity and set up in your classroom to use with your students too.
This blog post may contain affiliate links. This means that if you purchase an item through my affiliate link, I may receive a % of commission at no extra cost to you. This helps support me, my family and my blog to bring you great content for free!
The Crime Scene
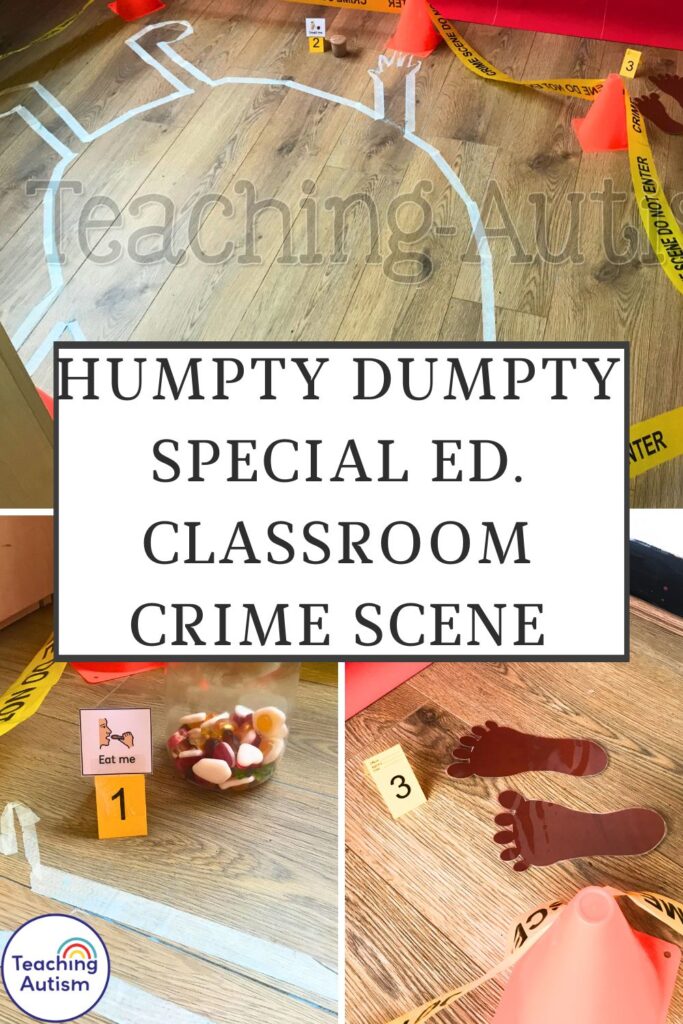
Below I’ve attached some photos for the way that we lay out our Humpty Dumpty crime scene. Underneath that you’ll find more information about the crime scene, clues and where you can get everything you need to make your own classroom crime scene.

We used investigation fold over numbers to place next to each clue to make it like a real crime scene.. And for our students to link together the clues in the crime scene and in their investigation booklet.
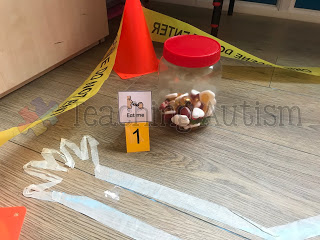
I love to make my crime scenes as interactive as possible. For the clues, I provide my students with opportunities to taste and smell to give a more sensory experience.
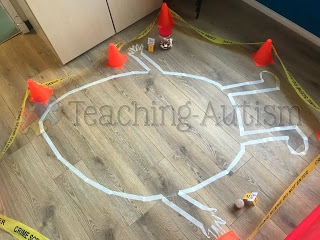
I used masking tape to create the outline of Humpty Dumpty on the floor as part of our crime scene.
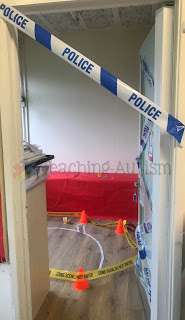
We are very fortunate to have a work room in the classroom and we are able to host our crime scenes in here. This means that students can complete the crime scene one by one and the door can be closed to give students a quiet opportunity to focus.
We used signs to cordon off our crime scene.
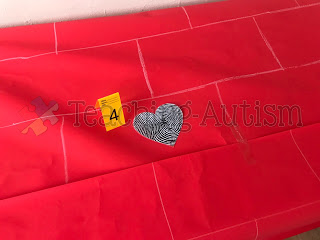
The fingerprints were placed on the wall for students to investigate.
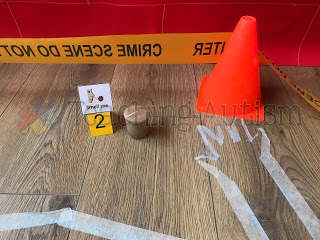
The culprit in this case liked the smell of gingerbread.. So we used a gingerbread scented candle as this clue.
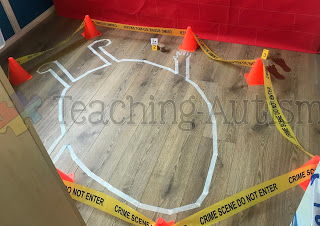
We even had these mini cones that we used to cordon off the area to really help set the scene.
The Lesson Plan
We started off by listening to Humpty Dumpty on Youtube. Then, we watched the PowerPoint that I put together with visual instructions for what we are going to do. This includes.. “Humpty Dumpty has been pushed off the wall…” “We need to go to the crime scene..” “We have to follow the clues to find the culprit” etc. And then I use symbols alongside those sentences for students to visually see their instructions too.
Once in the crime scene, students are given a case file and magnifying glass. Some opt to wear the detective hats too.
Next, we read through our suspect information list to find out about each of our suspects.
Then, we take our suspect checklist book with us that has all of the information and clues that we need to know about each of our suspects.
Now we look around each of the clues in detail. We work on tasting, smelling and examining with out magnifying glasses. Then, we find symbols that match the clues we had found to match them to our suspects in the checklist book.
Once we had finished examining the crime scene, we went back to our work station with our checklist to work out who all the clues pointed to as the culprit.
We used an imagine and name of our culprit to make a wanted poster to hang up once we had solved the crime.
When the crime is solved, students are awarded with special detective certificates to congratulate them on their hard work.
Set Up
I can guarantee that you and your students will absolutely love this crime scene.. And it’s perfect to use as part of Nursery Rhyme Week.. Or even around Easter.
Click here to go and download the crime scene pack to put this together as a lesson for your students. I have also linked below some of the items that I purchased off Amazon to use as part of my crime scene. The best part about these items is that I get to re-use most of them each month in my themed crime scenes. I have linked more information about those monthly crime scenes at the bottom of this blog post.
The Humpty Dumpty Crime Scene Pack
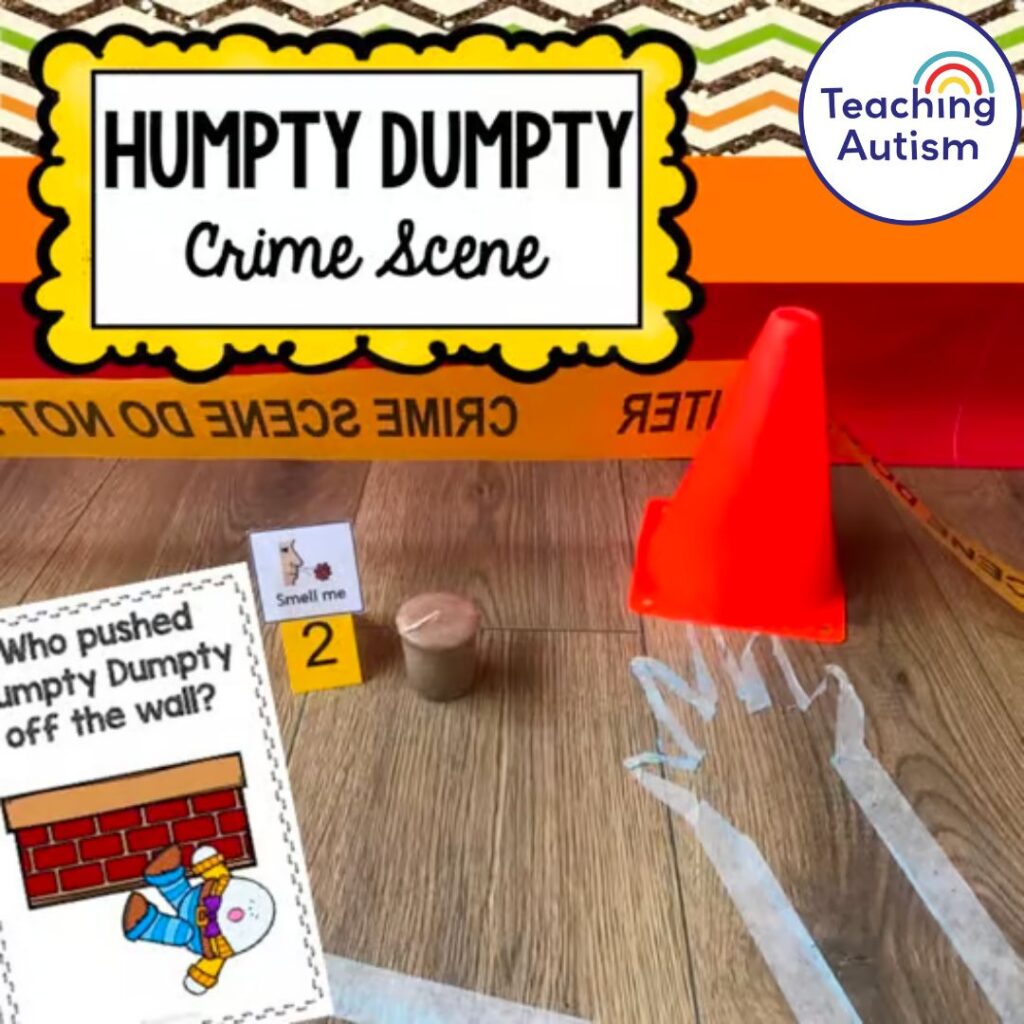
Download the crime scene activity pack here. Below I’ve listed everything that’s included in this crime scene pack too.
The pack includes instructions and example pictures of how you can set up the crime scene. This pack contains 4 possible suspects – and you can choose who actually pushed Humpty Dumpty just by planting the corresponding clues. There is also a suspect information book which contains information on each of the suspects as well as a suspect check list for students to match their clues to the suspects. At the back is a wanted poster for students to fill in with the suspects details once they have worked out who is guilty of pushing Humpty off the wall.
Comprehension Worksheets
A variety of different worksheets that include the ‘alibi’ of the different characters.
Create Your Own Story
Students use the prompts to write their own version of Humpty Dumpty, what happened to him etc.
Certificate
A certificate – which you can edit in powerpoint/keynote to add images of your students and their names. The certificate is to congratulate them for solving the crime.
Interviewing Suspects
Students can take the place of the suspects and answer the questions that are written down, they can also write their own questions for the suspects and then either answer themselves, pass to other students to answer or have staff answer for them.
Detective Write Up Report
Students write up their findings from their investigation.
Newspaper Article
A newspaper article template for students to draw/write how the crime was solved, who the culprit was etc.
Story Sequencing Puzzle
A simple sequencing puzzle where students read the rhyme of Humpty Dumpty at the top then find the matching images and place them into the correct order on the jigsaw.
Crime Scene Props
Below are a list of props that I use for setting up the crime scene and items used to make the crime scene activity pack.
- Magnifying Glasses. USA Link. UK Link.
- Detective hats. USA Link. UK Link.
- Crime scene tape. USA Link. UK Link.
- Clue card numbers. USA Link. UK Link.
- Masking tape. USA Link. UK Link.
- Mini crime scene cones. USA Link. UK Link.
- Laminator. USA Link. UK Link.
- Laminating sheets. USA Link. UK Link.
- File folders. USA Link. UK Link.
Monthly Crime Scenes
Below are links to crime scenes that I do each month with my students.
January – Who Stole the Bear’s Honey?
February – Who stole Mrs Potato’s Heart?
March – Which Leprechaun Messed Up the Room?
April – Who Stole the Easter Bunny’s Easter Eggs?
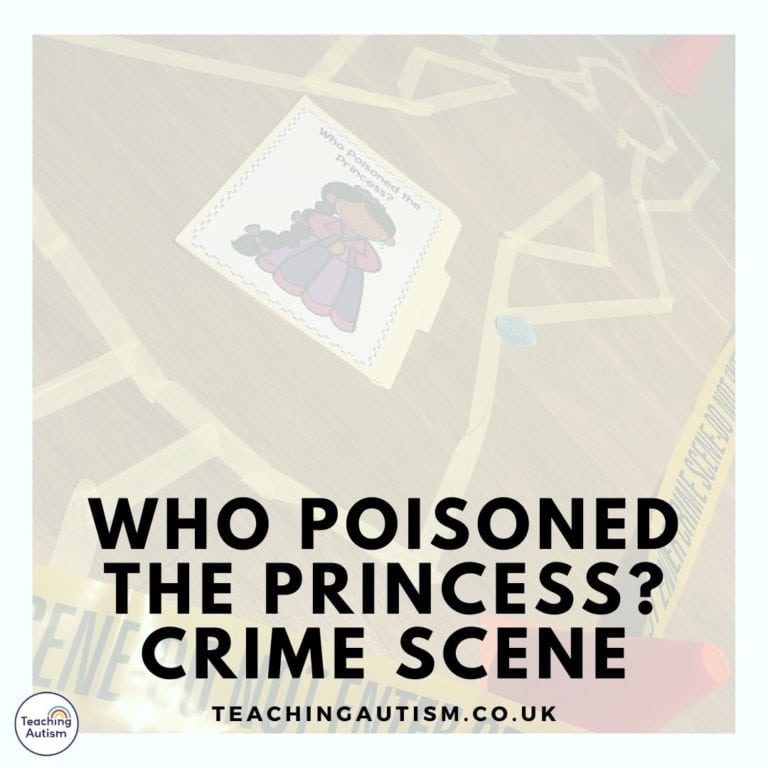
May – Who Poisoned the Princess?
June – Who Has Crash Landed on Earth?
July – Who Pushed the Pirate Overboard?
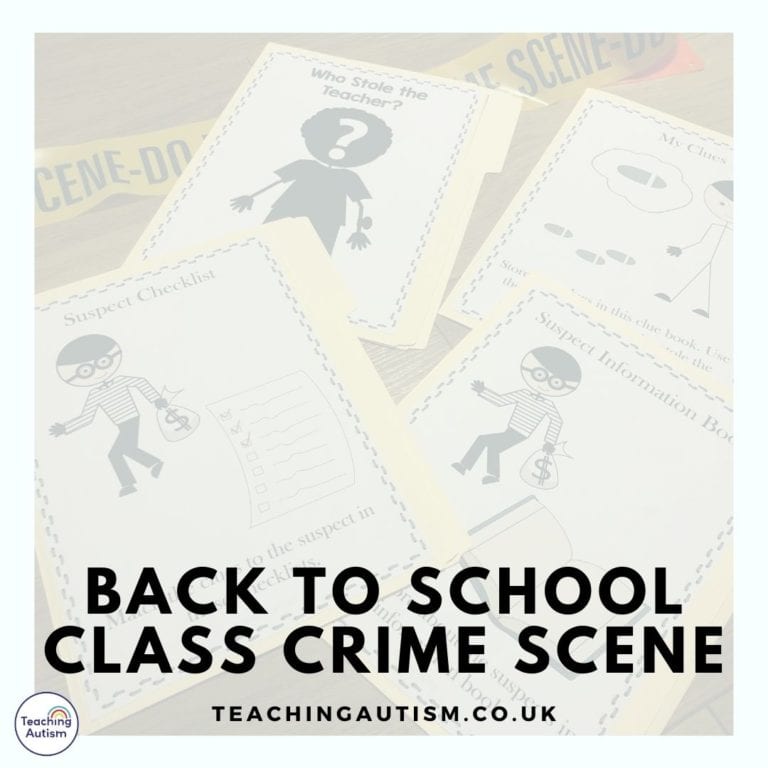
August – Who Stole the Teacher?
September – Who Pushed Humpty Dumpty Off The Wall?
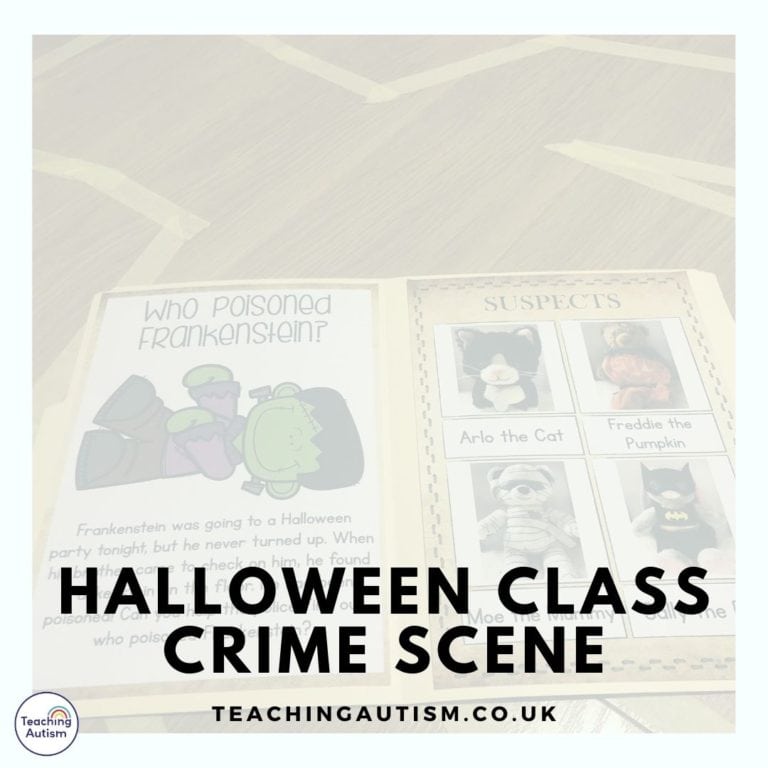
October – Who Poisoned Frankenstein?
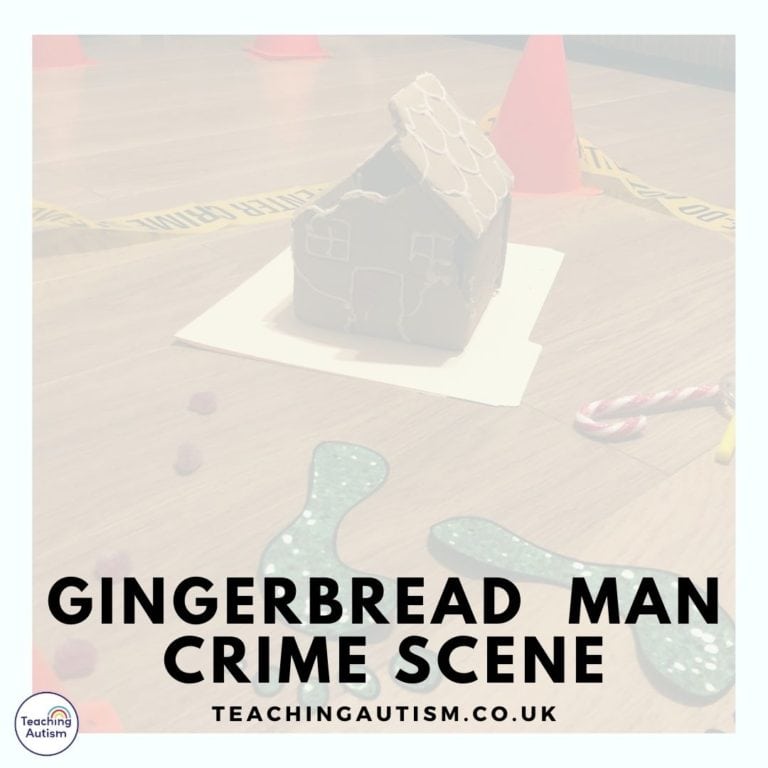
November – Who Ate the Gingerbread Man’s House?
If you found this blog post helpful, please consider sharing it with your friends and colleagues on social media.
P.S. Have you signed up for a 3 day free trial of my VIP membership yet? If not, click here to do it now and go and get access to a huge range of resources, templates, crafts and more for free.
Nikki
