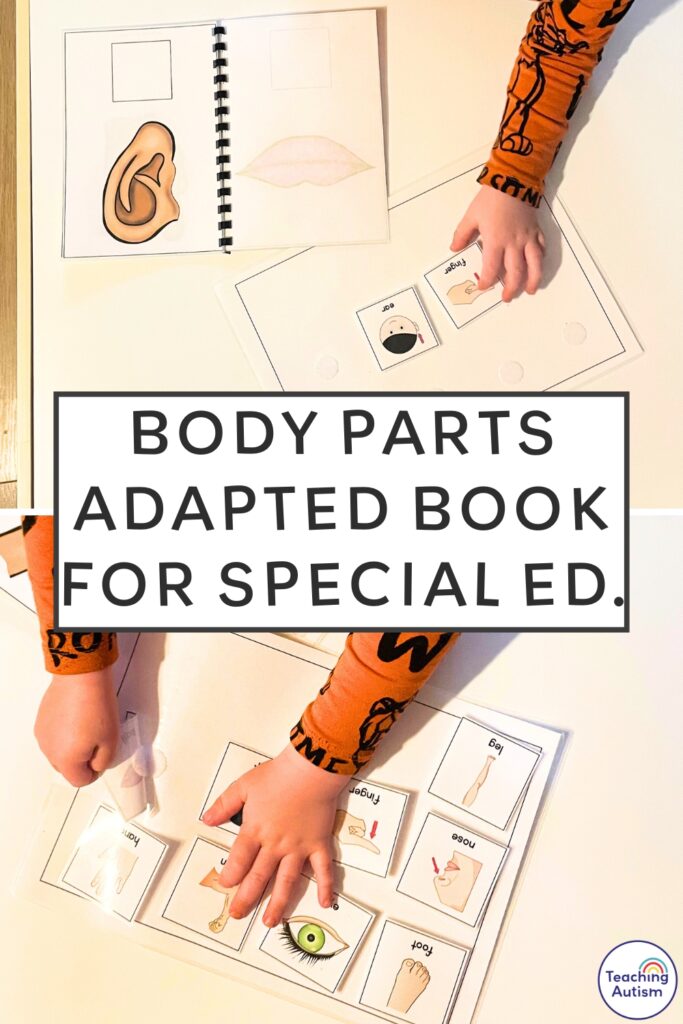
Body Parts Adapted Book for Special Education
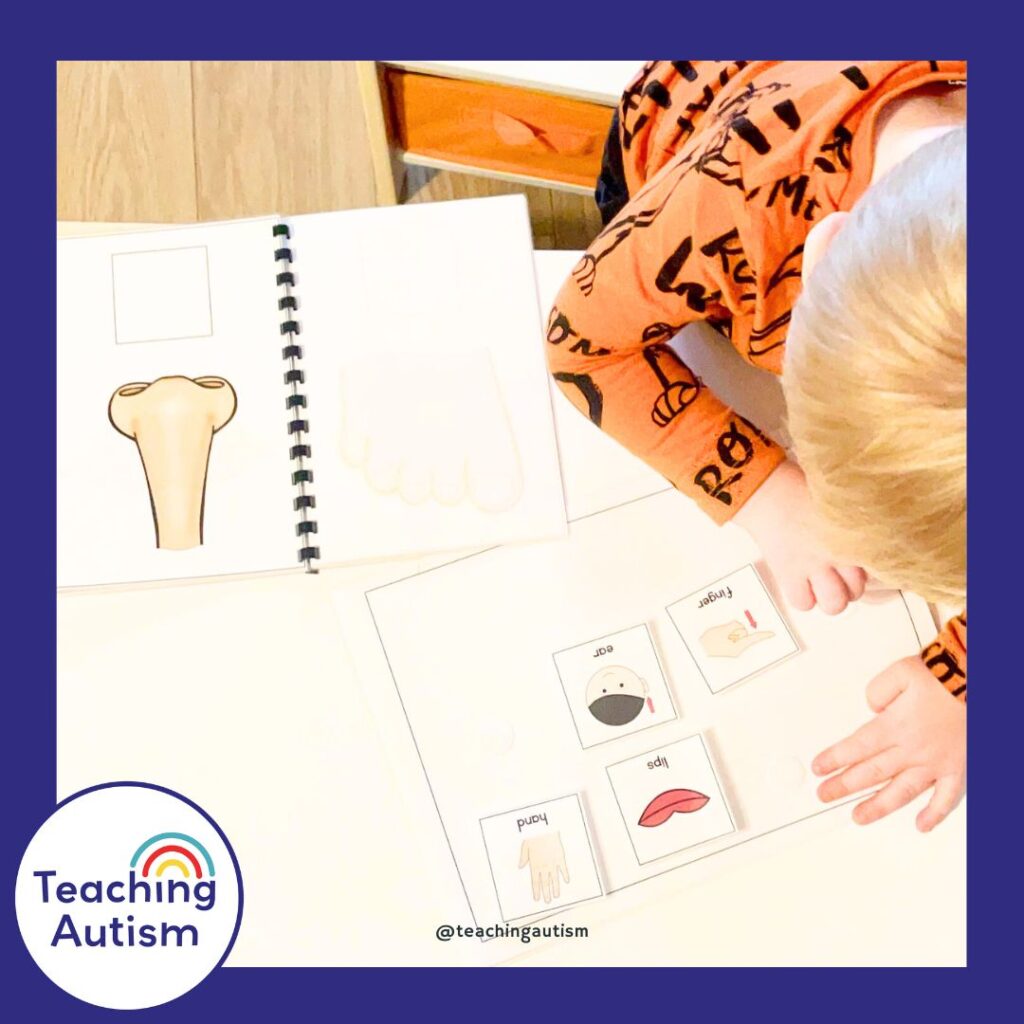
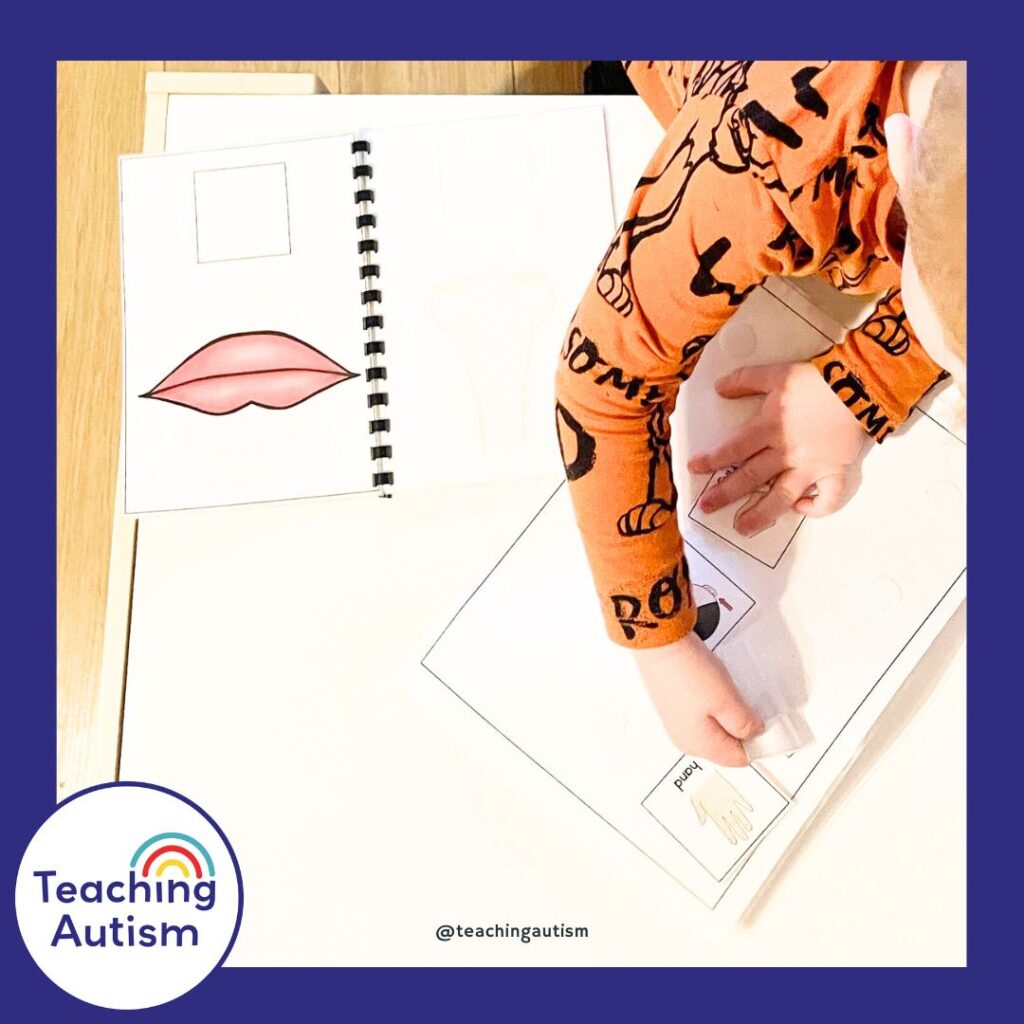
This body parts adapted book has been a huge hit with my students in our classroom. With this adapted book, my students have been able to work on identifying different parts of their body.. And this has been great to extend into other areas of our students’ lives.. Including when they may have hurt a body part.
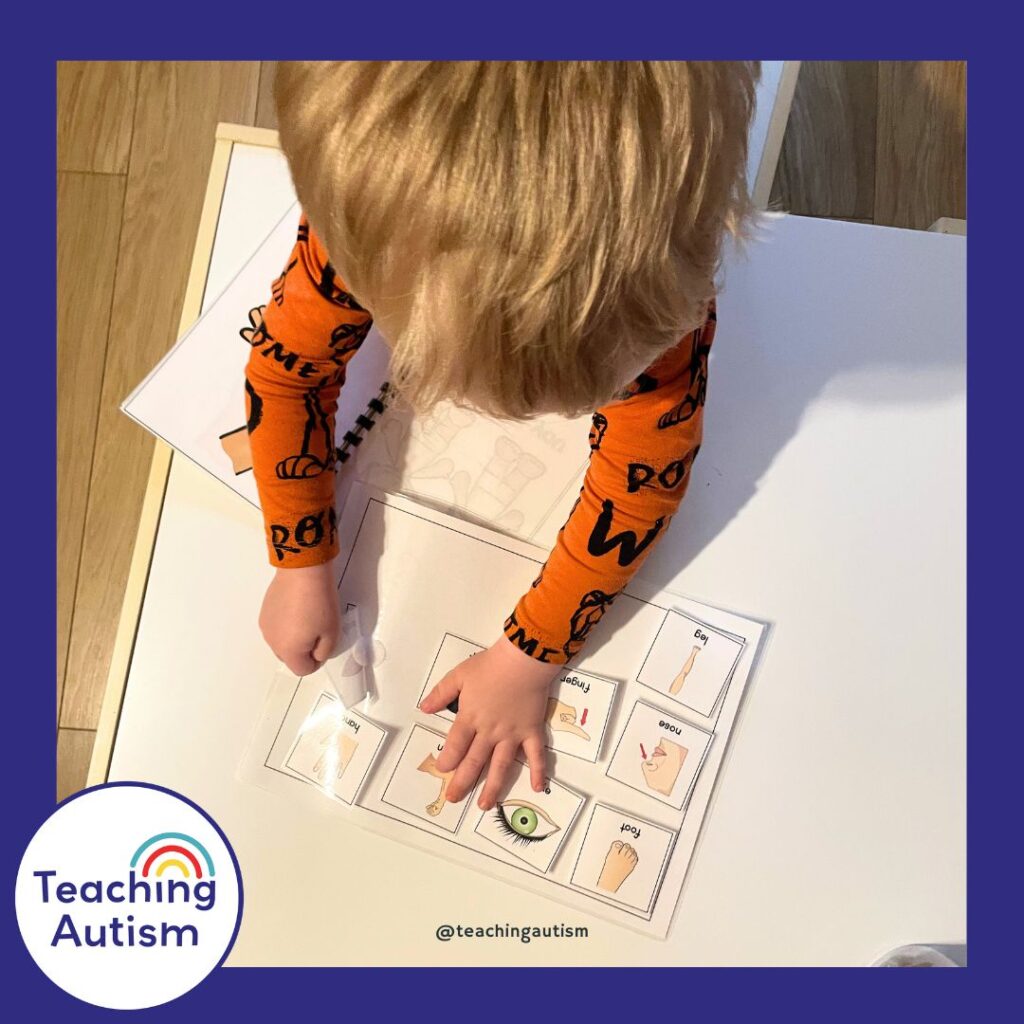
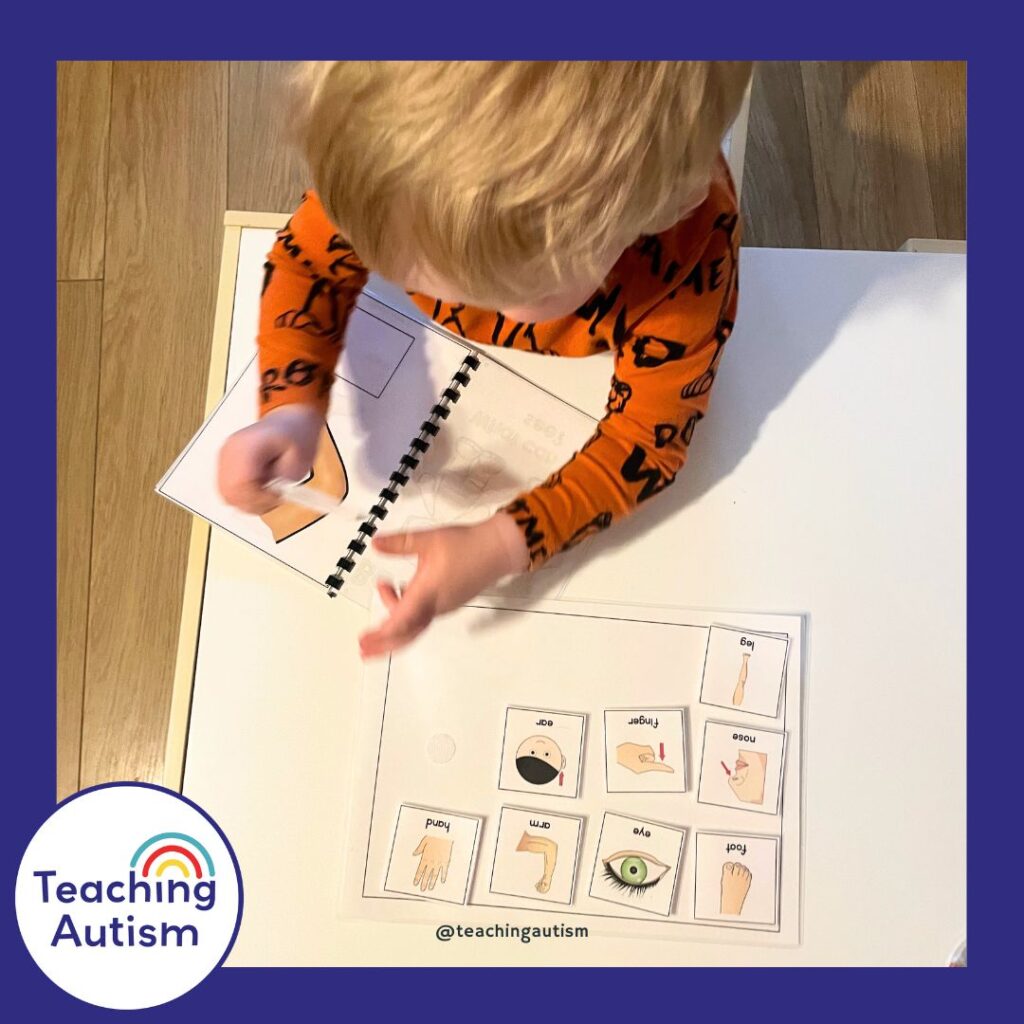
In this blog post you’ll be able to see some photos of the body parts adapted book in action along with some helpful tips on how to put together the adapted book.
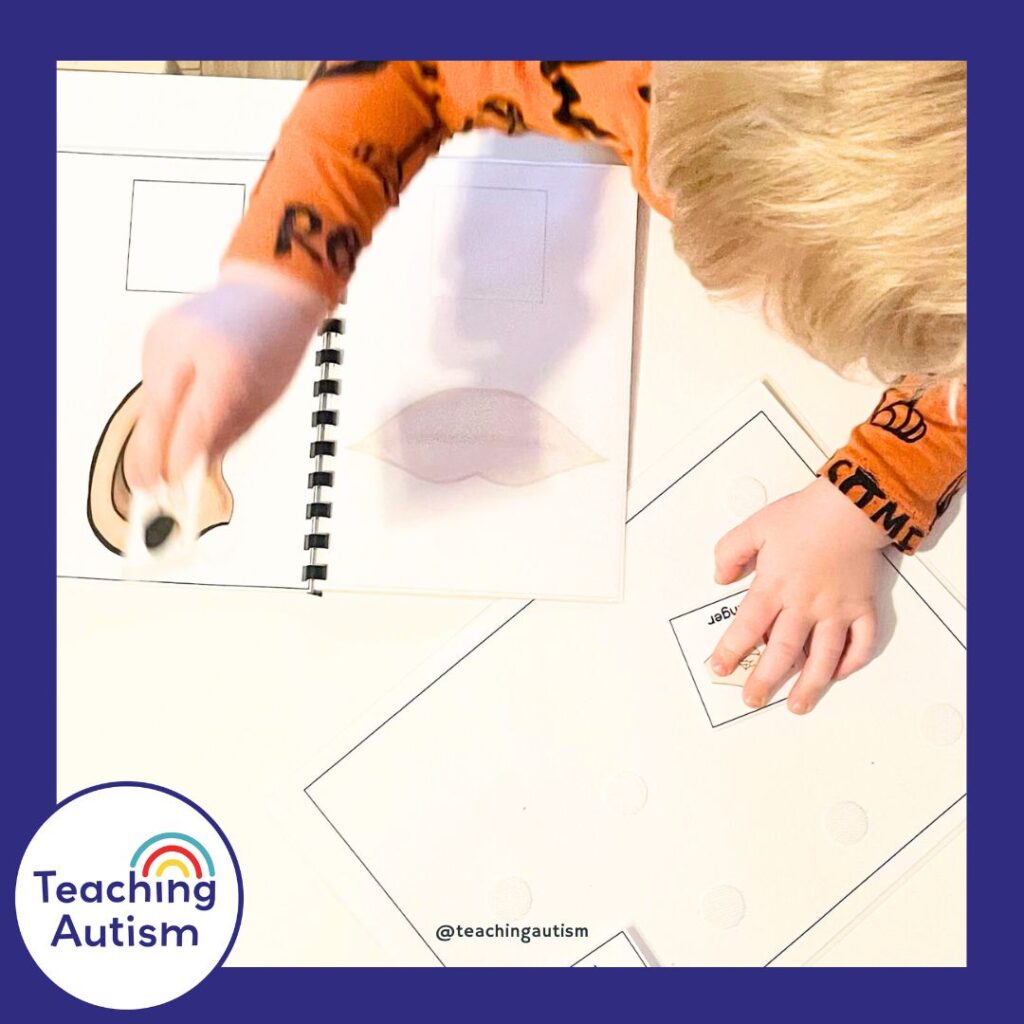
There’s also a link where you can download this adapted book to use with your students too.
This blog post may contain affiliate links. This means that if you purchase an item through my affiliate link, I may receive a % of commission at no extra cost to you. This helps support me, my family and my blog to bring you great content for free!
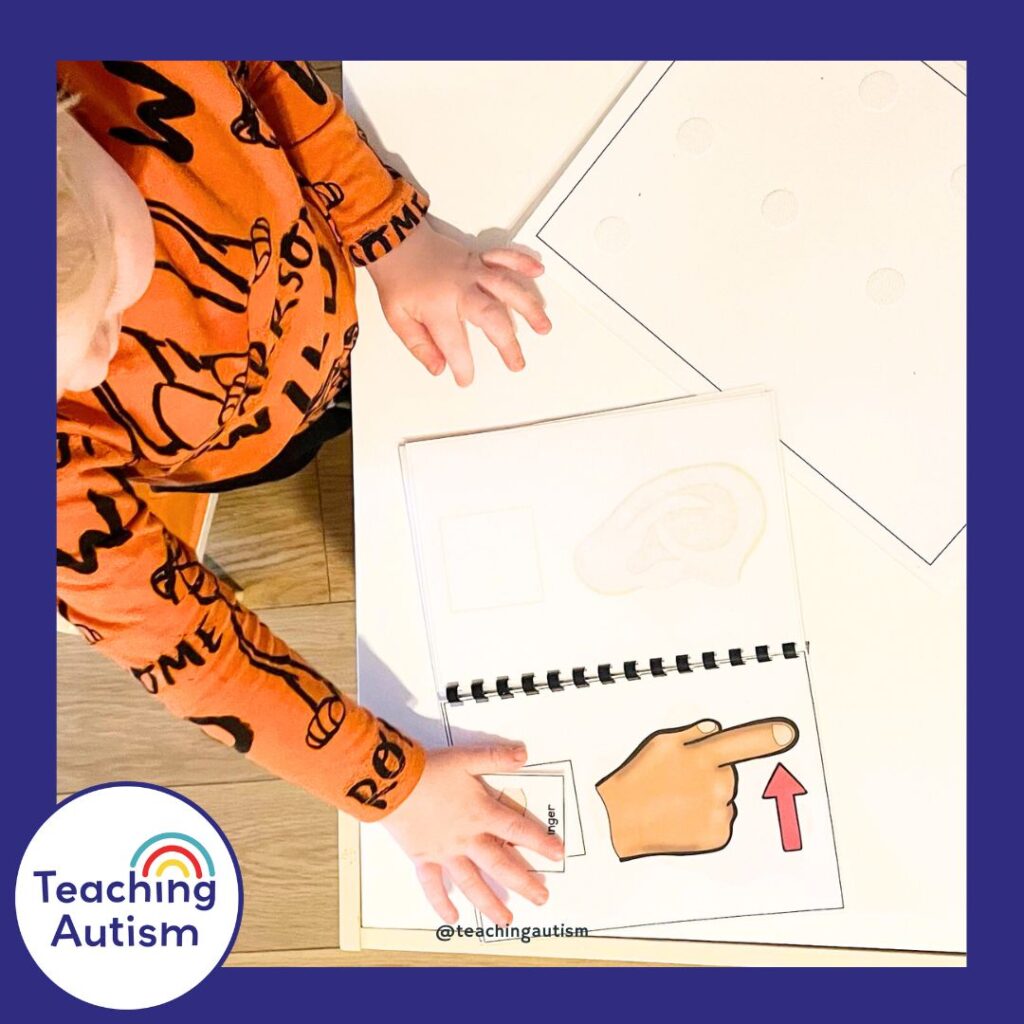
Instructions
- Print out all of the pages.
- Cut out and laminate each of the pages and bind them into an adapted book.
- Cut out and laminate each of the individual symbols and place velcro onto the back of them.
- Laminate the final base – the baseboard – and add velcro onto these.
- Place the individual symbols onto the baseboard. Students choose the symbols from the baseboard to place onto the adapted book as they complete it.
Where to Download
Click here to download a copy of this adapted book to use with your students.
Adapted Book Must-Haves
Below you will find links to my Amazon lists for everything you need to put together an adapted book.
If you found this blog post helpful, please consider sharing it with your friends and colleagues on social media.
Helpful Links
- Body Part Photos Adapted Book
- Label Parts of the Body Adapted Book
- How to Make Adapted Books
- Me and My Body Activities Bundle
P.S. Have you signed up for my VIP membership yet? If not, head on over and sign up now. You’ll get access to hundreds and hundreds of resources, templates, crafts and more being uploaded every month!
Nikki
