Easter Bunny Craft for Kids
I’m so excited to share with you my Easter bunny craft that is perfect for young kids. Easter is one of my favourite holidays to celebrate in the classroom. There are so many learning opportunities. This craft is a great way for your students to work on their fine motor and creativity skills.
I love making sun catcher crafts with my students because they add some fun and light to the classroom. Each month we switch up our window displays with new sun catcher crafts. These are usually to reflect the season, holiday or our current theme.
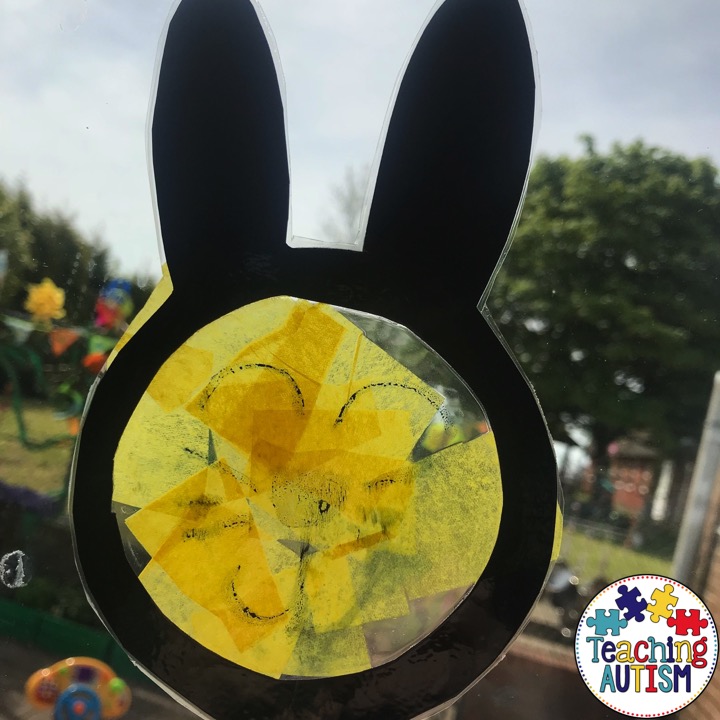
For Easter we decided that the perfect sun catcher craft would be the Easter bunny! Read on below to find out how we make this craft – and how you can too!
You Will Need
So, before we start, there is a small list of items you’ll need to make this craft.
- Black card
- Scissors
- Pritt stick
- Yellow crepe paper
- Laminating sheet
- Laminator
- Black marker
Instructions
Now we have all our materials we are ready to make our Easter bunny craft.
- First, cut out an Easter bunny shape in the black card. You can draw a stencil of this first if you like. We cut out this part for our students as they aren’t quite ready for this part yet. Simply cut out an outline, and then the inside of the rabbit’s face, leaving a small frame of an Easter bunny.
- Cut up pieces of yellow crepe paper into small pieces. My students love this part!
- Stick the Easter bunny shape into a laminating sheet.
- Glue the inside of the Easter bunny shape. Don’t use too much glue!
- Get your students to place their yellow crepe paper pieces inside here.
- Put the craft through the laminator.
- When cool, use the black marker to draw facial features onto the Easter bunny.
- Cut out around the bunny shape.
- Stick it up onto a window in your classroom for the sun to shine through it.
What crafts are you making for Easter? Are you going to try this sun catcher craft? If you like this craft, please consider sharing it with your friends on social media. You can also find some more great Easter activities here. Thanks.

