How to Make Adapted Books
In this blog post today I’m answering one of the most common questions I get.. How to make adapted books. I LOVE to use them with my students.. And I’ve been using them now for over 8 years. They’re hands on, engaging, easily differentiated and they work for a range of themes, subjects, skills, ages and abilities.
At the end of this blog post you’ll also find links to a bunch of free resources to download and use with your students.
This blog post may contain affiliate links. This means that if you purchase an item through my affiliate link, I may receive a % of commission at no extra cost to you. This helps support me, my family and my blog to bring you great content for free!
What are Adapted Books?
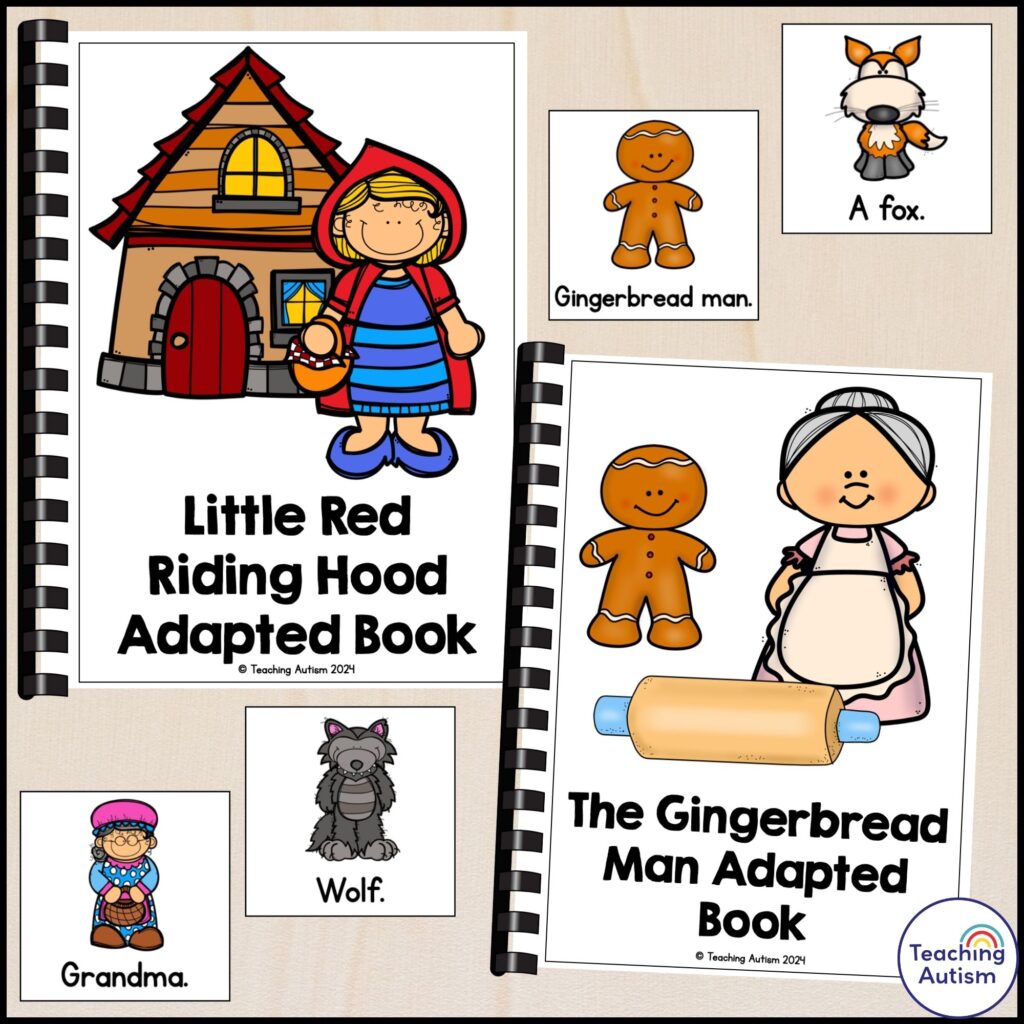
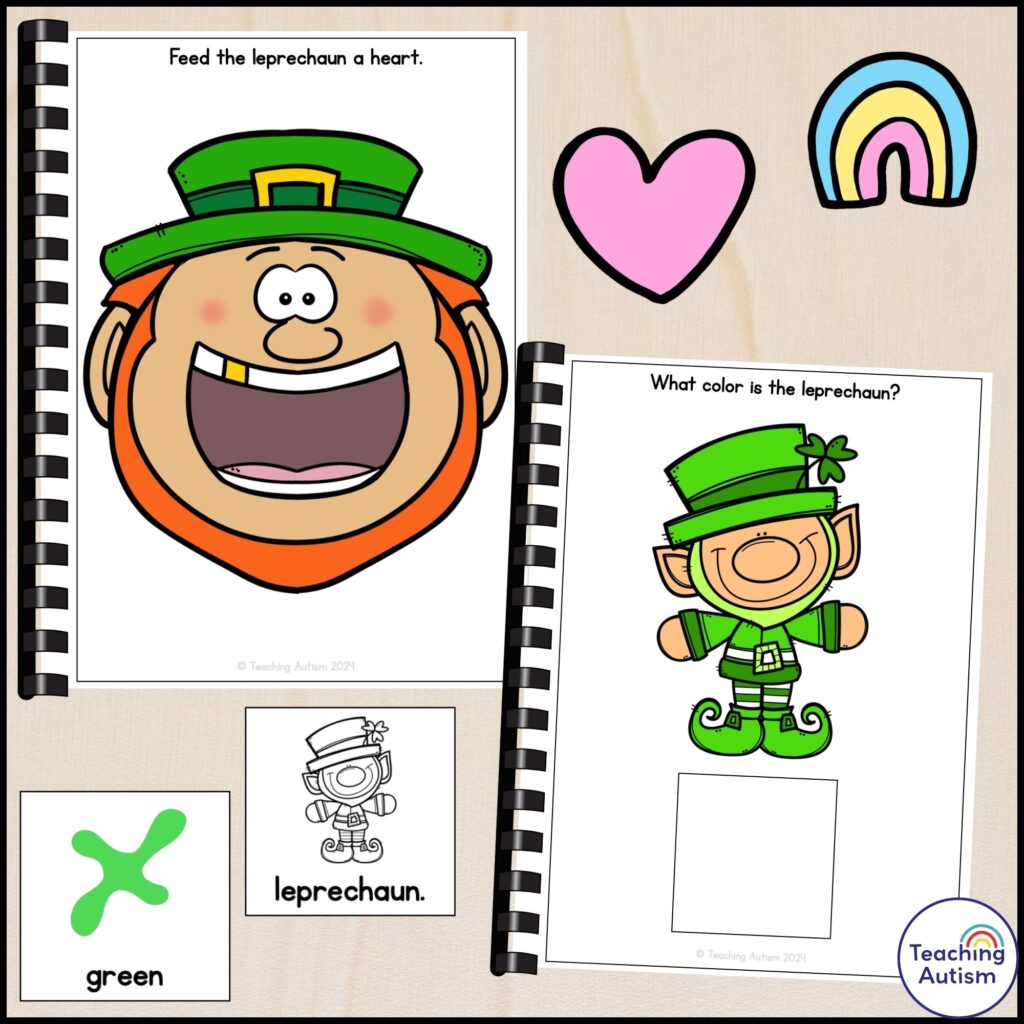
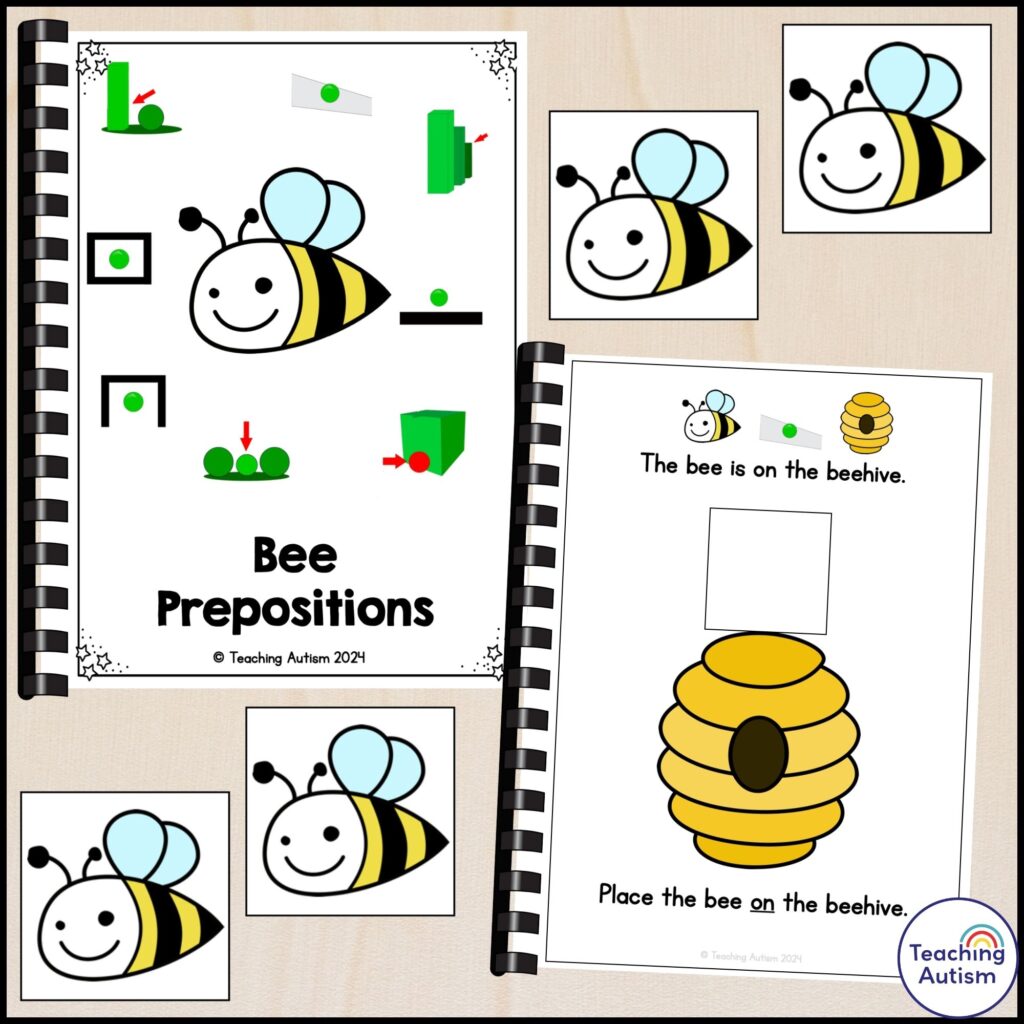
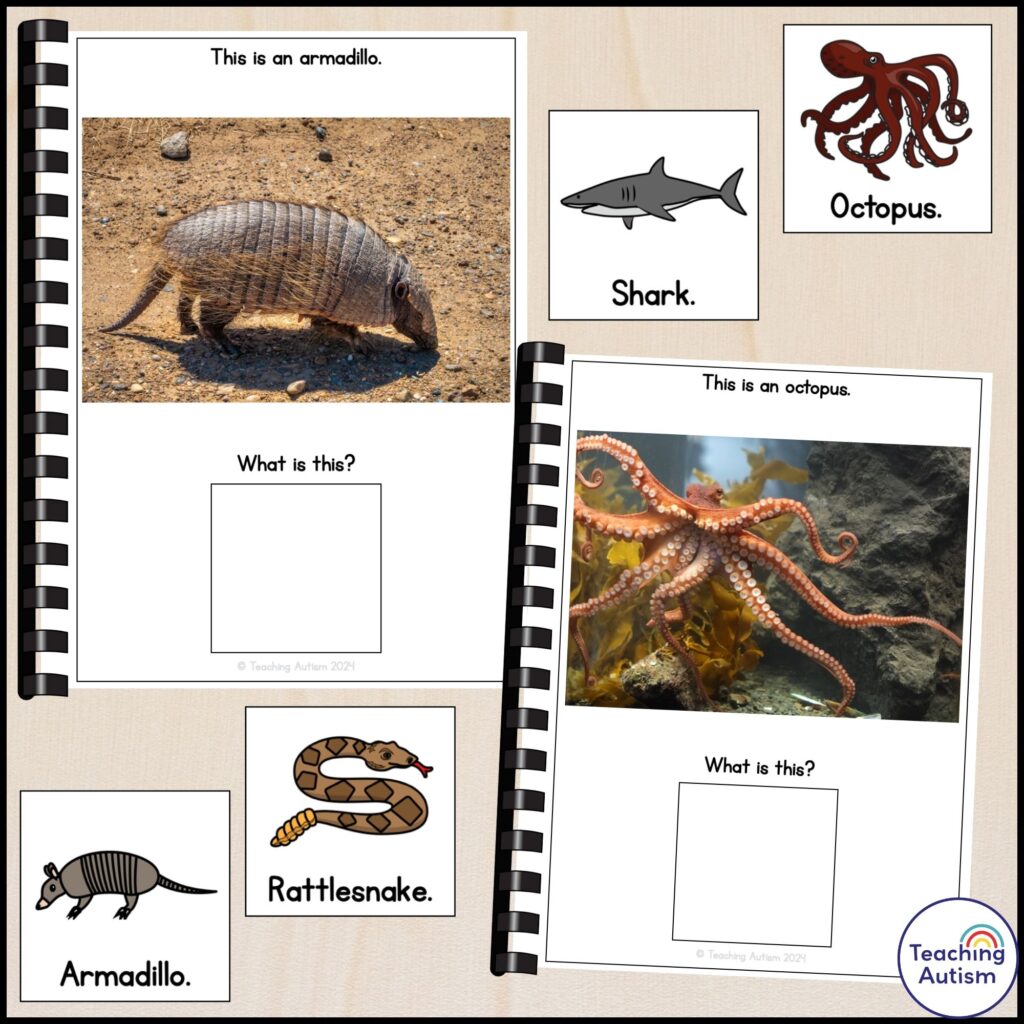
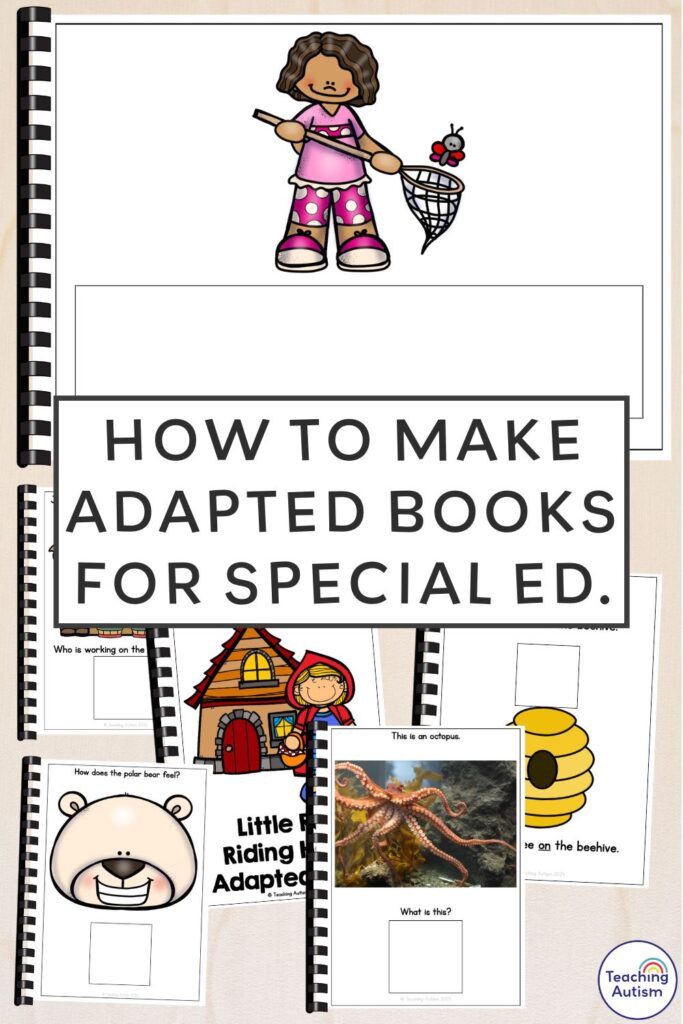
Adapted books are specifically designed for students who have a range of diverse needs, including our neurodivergent community. These usually involve a non-distracting format.. adapted content.. and visuals to make them engaging and accessible for our students. Sometimes they can have sensory elements, visual supports and even interactive features.
What are the Benefits?
Since introducing my students to adapted books all those years ago, I’ve seen so many benefits for my students. These include;
- Providing a tailored learning experience.
- Modified to suit learning needs, abilities and interests.
- Accessible for all.
- Hands-on and engaging.
- Promote literacy skills, language development and comprehension.
- Work on a variety of different themes, subjects and skills.
How to Make
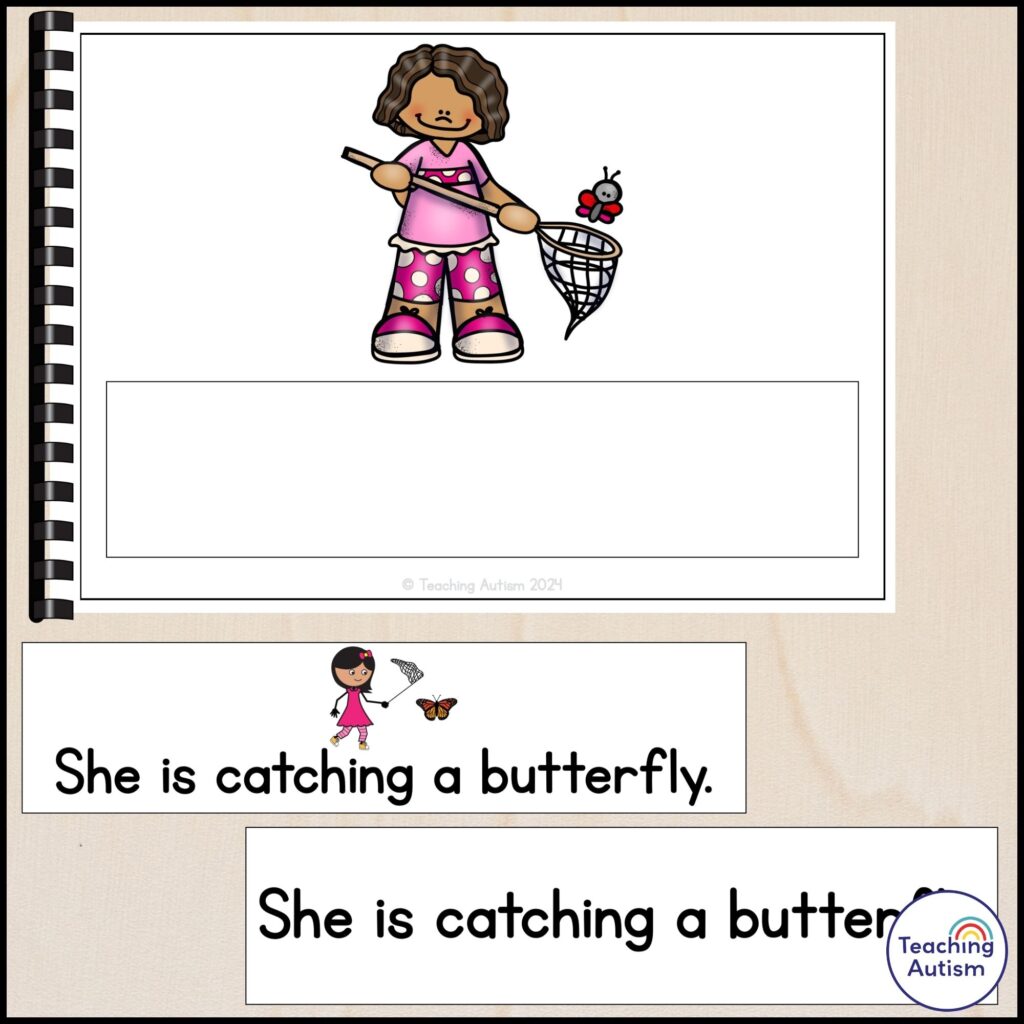
Follow the instructions below to put your new adapted book together;
- Print out all of the pages.
- Cut out the pages and laminate them.
- Next, cut out each of the symbols individually. I like to add a dab of glue on the back of them when I put them into the laminating pouch so that they don’t move around when they go through the laminating machine.
- Trim the pages down and place them into a binding machine to punch the holes.
- Then, use a comb binder to turn the pages into a book.
- Cut out each of the individual symbols and place velcro onto the back of them.
- Laminate the final base – the baseboard – and add velcro onto these.
- Place the individual symbols onto the baseboard.
My Favorite Materials
I’m often asked what are my favorite materials to use for making adapted books. So I’ve put them into one super easy spot for you below. Just click the relevant country for you!
Free Resources
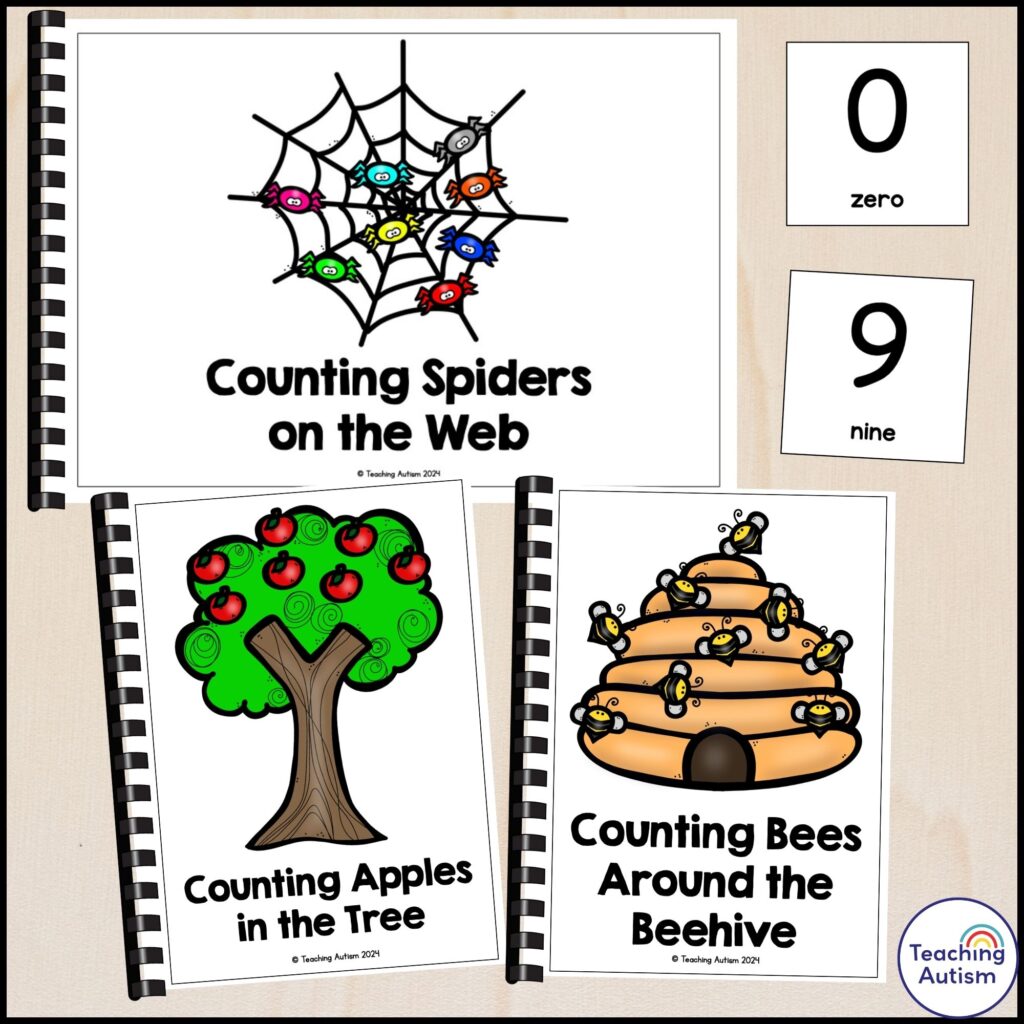
Below are links to a range of free adapted books for you to download and try;
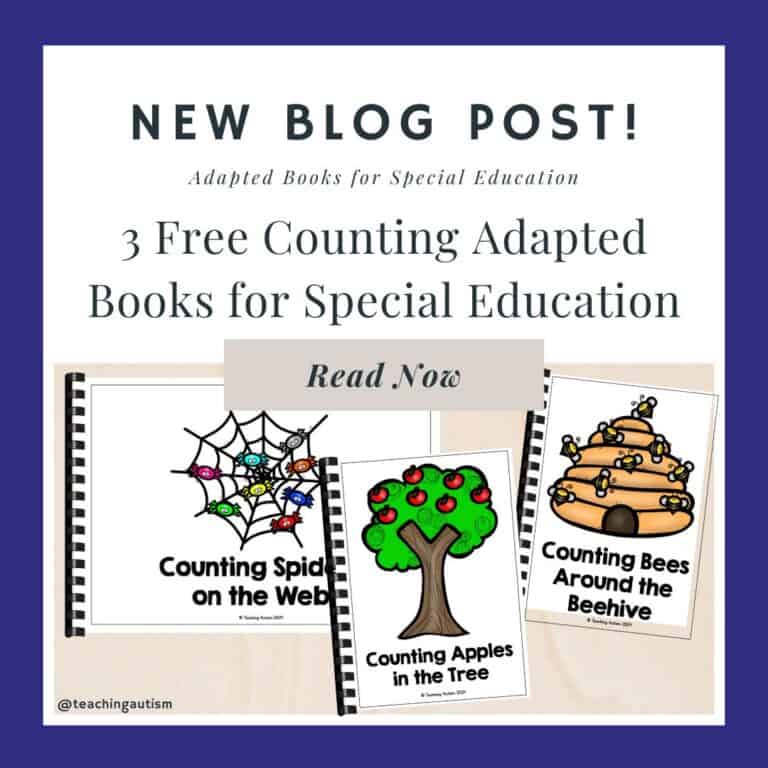
- 3 Counting Adapted Books
- Movement Adapted Books
- Itsy Bitsy Spider Adapted Book
- Find the Dalmatian Adapted Book
- Dinosaur Easter Eggs Adapted Book
My Top 5 Favorite Adapted Books
- Brushing Teeth Adapted Book
- Feelings an Emotions Adapted Books
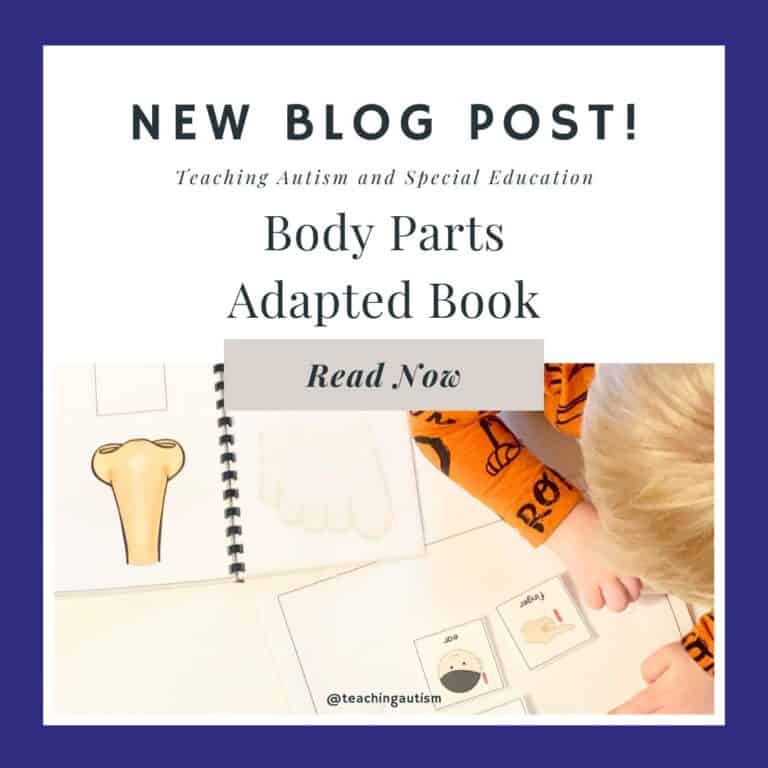
- Body Parts Adapted Book
- Goldilolcks Adapted Book
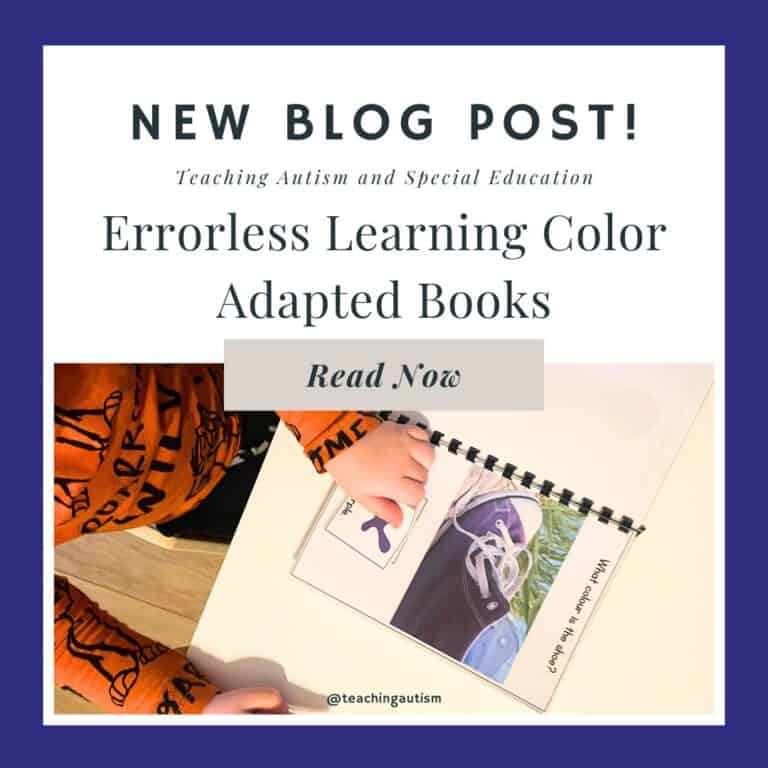
- Errorless Color Adapted Books
I hope you found this blog post helpful. If so, please consider sharing it with your friends and colleagues on social media.
P.S. Have you signed up for my VIP membership yet? If not, head on over and sign up now. You’ll get access to hundreds and hundreds of resources, templates, crafts and more being uploaded every month!
Nikki
