How to Use Boom Cards With Your Autistic Learners
Today I’m going to be sharing a recent presentation that I did with Boom Learning about how to use Boom Cards with your autistic learners.
Links in this blog post may contain affiliate links where I will receive a small % commission if you make a purchase.
What Am I Talking About?
Today I’m going to be talking about;
- Boom Card Basics
If change and new software scares you – don’t worry! I’m here to show you some quick basic tips. - Errorless Learning
Students are more likely to complete activities when they feel good and confident. Errorless learning is great for starting this. - Life Skills Lesson Plan
People always love to hear about my ‘Therapy Thursday’ plans. Today I’m touching on what the life skills part of this looks like with Boom.
Choosing the Right Decks
- Visual Appeal
‘KISS’ – Keep It Super Simple. Our learners work best with little to no distractions. This is why a simple layout with clear expectations from your students with what they need to do work-wise works best. - Level Appropriate
Choose decks at your students level that they can access; typing / clicking / dragging. - Accessible
Some learners will need the audio instructions – others I can mute for written instructions. Some will need it louder than others.
Introducing Boom Cards for the First Time
- Device
Choose a device your students are familiar with and confident using. - Errorless
Start with errorless learning decks so you can build student’s confidence and independence. - Make it Fun
Start off by using decks that students will have fun with or are tied to their interests to get them engaged.
Errorless Learning
Errorless learning is a technique in teaching that provides students with an opportunity that diminishes the chance of a mistake.
You can read more in-depth about errorless learning here.
This is an example of one of my errorless learning decks. For this one, students are learning about different animals and their habitats. But the main going is that we are teaching our students HOW to use Boom Cards. They are learning that they need to click and drag their answer into the box. Then, they’re learning that they need to click submit to have their answer checked.
You can find out more about this errorless animal habitats activity here.
If your students aren’t quite ready to be working on click and drag – that’s ok! We can start by just clicking the correct answer, as shown in this Boom deck. For this one, students need to count the teddies that are in the jar. Then they click the answer. This is going to teach students that they need to click their answer. We want to first focus on our students understanding how to use Boom Cards, and then we can progress onto giving them options for answers. You can try out this deck here.
We don’t want to overwhelm our students by giving them a whole new platform to use and then trying to answer different questions. Errorless learning helps us ease our students into learning a new platform.
What are the Benefits of Errorless Learning?
There are honestly so many benefits of using errorless learning activities. And especially using Errorless Boom decks. I have a tonne of errorless learning Boom cards that you can download and try here with your students. Some benefits of using them are;
- Improves independence.
- Provides plenty of opportunities for positive reinforcement.
- Improves confidence in using a new platform.
- Takes away the chance of making any mistakes.
- Boosts your students motivation of using Boom Cards.
- Helps them get used to a new platform.
They are especially great if you have students who struggle with self-confidence. Making a mistake could be really hard for some of our students and can ruin their self-confidence. This can make a negative relationship form with that type of activity. So by starting off errorless, we’re promoting this as a positive new experience for them – and this will motivate them to continue using Boom Cards.
Once errorless is mastered we progress onto non-errorless decks. So now students can make mistakes. And that’s ok!
‘Therapy Thursday’
Therapy Thursday is one of my favorite days to implement in the classroom. I wanted a day that we could focus on what wasn’t really included in our curriculum. You can read all about my ‘Therapy Thursday’ in detail here. You can also click the links below to learn more about those particular sessions.
The sessions include;
- Life skills.
- Sensory stories.
- Art therapy.
- Music therapy.
- Sensology.
- Sensory bins.
A lot of these sessions can be really overwhelming for educators to start up, especially with the cost included. So this is when I started to introduce Boom Cards as a center option.
Life Skills Layout
As part of my life skills sessions I usually have 5 centers running, all focused on life skills. These are the following;
You can find this feelings Boom deck here to try with your students.
You can try this rooms of the house sorting activity here.
I love to take my students to the grocery store to work on shopping skills. But, it’s not always possible. So I really wanted to find a way to work on those skills in the classroom. This meant that I’d be able to help my students continue working on their shopping skills to transfer ready for their next grocery store visit.
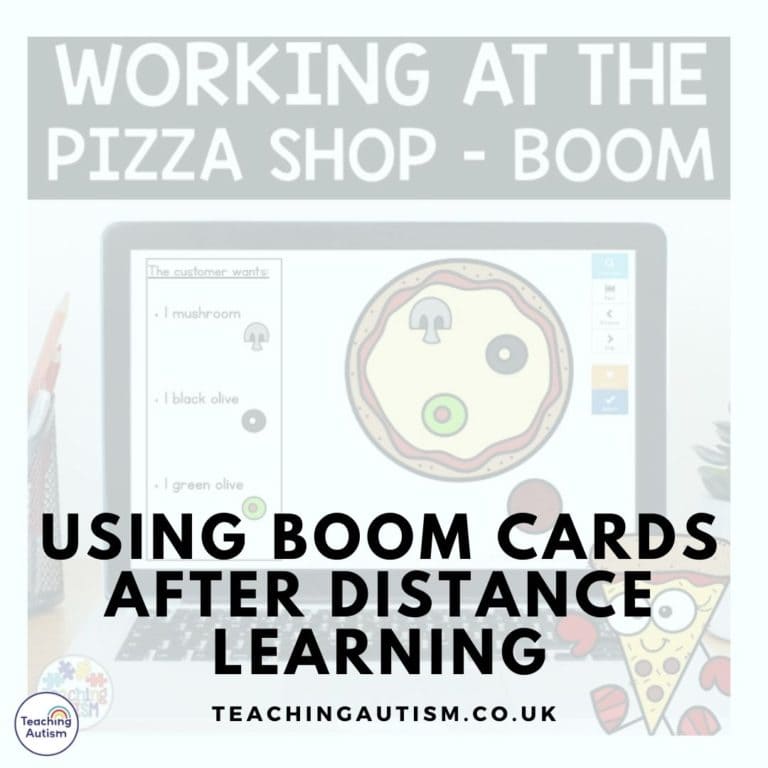
In this Boom deck, students have to follow the shopping lists to put the items in their shopping cart. It’s a lot of fun and it comes in 3 different levels for you to use with your students.
You can try this grocery shopping Boom deck here.

Links
Below I have linked some of the activities that are listed as centers above in the life skills sessions.
- Grocery Shopping Boom Cards.
- Life Skills Adapted Binder.
- Toy Sandwich Set Accompaniment. You can purchase the toy sandwich set here (US) or here (UK).
I typically will have 1 student with a member of staff in each center. Then I’ll have one student able to have some free choice. We rotate our way through the centers, and it works really nicely.
I do love with the Boom Cards that I’m able to transfer them to different devices. So if for any reason we can’t use the IWB which is usually where the Boom station is.. I can just set up a table of iPads and set up the Boom Cards there for students.
I also love that it gives my students the chance to work independently on life skills that they may not have a chance to do at any other time. And I really want my students to master the skills they’re learning and being able to transfer them into different settings and environments. Boom Cards allow me to give my students this opportunity to master these skills.
Do you use Boom Cards with your students? Or do you have any questions about wanting to start using them? Leave a comment below. You can find all of my Boom Card activities here.
Nikki
PLUS.. Read all about my 5 favorite life skills Boom Cards in this blog post.
If you want to learn more about Boom cards, check out my blog posts on;
P.S. Have you signed up for a 3 day free trial of our VIP membership yet? If not, click here to do it now and go and get access to a huge range of resources, templates, crafts and more for free.
