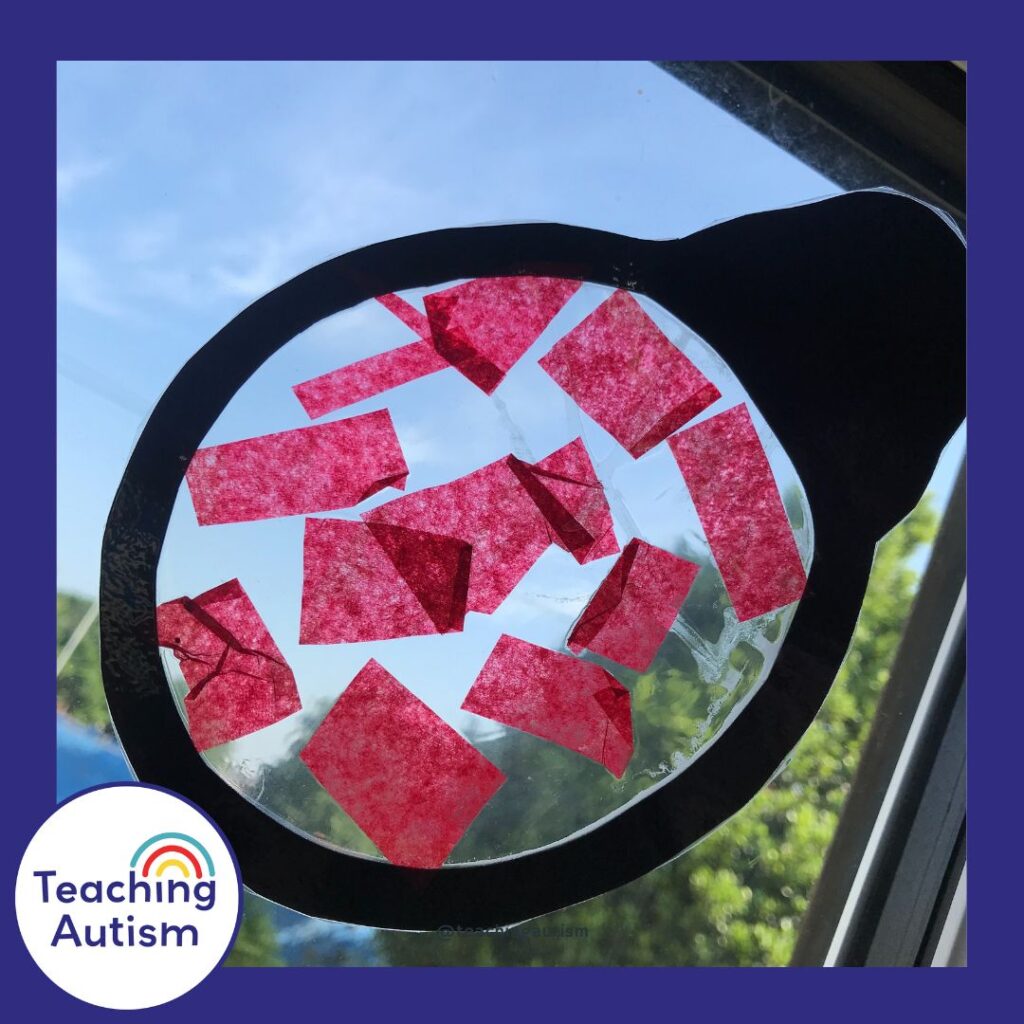
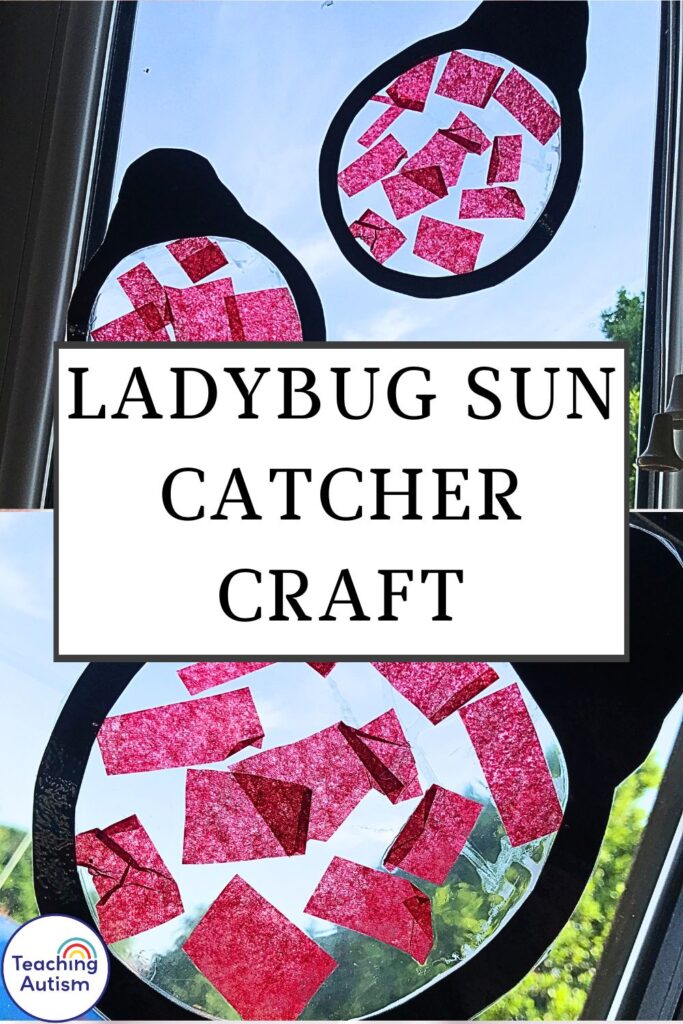
Ladybug Sun Catcher Craft for Kids
Today I’m sharing my ladybug sun catcher craft. We love making these as part of our spring classroom unit.. And they always look great up on display on our classroom windows!
In this blog post I’m sharing how you can make these ladybug sun catchers with your students (or even your children at home!) along with all of the materials you’ll need.
This blog post may contain affiliate links. This means that if you purchase an item through my affiliate link, I may receive a % of commission at no extra cost to you. This helps support me, my family and my blog to bring you great content for free!
Ladybug Sun Catcher Craft

Materials Needed
- Ladybug template – printed.
- Black card.
- Pencil.
- Laminating sheet.
- Red crepe paper.
- Scissors.
- Glue.
- Laminator.
Instructions
- Print out the template of a ladybug.
- Cut out the outside of the ladybug. Then, leaving a thin border, cut out the middle of the ladybug.
- Trace around the outside and inside of the ladybug on black card.
- Cut out the outside and inside of the ladybug traced on the black card.
- Stick the ladybug black card cut out onto a laminating sheet.
- Cut up different pieces of crepe paper.
- Stick the cut up crepe paper pieces into the middle of the ladybug on the laminating sheet.
- Laminate.
- Cut out the ladybug, and put up on display in your classroom windows.

MY ART & CRAFT ESSENTIALS
If you want to see what is stocked inside my art and crafts cabinet, check out my must-have list below;
Helpful Links
You may find the following links helpful;
- Butterfly Sun Catcher Craft
- Sun Catcher Crafts for the Year
- Bugs and Insects Resources and Activities
If you found this blog post helpful please consider sharing it with your friends and colleagues on social media.
P.S. Have you signed up for a 3 day free trial of my VIP membership yet? If not, click here to do it now and go and get access to a huge range of resources, templates, crafts and more for free.
Nikki


One Comment
Comments are closed.