Santa Sun Catcher Craft
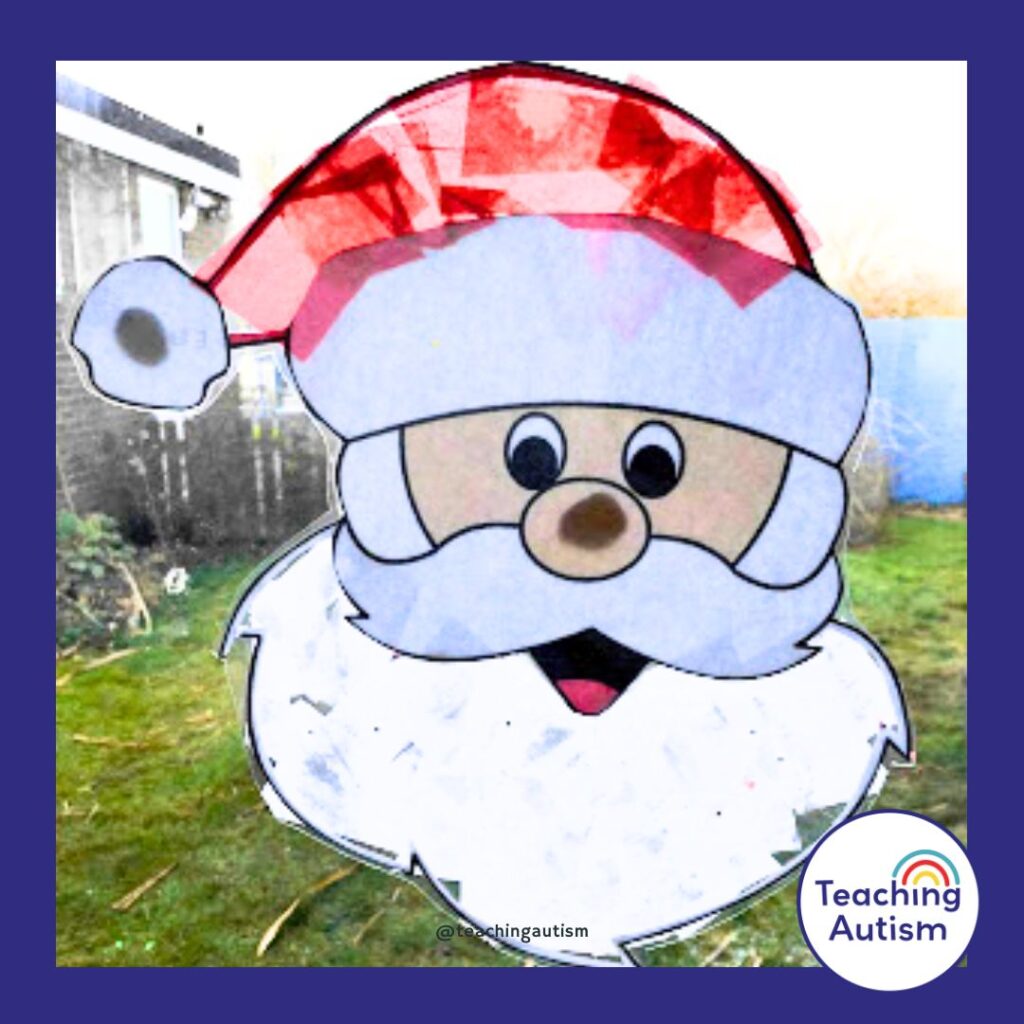
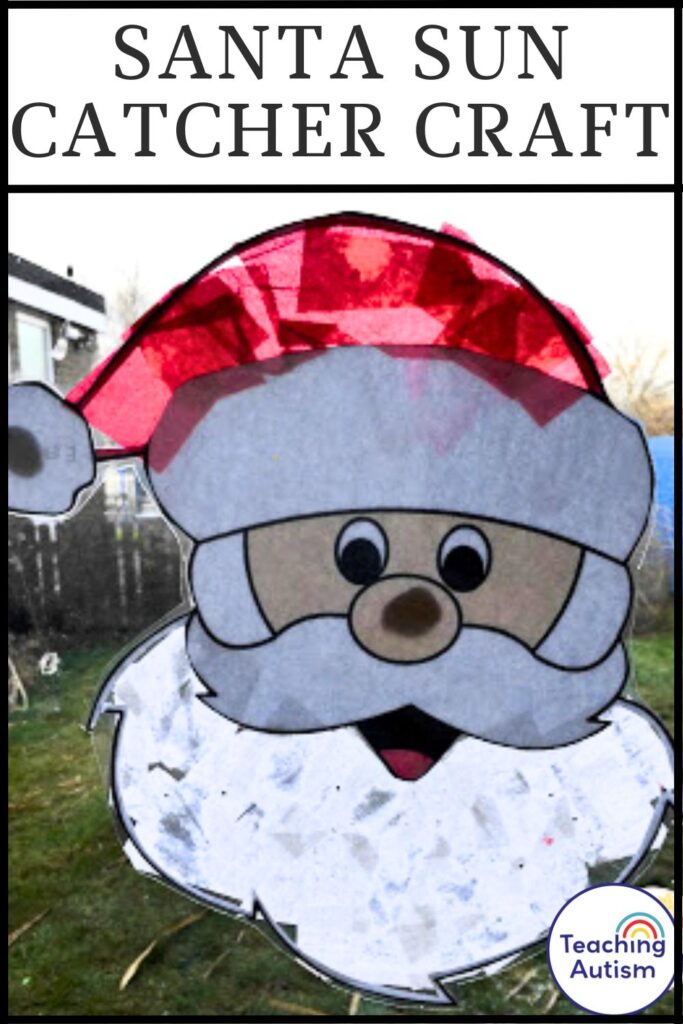
This Santa sun catcher craft is one of my favorite Christmas activities to do. They look so fun and festive when they are up on display on our classroom windows throughout December.. And they are so easy to make too!
In this blog post today I’ll share information on the materials you’ll need and the instructions for making this Santa sun catcher.

Materials Needed
- Santa clipart face – find one online and print out.
- Scissors
- White tissue paper
- Red tissue paper
- Laminating sheet
- Laminator
- Glue
Instructions
- Cut out the beard and hat of Santa – but don’t detach it from the rest of the image.
- Cut up the white and red tissue paper into small squares/pieces.
- Place the santa image onto the laminating sheet and use a small amount of glue to secure into place.
- Put some glue on the now empty beard part, then press down white pieces of tissue paper.
- Put some glue on the now empty hat part, then press down red pieces of tissue paper.
- Close down the laminating sheet and put through laminator.
- Cut out santa and put up onto a window for sun to shine through.
If you found this blog post helpful, please consider sharing it with your friends and colleagues on social media.
More Christmas Activities
If you’re looking for more Christmas activities to do with your students, you may like the following links;
- My Top 10 Christmas Books
- Christmas Cards Craft
- Mistletoe Footprints Craft
- Christmas Tree Fingerprint Ornament
- Christmas Activities and Resources
P.S. Have you signed up for my VIP membership yet? If not, head on over and sign up now. You’ll get access to hundreds and hundreds of resources, templates, crafts and more being uploaded every month!
Nikki


2 Comments