Halloween Classroom Crime Scene
I am so excited to share with you the Halloween classroom crime scene that I did with my students. It was a huge hit and it’s perfect to use in October. If you’ve been here a while, you’ve probably seen all of the other crime scenes that I do each month with my students. But I think this one is the one that me and my students have enjoyed the most – so far!
As Halloween is in October, I decided that I really wanted to try and put together a Halloween classroom crime scene. But there were just so many ideas swirling around in my head! Finally, I decided upon..
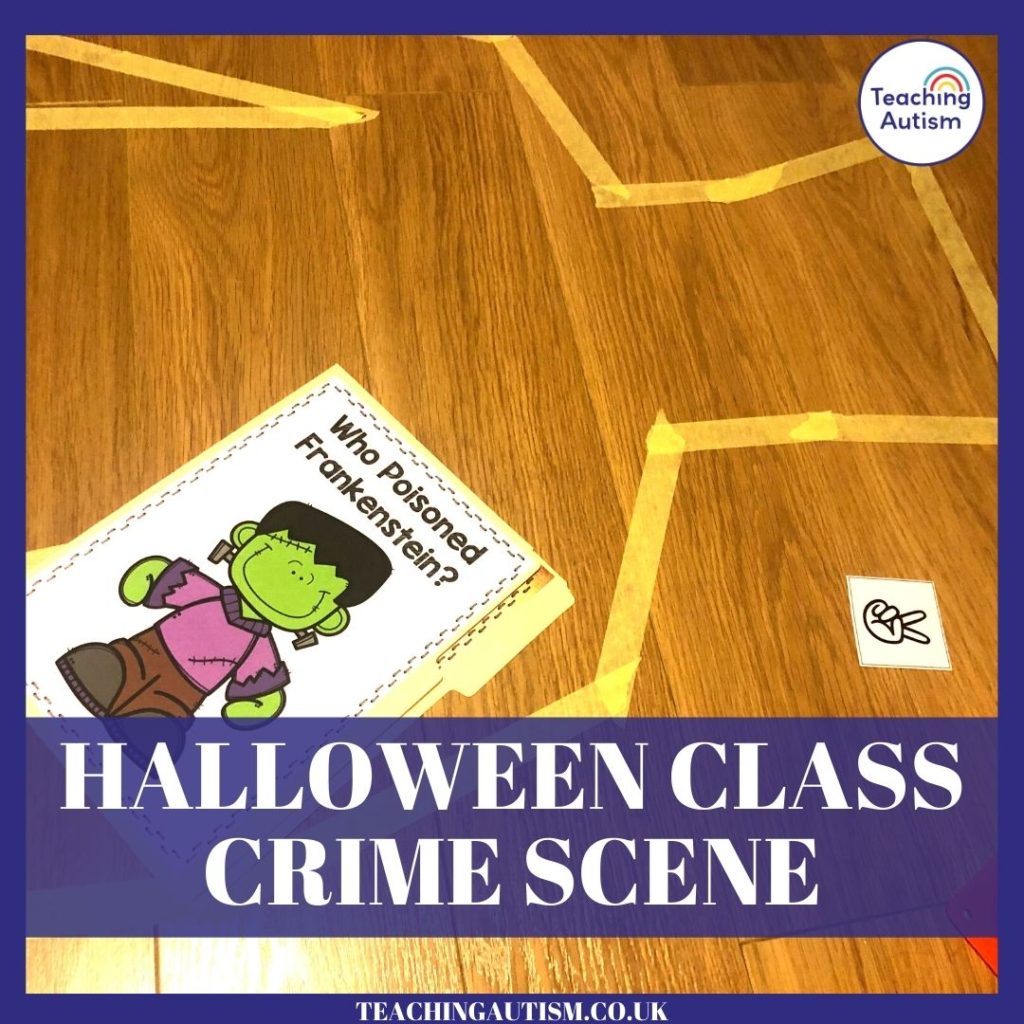
Who Poisoned Frankenstein?
Please note: These crime scenes comes in both spelling options (colour/color, favourite/favorite)
STUDENT OBJECTIVE:
Use the clues provided to investigate who poisoned Frankenstein.
ACTIVITIES INCLUDED / CLUES TO SOLVE
Taste
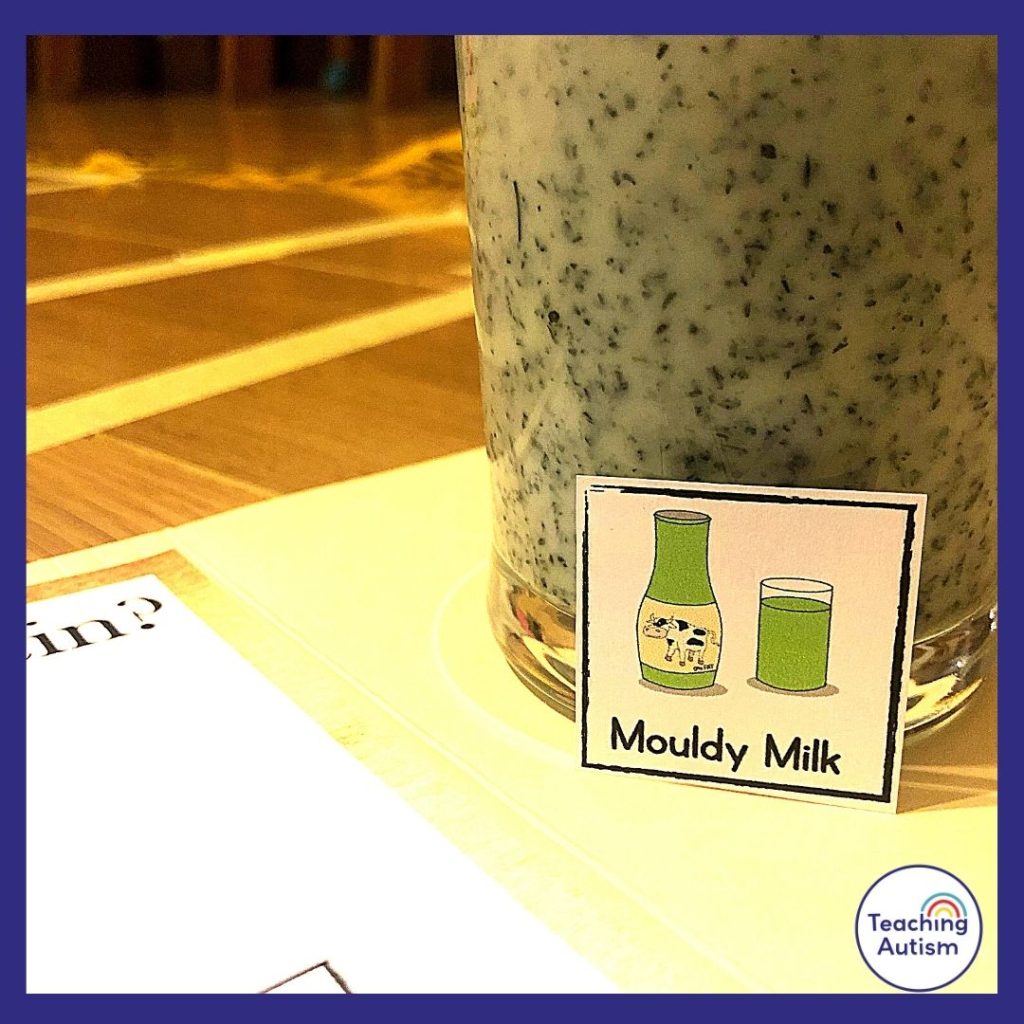
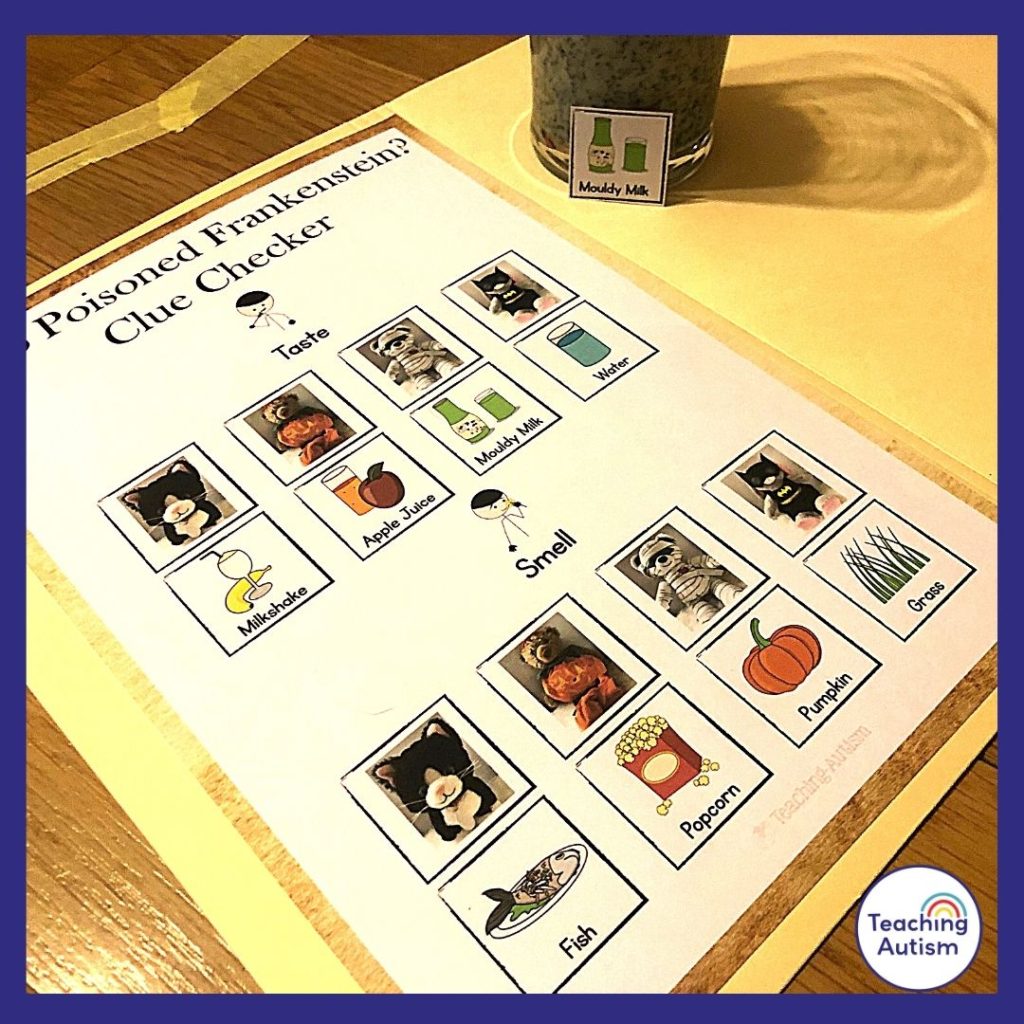
Something has been left behind for students to taste! (Mouldy milk – milk with green food colouring) Students have to taste the item, decide what it is and then match it to the suspect who likes to eat it.
Smell
Something has been left behind for students to smell! (Pumpkin) Students have to smell the item, decide what it is and then match it to the suspect who likes to smell this.
Suspect Interviews
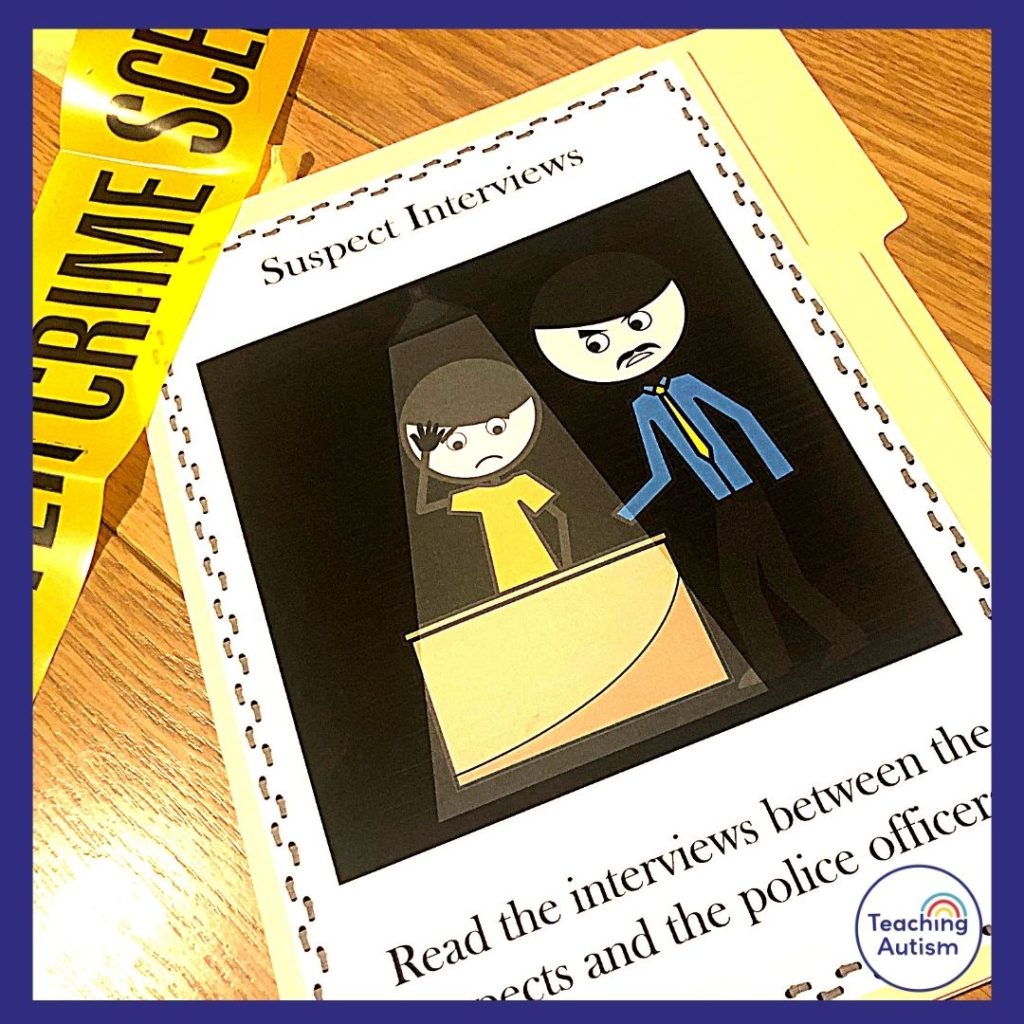
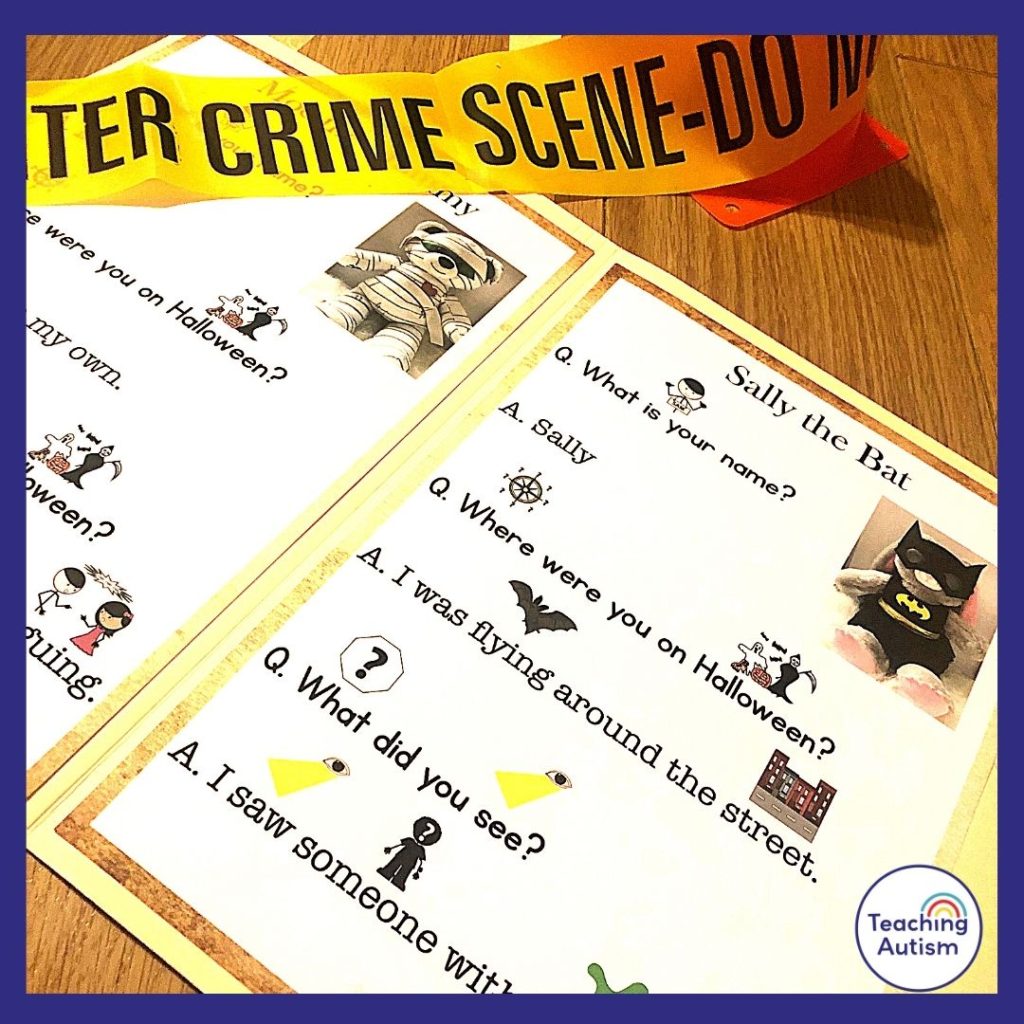
Students need to read through the 4 suspect interviews for any important information that could give them some clues to who the culprit is.
Poison Experiment
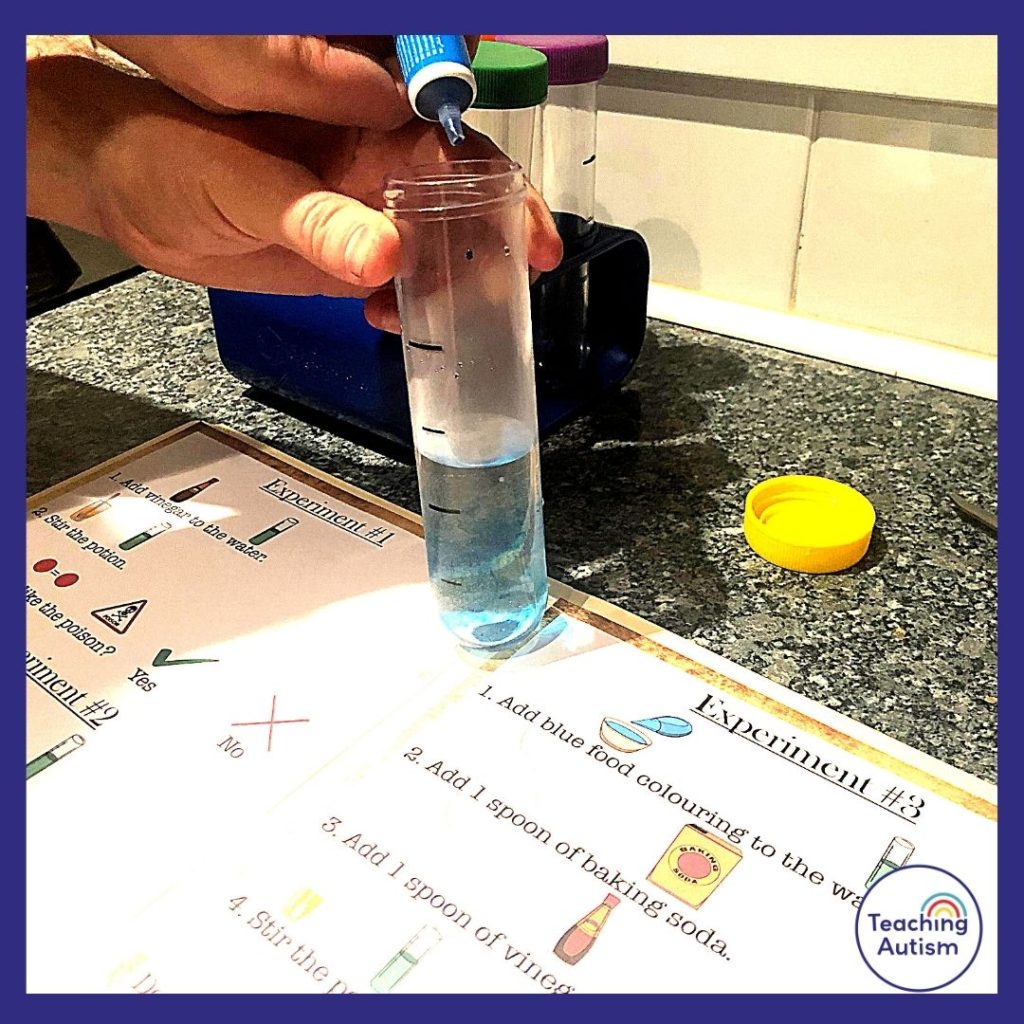
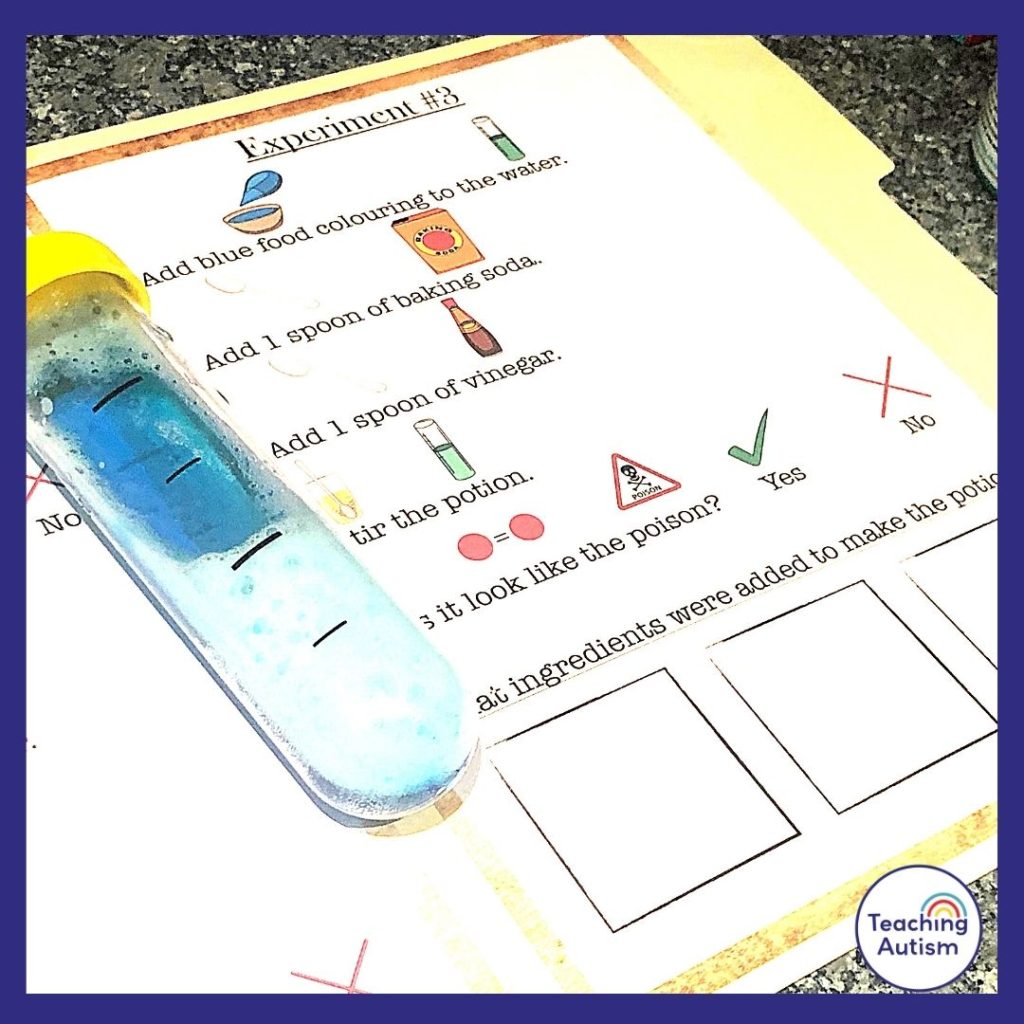
There was a bottle of poison left at the scene! (You need to make this up beforehand to leave there). Students need to following the recipes to try and make the same poison that was found at the scene. Once they have worked out which one looks the same, they need to match what ingredients they used in their potion. Then, they look at the 4 suspects shopping lists – who recently bought these items?
Code Cracker
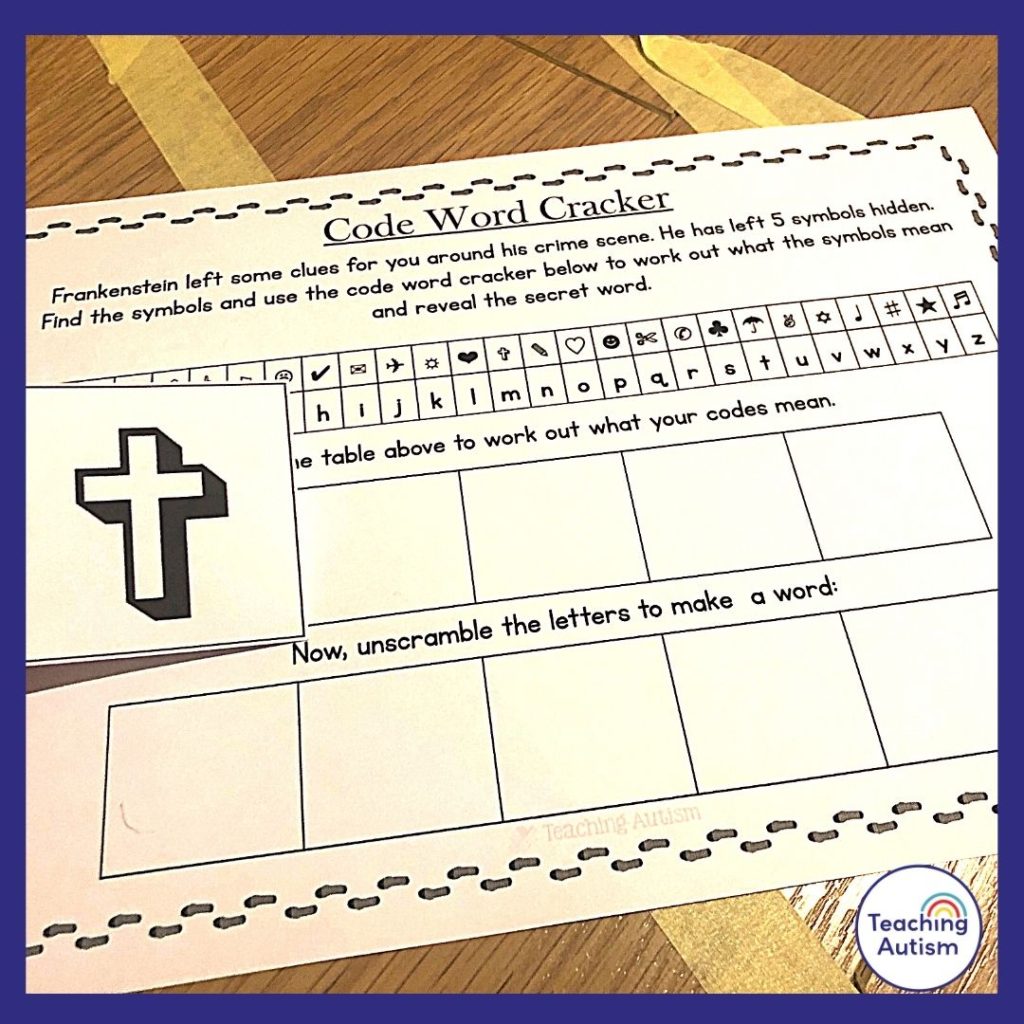
Cut out the 5 codes and hide them around the crime scene – or in a sensory tray. Students have to find these and use the code word cracker sheet to work out what they mean and who they spell – this is the culprit.
Clue Book
Students put their clues into the clue book as they go along. This way they are able to keep track of all the clues they have found. This will help them when they need to make a decision on who they think has poisoned Frankenstein.
Wanted Poster
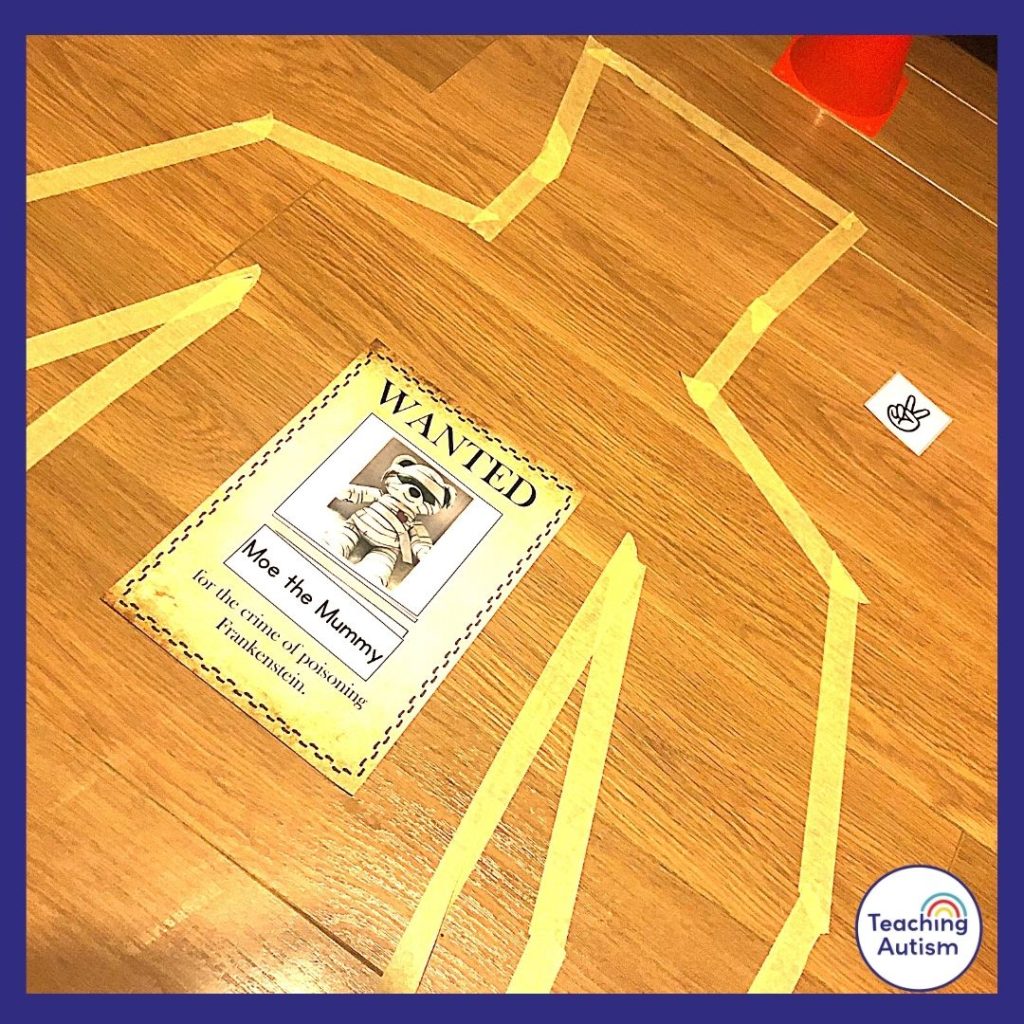
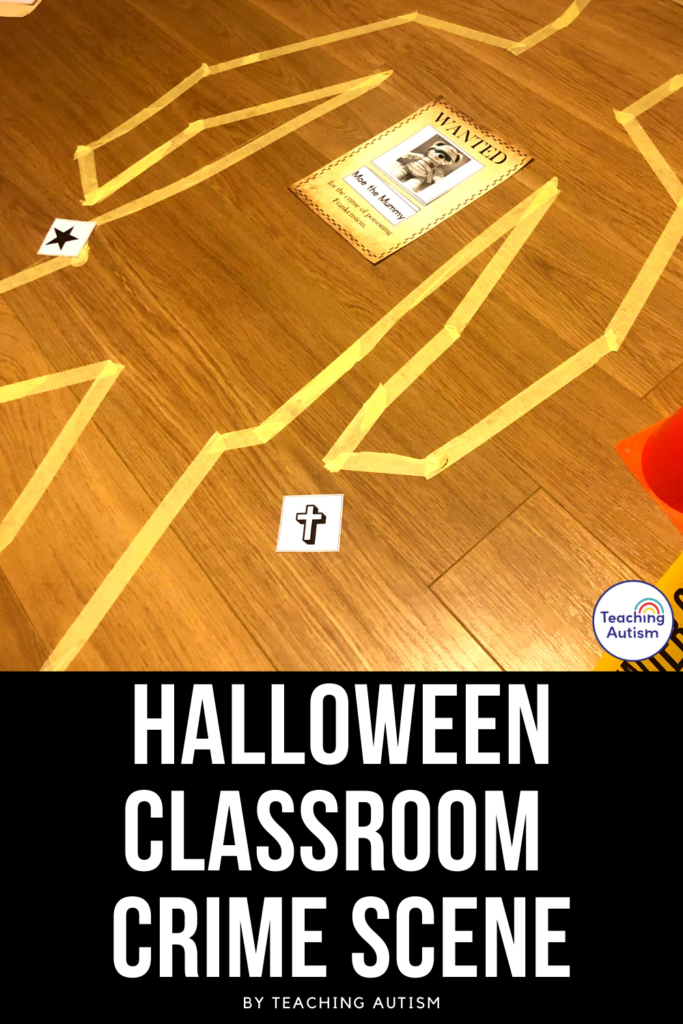
Once students have decided who they think the criminal is – they need to make the wanted poster to capture them! Students can either draw and write the criminal’s face and name onto the wanted poster or use the pictures and names we have included to cut and stick onto the wanted poster instead.
Your students will love taking part in this fun and interactive crime scene, especially during a busy time of year when it can be hard to keep them engaged. A teachers walkthrough is also included in the pack to help you put together the crime scene and use it to the best of its ability. I would also recommend trying out the crime scene before giving it to your students so that you are able to familiarize yourself with the way that it works.
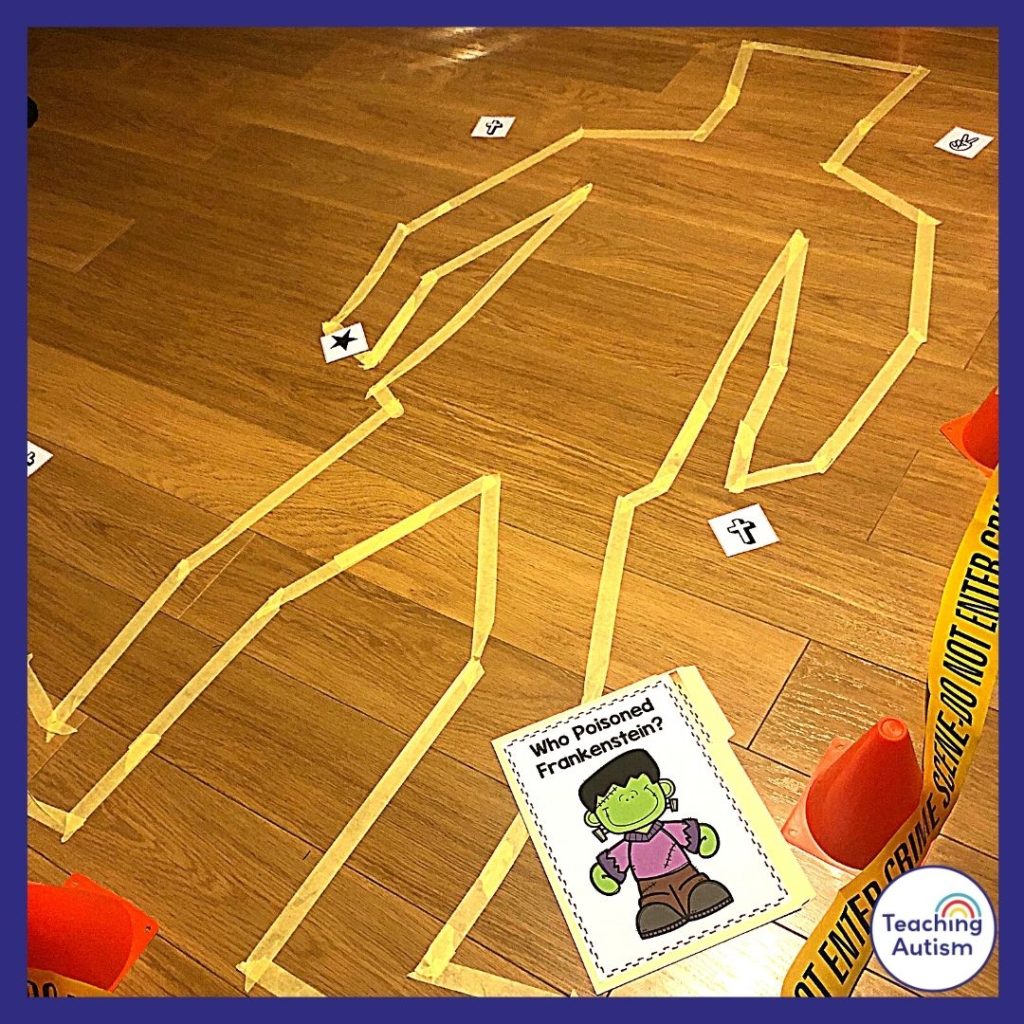
Almost everything that you need to complete this crime scene is included in this pack. However, you will need access to milk and pumpkin for students to taste/smell.
Have you tried crime scenes with your students? What do you think about our Halloween classroom crime scene? Let me know in the comments below.
Don’t forget you can grab your own copy of this crime scene here.
P.S. Have you signed up for a 3 day free trial of our VIP membership yet? If not, click here to do it now and go and get access to a huge range of resources, templates, crafts and more for free.





2 Comments