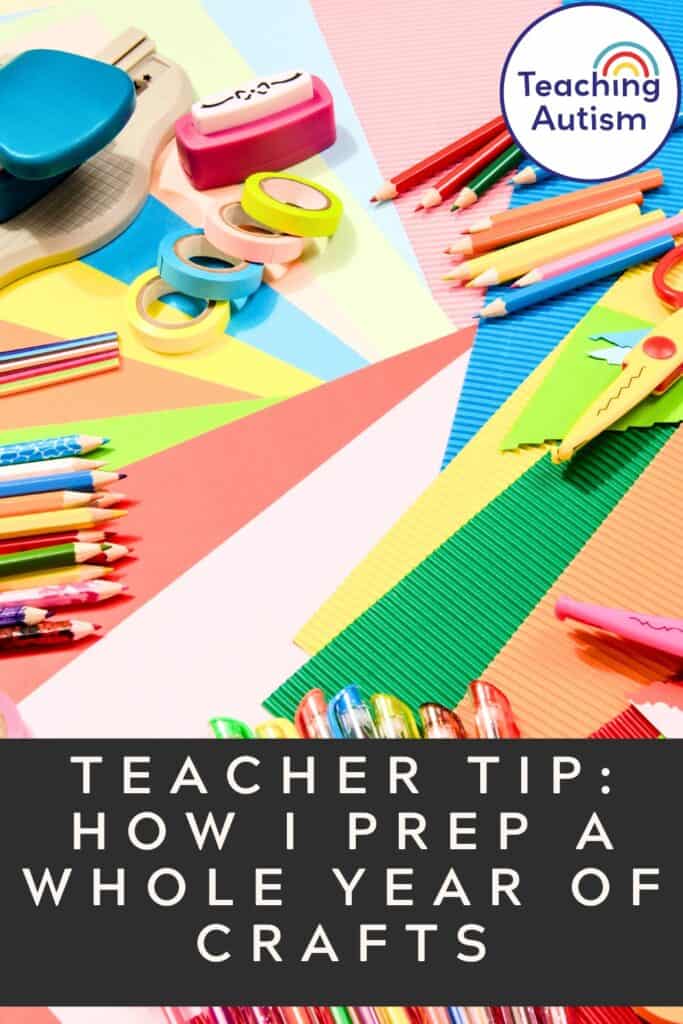
How I Prep a Whole Year of Crafts
In this blog post today I’m excited to share with you how I prep a whole year of crafts in advance! And I’m telling you.. This is the best thing that I have ever done. I can’t even begin to tell you how much stress and time this saves throughout the year!
Ok.. Let’s dive in and talk craft prep. If you’ve ever found yourself frantically cutting out 22 paper pumpkins five minutes before a lesson… I see you. I’ve been there. We all have.
But a few years ago, I finally figured out a system that completely changed how I prep for arts and crafts – and spoiler alert – it actually makes the entire school year easier.
The best part? I don’t even do it alone.
Let me walk you through how we prep a whole year’s worth of crafts in advance, organize them into easy-to-grab zip wallets, and turn them into my secret weapon for time fillers, emergency sub days, and holiday fun.
This blog post may contain affiliate links. This means that if you purchase an item through my affiliate link, I may receive a % of commission at no extra cost to you. This helps support me, my family and my blog to bring you great content for free!
Delegate the Craft Queen (or King 👑)
First up, a confession: I don’t prep the crafts myself anymore. One of my amazing classroom assistants loves all things arts and crafts – like genuinely lights up when she sees a laminator. So she’s officially our Craft Queen, and she owns this system from start to finish.
At the end of each school year, while things start winding down, we shift gears and prep all our crafts for the next school year. Yes – every single one.
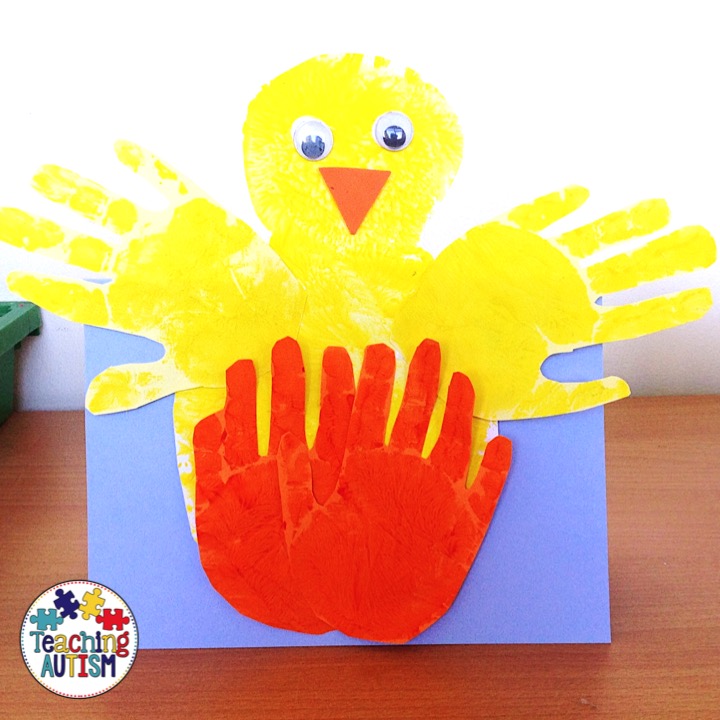
We’re talking holidays, seasons, themes – from spooky Halloween bats to adorable snowmen, to plant life cycles and space rockets – it all gets sorted, prepped, and filed away before summer even begins.
Our Craft Wallet System (aka the Game-Changer)
Here’s where the magic really happens: each craft we plan gets its own zip wallet.
Inside each zip wallet, we include:
- Enough craft pieces for every student (cut out and ready to go)
- A finished example
- Simple instructions (just in case someone else needs to lead the activity)
Every single piece is ready to go – all we have to do is add classroom basics like glue sticks, pencils, or scissors. It’s honestly like having a mini craft kit waiting for us whenever we need it.
Once the wallets are packed, we store them in a large labeled box, organized in the order we’ll use them throughout the year – think month-by-month, season-by-season, or even aligned with curriculum themes.
What We Include in the Craft Box
We prep crafts for:
- Every major holiday (Halloween, Christmas, Valentine’s Day, Easter, etc.)
- Seasonal crafts (pumpkin patches in fall, snowflakes in winter, butterflies in spring)
- Classroom themes (dinosaurs, space, animals, community helpers – you name it)
We also toss in a few extras – simple, generic crafts that can work anytime. You know, the ones that save you when a lesson finishes early, or when you need something calm after an overstimulating morning.
We even include SEL-themed crafts, like kindness flowers or “All About Me” portraits. I’m a big fan of weaving in social-emotional learning wherever I can.
Typically I try to aim for 5 crafts per week of the school year. If we make more – great! If not, that’s ok. Anything that doesn’t get used by the end of the school year I just keep stored away in a box in my cupboard for future years.
Why It’s Worth It (Trust Me)
Now, yes – it takes a bit of time upfront. We usually spend a few afternoons across a couple of weeks doing this in June while students are occupied with end-of-year fun.
But the payoff during the school year? Huge.
Here’s what this system gives me:
- No last-minute prep or late-night cutting
- A perfect activity for fill-in time or when plans shift
- A ready-to-go option if I’m out sick or in a meeting
- Less stress during busy holiday weeks
- Consistency and routine for my students (especially helpful in SPED classrooms)
And my assistant? She loves being able to tackle this independently, and it’s a great way to end the year with purpose and structure.
Bonus: It Makes Sub Plans a Breeze
Let’s be honest: writing sub plans is never fun, especially when you’re already under the weather. But with a year of crafts prepped and ready to go, I can easily leave a note that says:
“Please complete a craft from the craft box – everything is included.”
Boom. Instant sub activity. Zero stress.
I even keep a few “emergency” crafts set aside just for sub days or behavior-reset afternoons. They’re fun, engaging, and already familiar to my team.
Tips for Getting Started
If you’re thinking of trying this system out, here are a few quick tips that helped me:
- Start small – even just prepping seasonal crafts for autumn can be a huge help.
- Use volunteers or staff – ask if anyone wants to help cut out pieces or assemble wallets.
- Label everything – each wallet gets the craft name, date/theme, and number of pieces included.
- Store it all together – one big box or crate labeled Crafts 2025-2026 will save your sanity.
- Add visual instructions – especially helpful for SPED or sub use.
And if you’re super extra like me, you can even color-code your wallets by season. Yes, I have orange ones for fall. Yes, it sparks joy.
My Favorite Part?
Once the new school year starts, we don’t have to think about crafts at all. We just open the box, grab the wallet we need, and go. No searching, scrambling, or stressing. It’s all just… done.
And honestly? That little box of prepped crafts makes me feel so accomplished. It’s like my quiet classroom sidekick all year long.
So if you’re looking for a way to lighten your workload, reduce your weekly prep, and still offer creative, engaging crafts for your students – give this system a go. Future You will want to give Past You a massive hug.
Want more classroom prep hacks like this? Check out my End of Year Google Drive Bundle – it’s packed with resources to help you finish strong and set yourself up for a stress-free summer:
👉 Click here to grab it
And if you’re already thinking ahead to September, my Back to School Google Drive Bundle has everything you need to start the year right:
👉 Grab your copy here
Amazon Essentials
I have put together a list of what I get from Amazon to help me organized my craft cupboard each year.
The links below are affiliate links. This means that if you purchase an item through my affiliate link, I may receive a % commission at no extra cost to you. This helps support me, my family and my blog to bring you great content for free!
USA List
UK List
One tip that I always give educators, is to add things to your Amazon wish list. Then be sure to share it on social media throughout the year and definitely go and share it on this blog post. Let’s help to clear your list!
Helpful Links
If you found this blog post helpful please consider sharing it with your friends and colleagues on social media.
P.S. Have you signed up for my VIP membership yet? If not, head on over and sign up now. You’ll get access to hundreds and hundreds of resources, templates, crafts and more being uploaded every month!
Nikki


One Comment