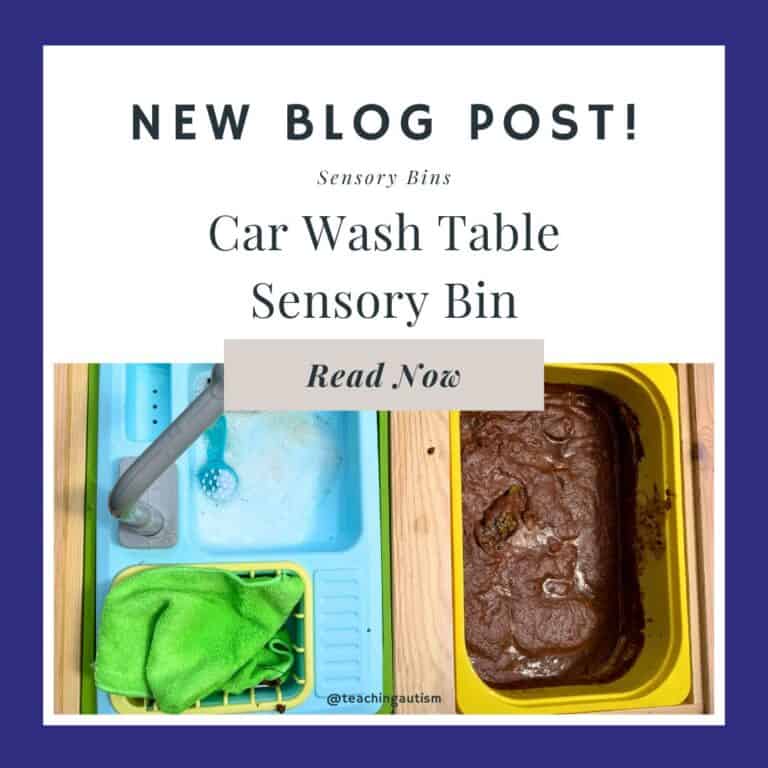
My IKEA Sensory Table Set-Up
I have so many questions all the time about the table set up I have for my sensory trays. And you can watch the videos on my Instagram highlights here.
But, I thought I’d also do a blog post here all about my IKEA sensory table set-up for you to see. I’ve attached a video below from my Youtube channel giving you a quick visual and walk-through of what the table is like.
The most common question I get is, what is the table? And where can I get them? And the answer is – IKEA! What I love the most about IKEA as well is that they carry pretty much everything in all their stores around the world. Which means you’ll hopefully be able to get this table super easy!

Purchase List
The links below will take you to the UK IKEA site – but you can change that to your country to get the correct currency and check for availability.
- FLISAT Table. £40
- TROFAST Storage Boxes. £1.50. Green. Yellow. White.
- TROFAST Storage Box Lid. £1.25.
You’ll need 2 storage boxes, and 2 lids. You don’t have to have the lids, but I do like to have them. You can also purchase more of them and use them to store non-perishable sensory trays that you set up in advance and then rotate through them.
The table, 2 boxes and 2 lids will cost you £45.50 and honestly it’s so sturdy, and we love to use it! The removable trays make it really easy to take apart and clean.
The slats on the desk keep it as a nice wooden desk area as well to get work done. This has been a huge life saver for us – and honestly, I love using this area for sensory trays.
In the video, you’ll also be able to see some of the other things I have there. I do have the MAMMUT chair in blue. They cost £9, and you can get them in a range of colours; White, blue, pink, and red.
I also like to make this area calming. I have a rug underneath the table, and then we decorated the walls with little bamboo sheets, added fairy lights and some white voile curtain. When the sensory area is in use, we put the lights on and the whole area just looks so calm and inviting.
I actually got the white voile curtains from IKEA (they’re called LILL net curtains) and they are SO reasonable at just £5.
I also have a Kallax storage cube system next to it. That’s where I store all of our sensory bits. It’s easier for me to stay organised.
Below are some Youtube videos of how I set up my Easter sensory tray and my Earth Day sensory tray.
Find more information and ideas here;
- Following instructions, pirate sensory tray.
- Valentine’s Day sensory tray.
- Dinosaur sensory play activity.
- Dinosaur CVC words sensory tray.
- Ocean animals letter formation sensory tray.
- Word families sensory tray.
- 20 recipes for edible slime.
- Snowball sight words sensory tray.
- Apples sight words sensory tray.
How do you set up your sensory trays/bins in your classroom? Let me know in the comments below. Be sure to follow me on Instagram where I’m always sharing fun and engaging sensory activities.
If you found this post helpful, please consider sharing it with your friends and colleagues on social media.


