Sheep Cupcakes, Farm Baking for Kids
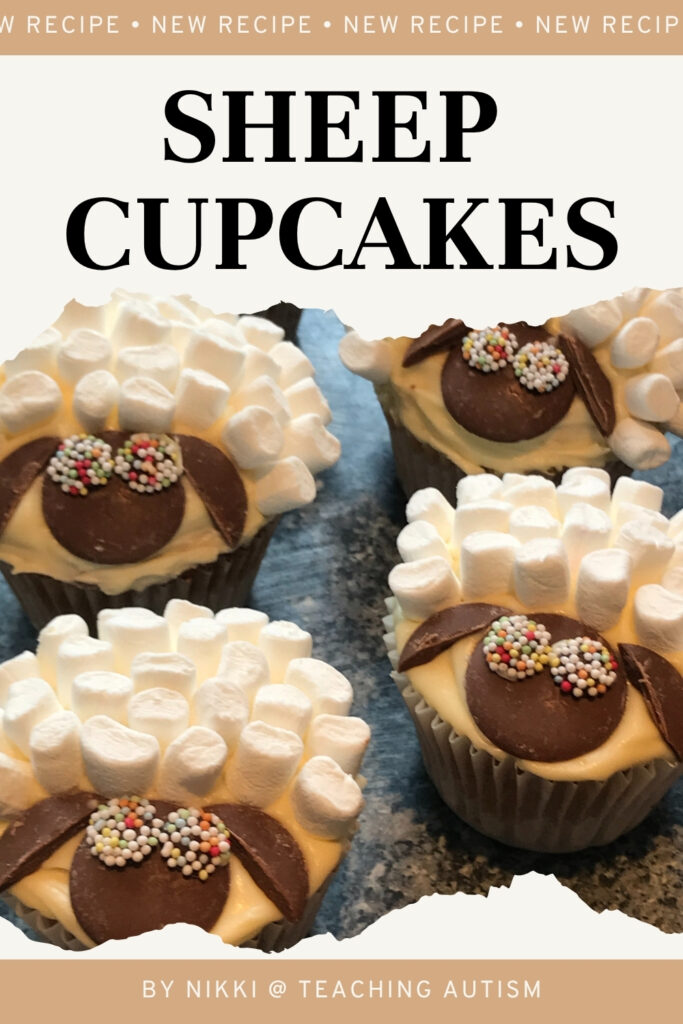
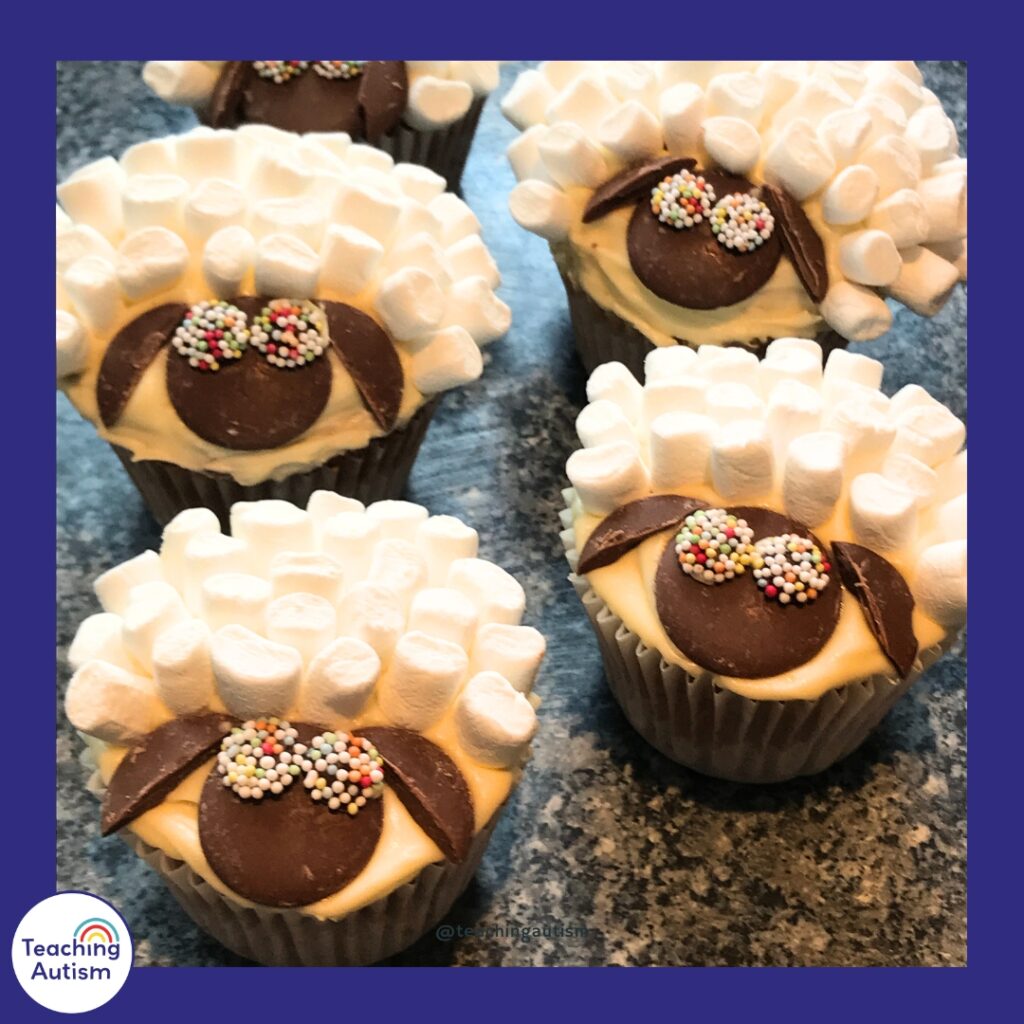
These sheep cupcakes are perfect for your kids to bake during Spring, Easter or for your farm topic! We are working on independence, as always, with my students. This time, I included a flower tray for the decorating process. Each child got their own flower tray. Inside here was their cupcake, icing and decorating pieces. Read on below to find out how we made the cupcakes, and how we used the flower sorting trays.
Recipe
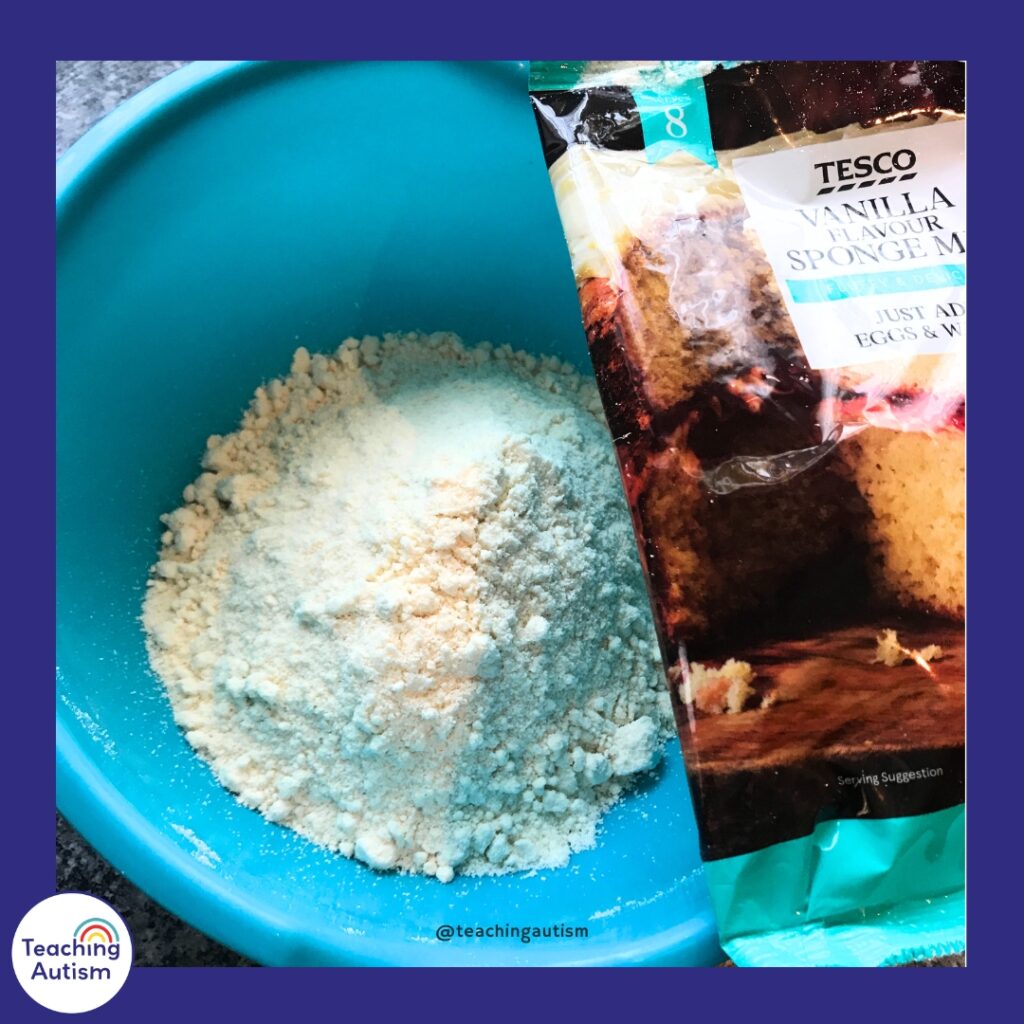
We cheated a little bit this time, and we bought a ready made cake mix. Our children are still new to school, and we don’t like to overwhelm them too much. We try to concentrate on one main area of cooking each week – this will be the weighing out or the decorating. This time we had a lot of decorating to do, so we bought a ready made cake mix.
- Ready to use cake mix – or make your own cupcakes
- Buttercream icing – either ready made or make your own mixture
- Mini marshmallows – white
- Giant chocolate buttons
- Mini jazzie chocolates – or edible eyes
Equipment Needed
- Mixing bowls x 2 (aff. link)
- Cake cases (aff. link)
- Cupcake tray (aff. link)
- Oven
- Wooden spoon x 2 (aff. link)
- Mug
- Tablespoon
- Teaspoons x 2
- Fork
- Sharp knife
- Weighing scales (aff. link)
- Kids Apron (aff. link)
- Flower sorting tray – you can order from my website here or on Amazon (aff. link) here.
Instructions
If you are making the cake yourself – follow your recipe. We used a ready to use cake mix, so we just needed to add eggs and water.
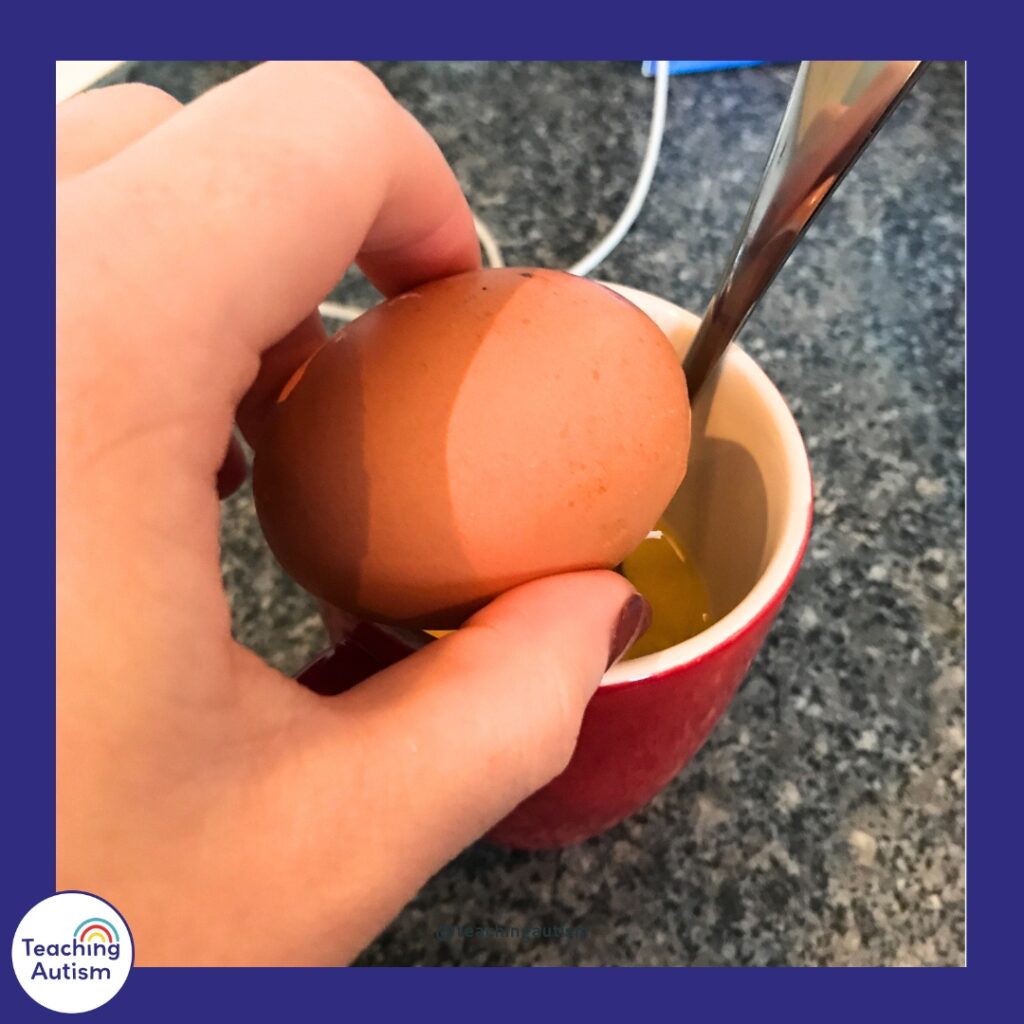
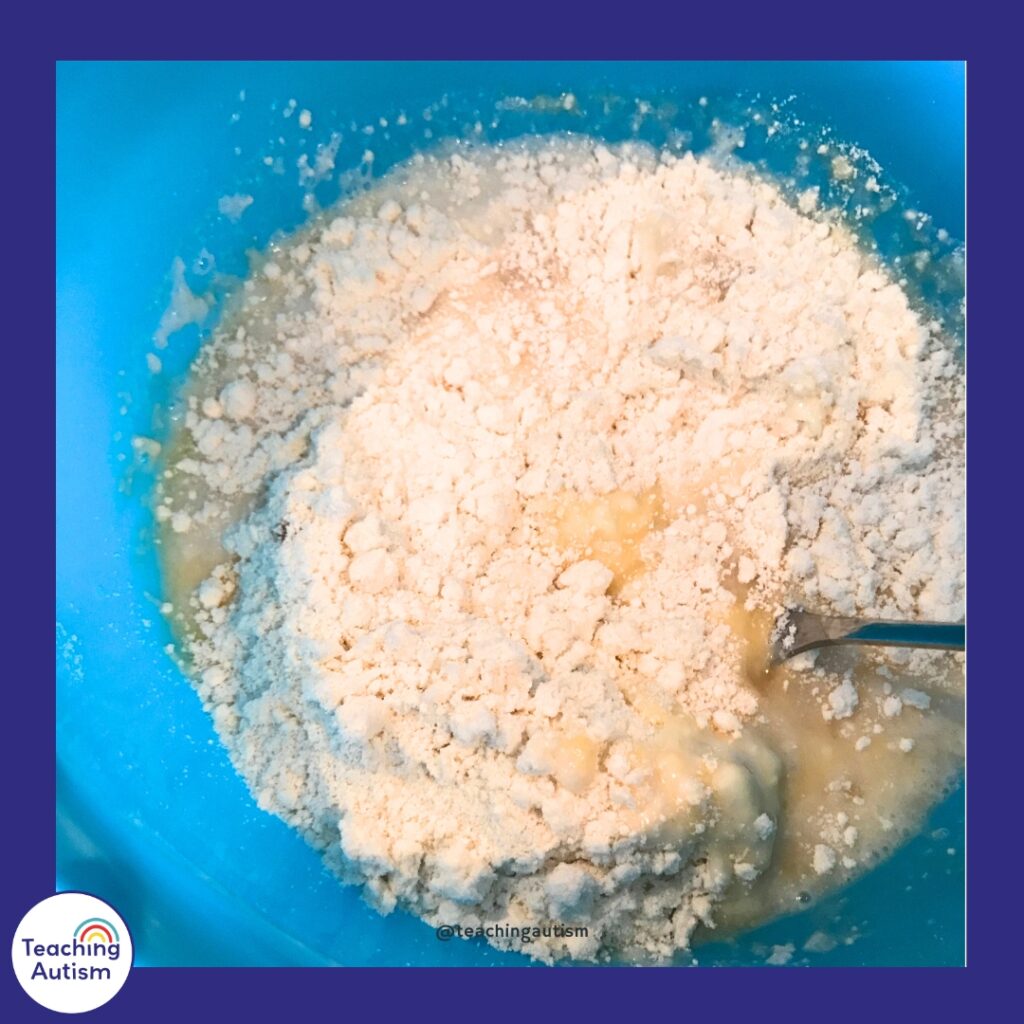
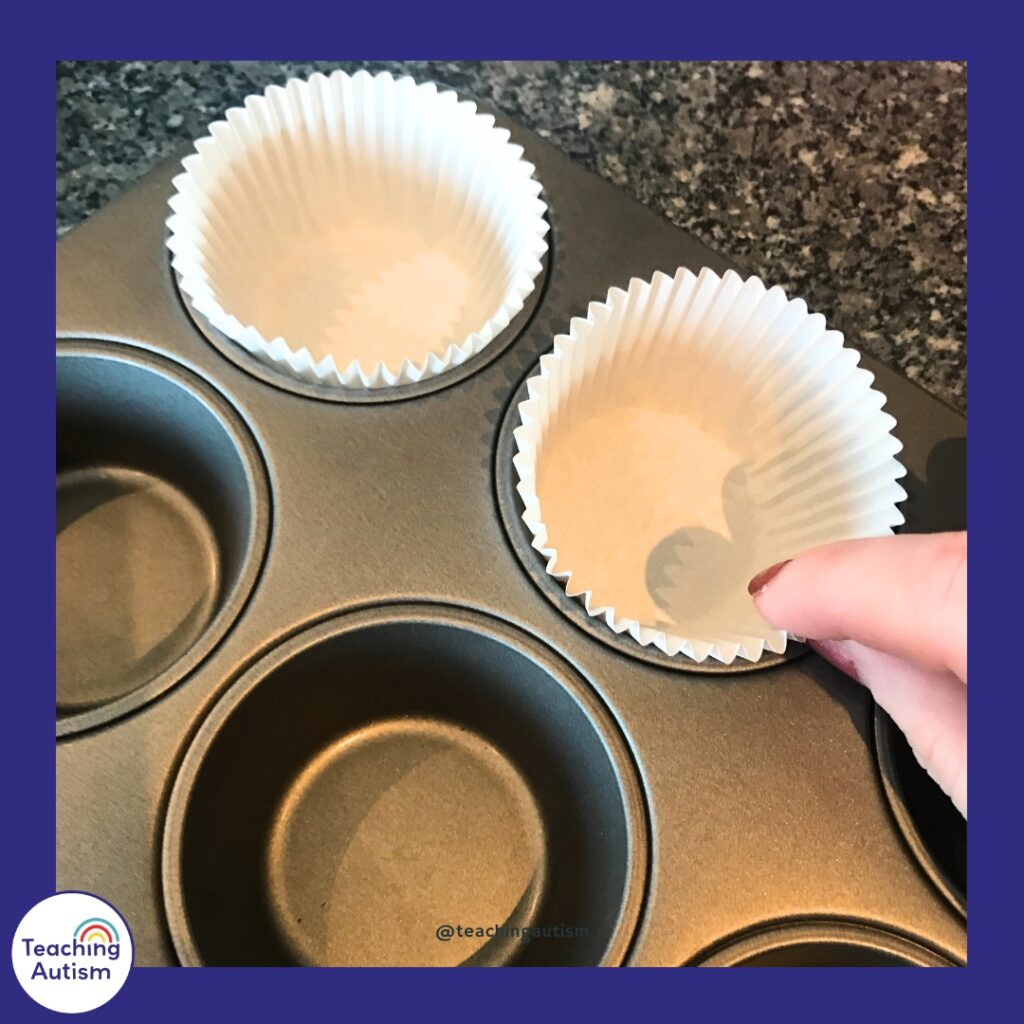
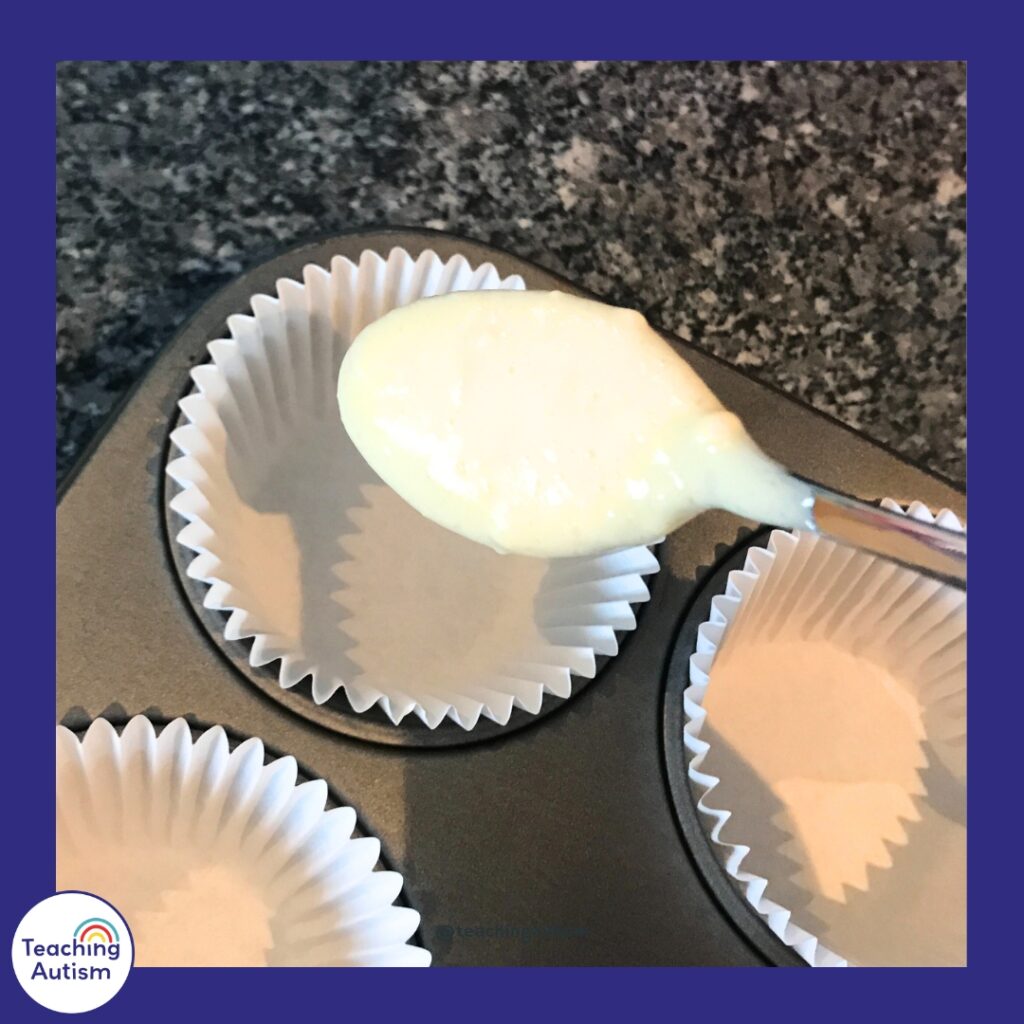
First, we poured the cake mixture into our mixing bowl. Then, we cracked our eggs into a mug and mixed them together. We added our eggs into our cake mix in the bowl and stirred together. Next, we needed to put our cake cases into our cake tin. Once our mixture was smooth, we poured it into the cake cases – using two small teaspoons.
Cakes will rise – so don’t fill the cake cases too much!
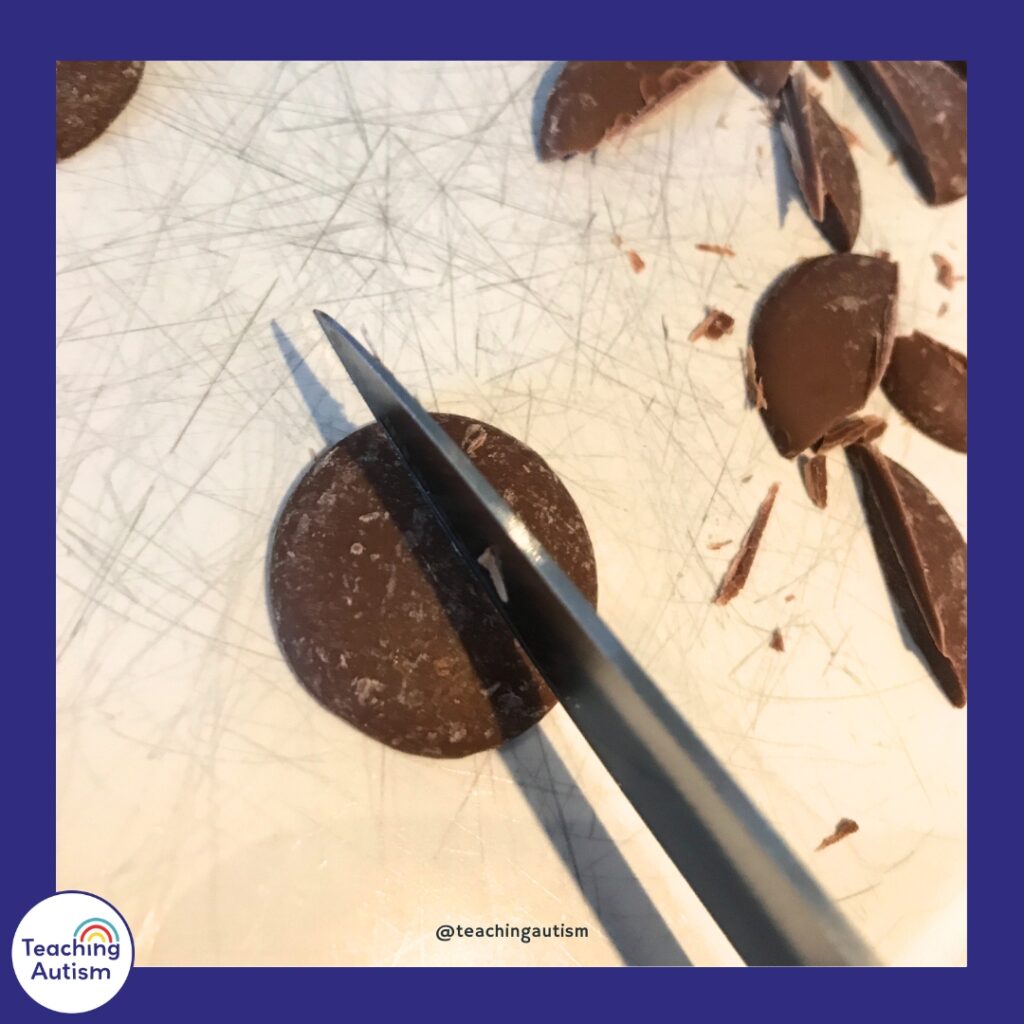
Put the cakes into the oven to bake – following your recipe instructions. Next, we use a sharp knife to cut some of the giant chocolate buttons into thirds to make ears for our sheep. Ensure the chocolate buttons are room temperature when cutting – this will stop any issues of snapping or toughness.
Once your cakes are cooked, pull them out of the oven and leave to cool.
Time to Decorate!
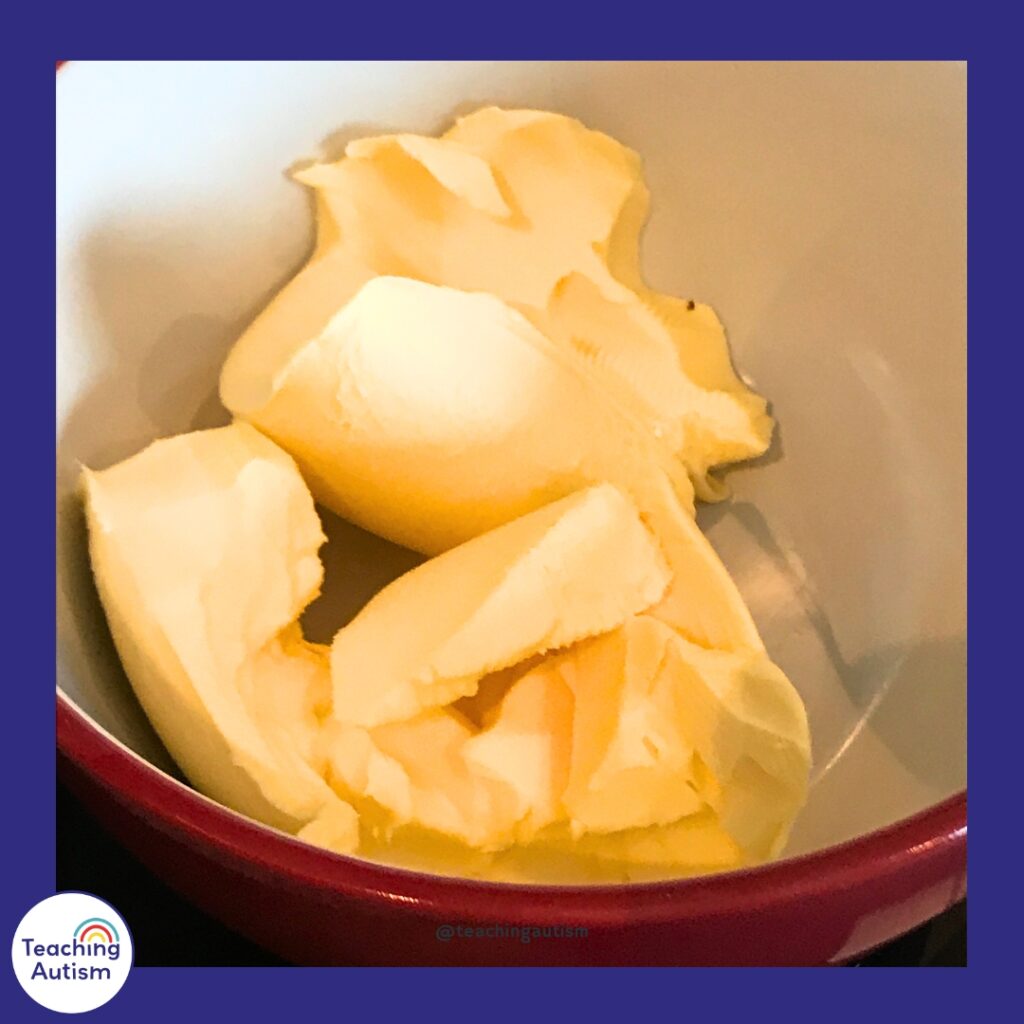
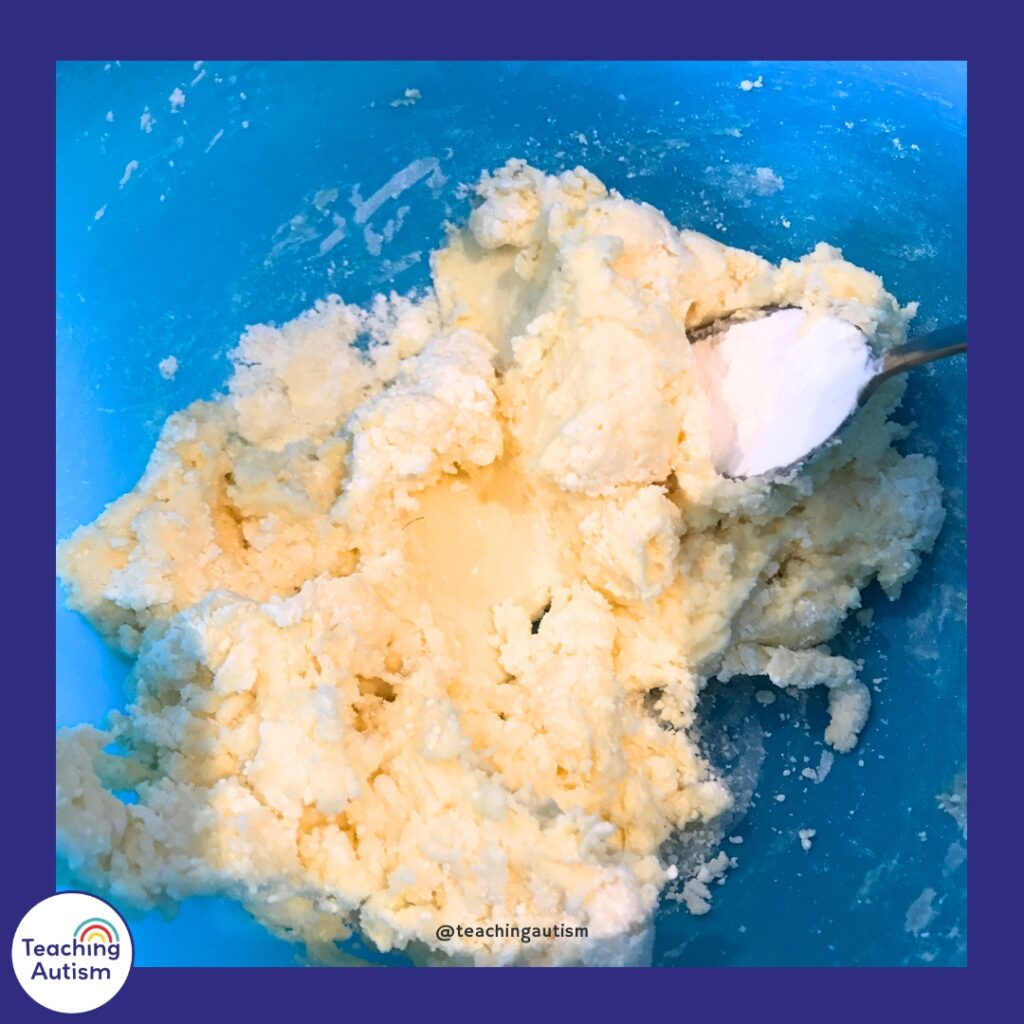
Then, we make the icing. We use an icing sugar powder, and we just need to add butter and water to the powder to make buttercream icing.
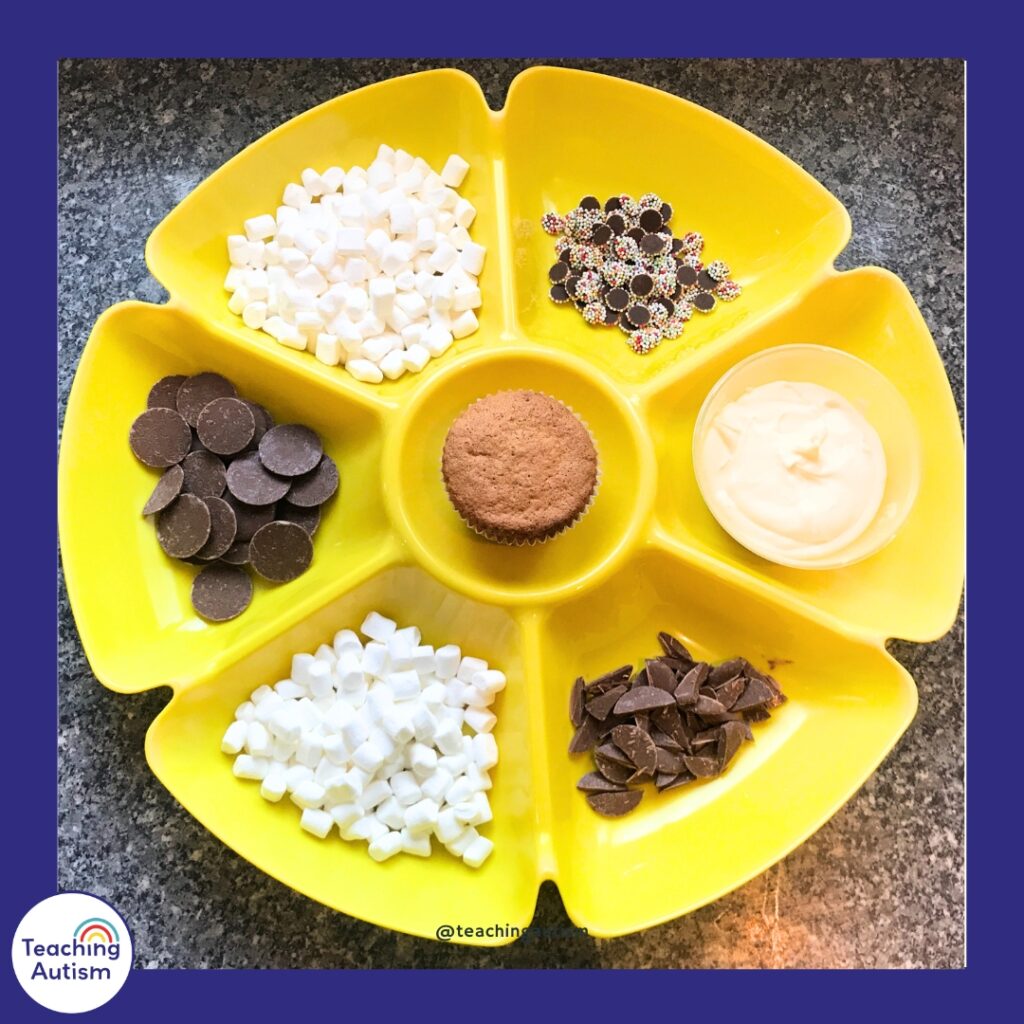
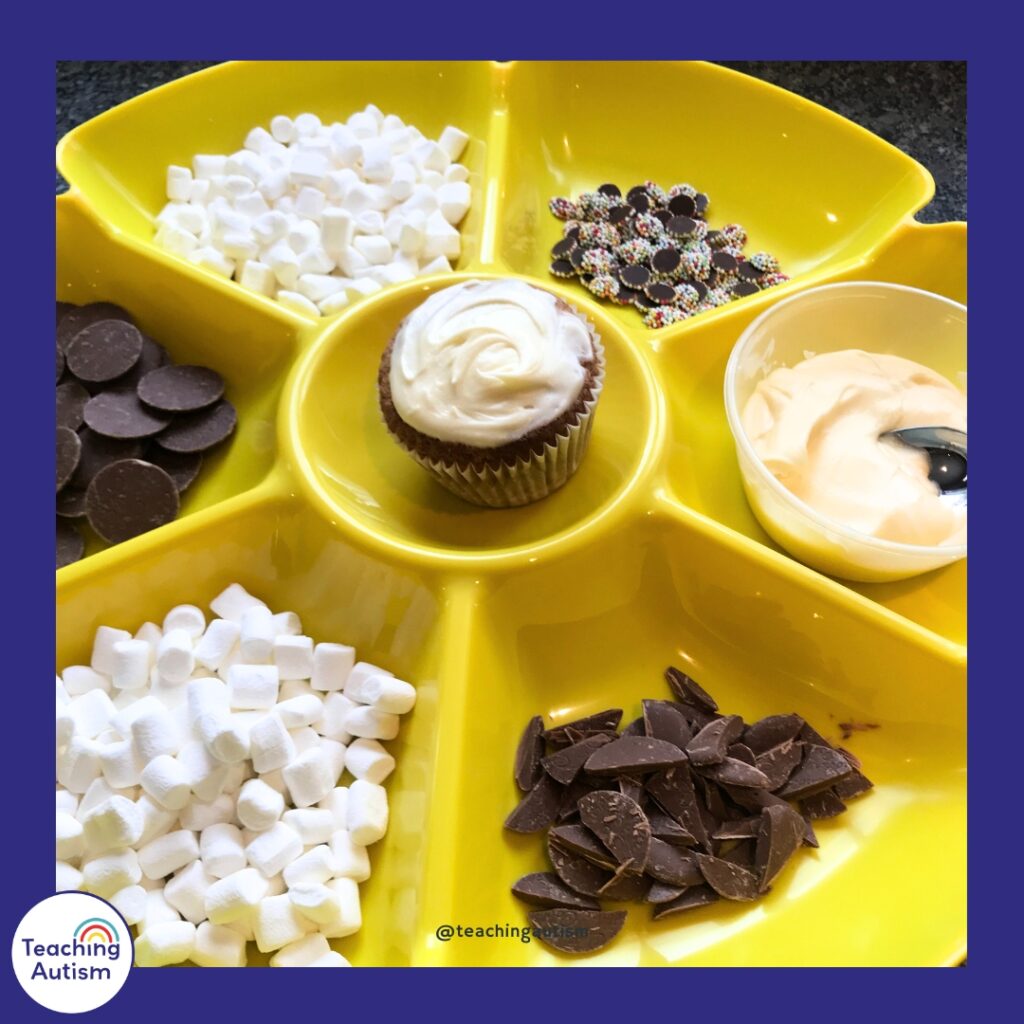
Now is the fun part. Staff made one cupcake as a sheep ready as an example for students. Then, we put all of their decorating items into the flower sorting tray – including a pot of buttercream icing, with their blank cupcake in the middle of the tray.
Students used a metal tablespoon to scoop the buttercream icing up and spread it onto the cupcake.
Then, they used the mini marshmallows to cover the icing around the cake to make wool for the sheep. This was great for working on patience, attention to detail and fine motor skills.
Next, we put some buttercream icing onto the back of a full giant button and placed it on the front of the cupcake to make the sheep’s face.
Then, we added some buttercream onto the back of the ears and placed these onto the cupcake.
For the eyes, we dipped the mini jazzies into the buttercream icing and stuck them onto the giant chocolate button.
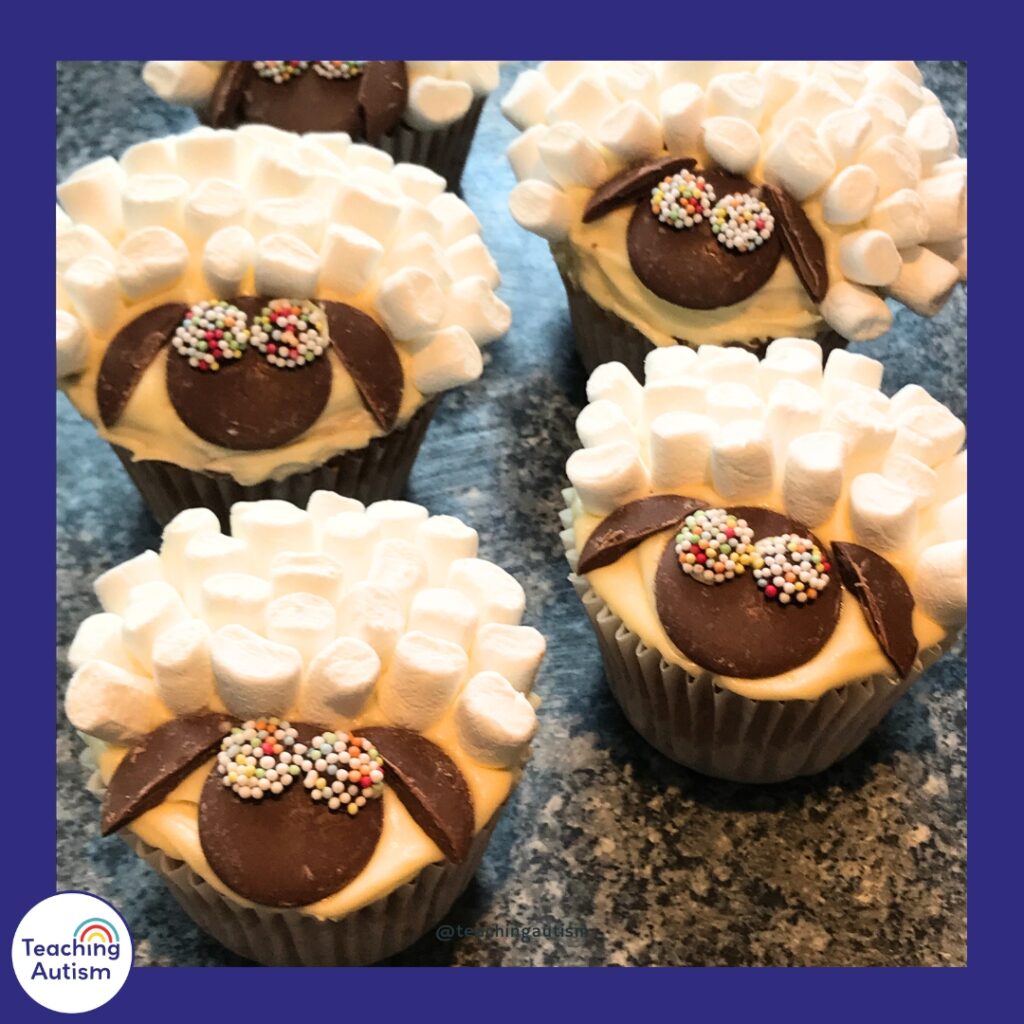
And that’s it! You have a completed sheep cupcake. Even though we all had the same instructions, I loved seeing the different ways that the children worked to make their sheep cupcakes.
Why Farm-Themed Baking is More Than Just Fun
There’s something magical about combining baking with a theme kids love, and farm animals are always a winner. But this kind of activity isn’t just about making cute cupcakes (although, let’s be honest, those sheep are adorable). It’s also packed full of hidden learning opportunities!
While your little ones are measuring ingredients, they’re building math skills. While they mix and scoop, they’re developing fine motor skills and coordination. And when they decorate those fluffy sheep faces? You’re supporting creativity, focus, and following step-by-step instructions.
Plus, baking naturally creates space for language development, talking about textures, smells, colors, and steps in a sequence. It’s a goldmine for speech and language goals!
Sensory Considerations and Adaptations
For some children, especially neurodivergent learners, baking can be a bit of a sensory rollercoaster. There might be unexpected smells, sticky textures, or noises from mixers or timers. But that doesn’t mean they can’t enjoy it! Here are a few quick tips to make the experience more sensory-friendly:
- Let them explore each ingredient separately before mixing.
- Offer tools like spoons or gloves if touching sticky textures is uncomfortable.
- Use visual steps or a recipe board with symbols or pictures.
- Give noise warnings if you’re using a mixer or oven timer.
- Keep wipes or a damp cloth nearby for quick clean-ups if needed.
Baking can also be regulating for sensory-seeking kids who enjoy pressure input (from kneading dough) or calming smells (like vanilla or chocolate).
Hosting a Farm Cupcake Station
Want to take this a step further? Set up a farm-themed cupcake decorating station! It’s perfect for small groups, class parties, or home learning fun.
Here’s what you’ll need:
- Plain cupcakes (bake ahead or use store-bought)
- White frosting
- Mini marshmallows
- Black icing pen or small chocolate chips (for eyes)
- Oreo halves or black fondant (for the face)
- Printed farm animal visuals or recipe cards
Let children follow simple steps to decorate their sheep and then name them! (Bonus points if they give them funny names like “Fluffball” or “Sir Baa-a-lot.”)
You can even graph everyone’s cupcake choices afterward as a quick math activity!
Helpful Links
You may also be interested in;
If you found this blog post helpful, please consider sharing it with your friends and colleagues on social media, it helps more teachers find support, and it means the world to me and my little family too.
And if you haven’t already, be sure to check out my Free Resource Library for tons of classroom tools, visuals, and printables to make your teaching life easier (and a whole lot more fun!).
P.S. Have you signed up for my VIP membership yet? If not, head on over and sign up now. You’ll get access to hundreds and hundreds of resources, templates, crafts and more being uploaded every month!
Nikki
