Easy Halloween Spider Cookies | Cute & Spooky Treat for Kids
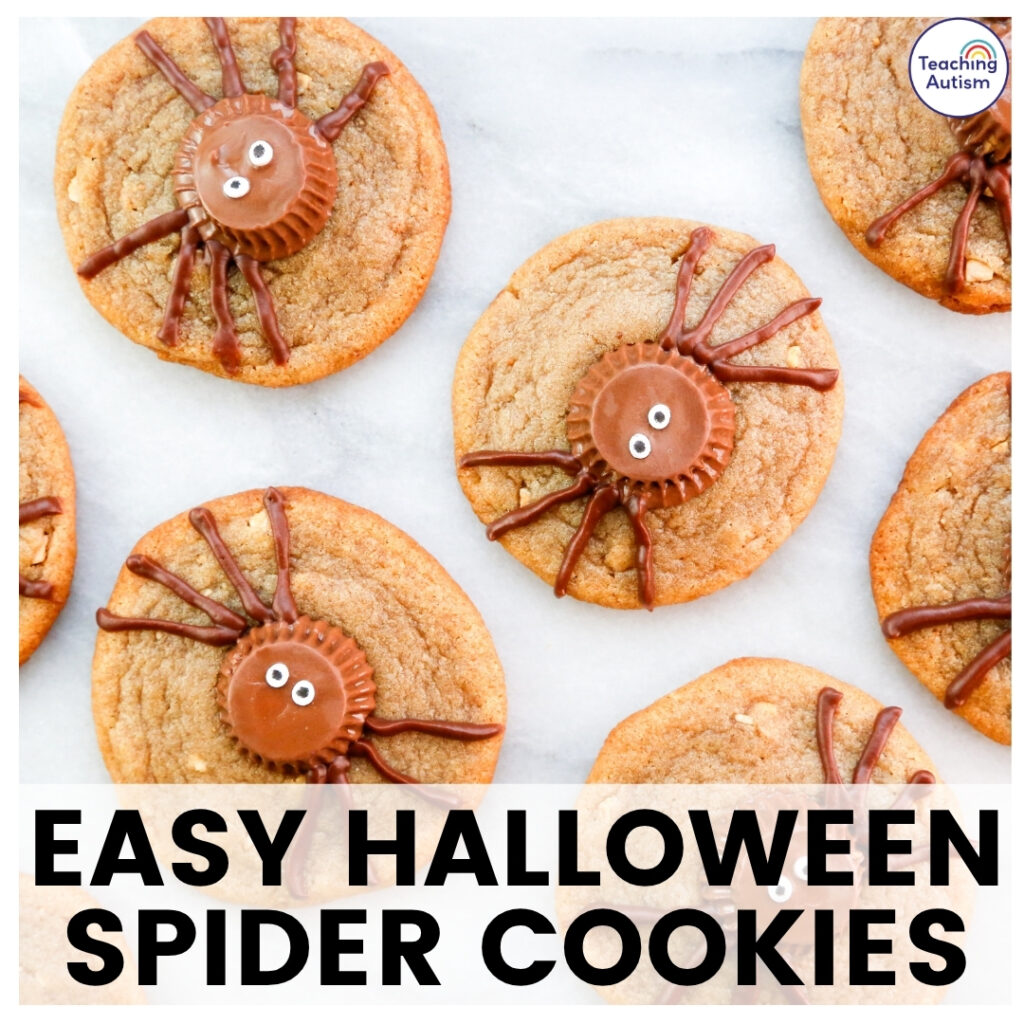
These Halloween Spider Cookies are the perfect mix of spooky and sweet! With soft, chewy cookies topped with peanut butter cups and chocolate “legs,” they’re a simple, no-stress treat that looks amazing and tastes even better.
Whether you’re baking for a classroom party, Halloween movie night, or a weekend family activity, these spider cookies will be the star of the show. They’re easy enough for kids to help with – and trust me, they’ll have so much fun turning ordinary cookies into creepy-crawly creations!
This blog post may contain affiliate links. This means that if you purchase an item through my affiliate link, I may receive a % of commission at no extra cost to you. This helps support me, my family and my blog to bring you great content for free!
Why You’ll Love These Spider Cookies
- Super easy: No fancy decorating skills required.
- Kid-friendly: Perfect for little hands to help decorate.
- Chocolate heaven: Peanut butter and chocolate – the ultimate combo!
- Perfect for parties: A great make-ahead Halloween dessert for any spooky occasion.
Ingredients You’ll Need
- 1 batch of baked cookies (store-bought, homemade, or even refrigerated dough)
- Mini peanut butter cups (or chocolate truffles for a nut-free version)
- Melted chocolate (milk or dark)
- Candy eyes (or white icing and mini chocolate chips)
Optional: Add a pinch of cocoa or use chocolate cookie dough for an extra spooky look.
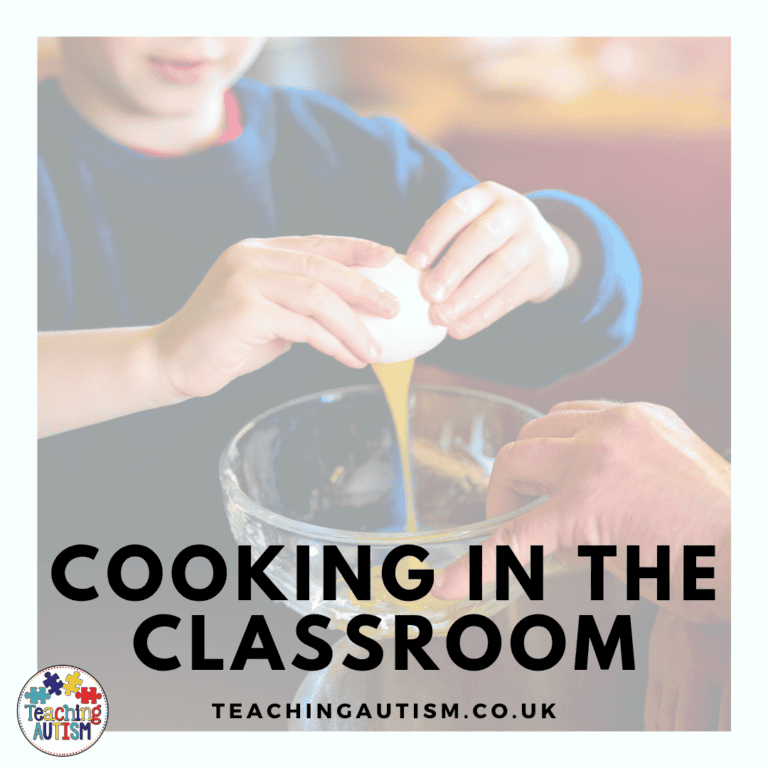
Below are links to my Amazon storefront where I share some of my must-have pieces for cooking in the classroom.
– USA Cooking Favorites
– UK Cooking Favourites
*These links are affiliate links. This means that if you click a link and make a purchase, I may earn a small commission at no extra cost to you. I only recommend products and resources I truly love and use. Thank you for supporting my work and my classroom!
Step-by-Step Instructions
Step 1: Bake Your Cookies
Start with your favorite cookie recipe – peanut butter, chocolate chip, or sugar cookies all work great. Bake them according to the recipe and let them cool for about 5 minutes (so they’re still slightly warm but firm enough to hold their shape).
Step 2: Add the Spider Bodies
While the cookies are still warm, gently press a mini peanut butter cup into the center of each one. The warmth will help it stick in place. If they’re too cool, use a dab of melted chocolate as glue.
Step 3: Create the Legs
Spoon your melted chocolate into a piping bag or a resealable plastic bag with a tiny corner snipped off. Pipe eight little legs coming out from each peanut butter cup – four on each side. Don’t worry about perfection; the uneven lines make them look even spookier!
Step 4: Add the Eyes
Use small candy eyes to give each spider some personality. If you don’t have candy eyes, you can make your own by adding tiny dots of white icing for the base and a small chocolate sprinkle or mini chip for the pupil.
Step 5: Let Them Set
Allow the chocolate to set before serving. You can speed up the process by placing the cookies in the fridge for about 10 minutes.
Tips for Success
- No peanut butter cups? Use Rolos, chocolate buttons, or small truffles instead.
- Make it allergy-friendly: Swap peanut butter cups for nut-free chocolate candies.
- Easy cleanup: Place parchment paper under your cookies before decorating.
- Fun for kids: Let children decorate their own spiders – they’ll love it!
Classroom & Party Ideas
- Classroom Bake Sale: Package each spider cookie in a small treat bag for an easy take-home snack.
- Halloween Party Table: Arrange them on a web-patterned platter for a spooky presentation.
- Baking Center Activity: Pre-bake cookies and let students or children decorate their own spiders as a hands-on Halloween project.
- Gift Idea: Stack them in mason jars or boxes tied with orange ribbon for a cute homemade gift.
Why Halloween Spider Cookies Are So Popular
Halloween is the perfect excuse to have fun with food – and these spider cookies check all the boxes! They’re quick, cute, and easy enough for even beginner bakers. You can make them with simple store-bought ingredients or use your favorite cookie recipe for a homemade touch.
The best part? Kids absolutely love helping make them. It’s a fun way to build fine motor skills (squeezing icing bags, placing eyes, decorating) while creating a memory-making activity they’ll always remember.
These Halloween Spider Cookies are a must-have addition to your spooky celebrations. They’re easy, delicious, and guaranteed to make everyone smile – even the arachnophobes!
So grab your cookie dough, some peanut butter cups, and a bag of candy eyes, and get ready to bake up a batch of creepy-crawly fun.
Helpful Links
You may also be interested in the following;
- Spider Toilet Roll Craft
- Mummy Brownies Recipe
- Spider Sensory Bin
- Erupting Pumpkin Experiment
- Spider Cookies Recipe
If you found this blog post helpful, please consider sharing it with your friends and colleagues on social media, it helps more teachers find support, and it means the world to me and my little family too.
And if you haven’t already, be sure to check out my Free Resource Library for tons of classroom tools, visuals, and printables to make your teaching life easier (and a whole lot more fun!).
P.S. Have you signed up for my VIP membership yet? If not, head on over and sign up now. You’ll get access to hundreds and hundreds of resources, templates, crafts and more being uploaded every month!
Nikki