
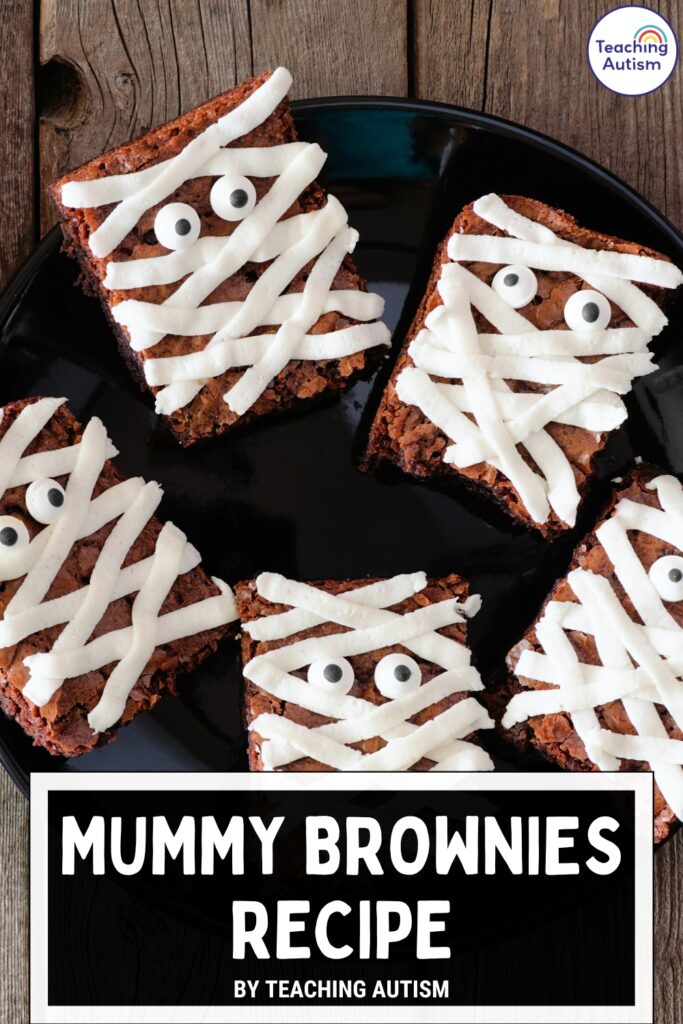
Easy Halloween Mummy Brownies | Fun and Spooky Dessert for Kids
If you’re searching for a fun and spooky treat to make this Halloween, these Halloween Mummy Brownies are just what you need! They’re cute, chocolatey, and ridiculously easy to make – the perfect combination for teachers, parents, and anyone who loves a good themed dessert.
These brownies start with your favorite brownie recipe (boxed mix or homemade – both work perfectly) and are topped with frosting “bandages” and candy eyes to create adorable little mummies. They’re always a hit at Halloween parties, classroom celebrations, or family movie nights.
This blog post may contain affiliate links. This means that if you purchase an item through my affiliate link, I may receive a % of commission at no extra cost to you. This helps support me, my family and my blog to bring you great content for free!
Why You’ll Love These Mummy Brownies
- Quick and easy: Only a few ingredients and no fancy tools needed.
- Perfect for kids: A great Halloween baking activity that children can help decorate.
- Chocolate heaven: Soft, chewy brownies with sweet frosting – yes, please!
- Crowd-pleasing: Perfect for parties, bake sales, or spooky classroom snacks.
Ingredients You’ll Need
- 1 box brownie mix* (plus ingredients listed on the box – eggs, oil, and water)
or use your favorite homemade brownie recipe - 1 cup white frosting (buttercream or store-bought)
- Candy eyes
- Piping bag or resealable sandwich bag
Step-by-Step Instructions
Step 1: Bake the Brownies
Prepare your brownies according to the package directions (or your own recipe). Bake in a rectangular pan – 8×8 for thick brownies or 9×13 for thinner ones. Let them cool completely before decorating.
Step 2: Slice Into Squares
Once cooled, cut your brownies into squares or rectangles. These will be the “mummy bodies.”
Step 3: Pipe the Bandages
Spoon your white frosting into a piping bag (or a sandwich bag with the corner snipped off). Pipe criss-cross lines across each brownie to make the mummy’s bandages. Don’t worry about being perfect — the messier, the better!
Step 4: Add the Eyes
While the frosting is still soft, gently press two candy eyes into each brownie. If you don’t have candy eyes, pipe small white frosting dots and place a mini chocolate chip or sprinkle in the center.
Step 5: Let Them Set
Allow the frosting to firm up for about 15 minutes before serving or packaging.
Tips for Success
- Chill before cutting: Refrigerate the brownies for 30 minutes to get clean edges.
- No piping bag? Use a spoon or butter knife to drizzle frosting instead.
- Want thicker bandages? Use fondant strips for a 3-D effect.
- Storage: Keep in an airtight container at room temperature for up to 3 days.
Fun Variations
- Vampire Mummies: Use red frosting for bandages and black eyes.
- Monster Mummies: Tint the frosting green or purple for a fun twist.
- Candy Topping: Add Halloween sprinkles* or mini M&Ms* around the edges.
- Cupcake Version: Try this same decorating idea on top of cupcakes!
Perfect for Halloween Parties or Classroom Treats
These brownies are always a hit at Halloween parties because they’re both cute and portable – no cutting or serving required! You can even pre-package them in little treat bags for school events, bake sales, or trick-or-treat giveaways.
For teachers, these make an adorable addition to a Halloween classroom celebration. Pair them with some fun spooky crafts, a Halloween story, or a themed movie afternoon for an unforgettable day of classroom fun.
These Halloween Mummy Brownies are proof that you don’t need complicated recipes to create festive and delicious treats. They’re perfect for busy parents, teachers, and anyone who wants to make something fun without spending hours in the kitchen.
So grab a box of brownie mix, whip up some frosting, and get ready for some spooky fun! These cute little mummies will disappear faster than you can say “trick or treat.”
Below are links to my Amazon storefront where I share some of my must-have pieces for cooking in the classroom.
– USA Cooking Favorites
– UK Cooking Favourites
*These links are affiliate links. This means that if you click a link and make a purchase, I may earn a small commission at no extra cost to you. I only recommend products and resources I truly love and use. Thank you for supporting my work and my classroom!
Helpful Links
You may also be interested in;
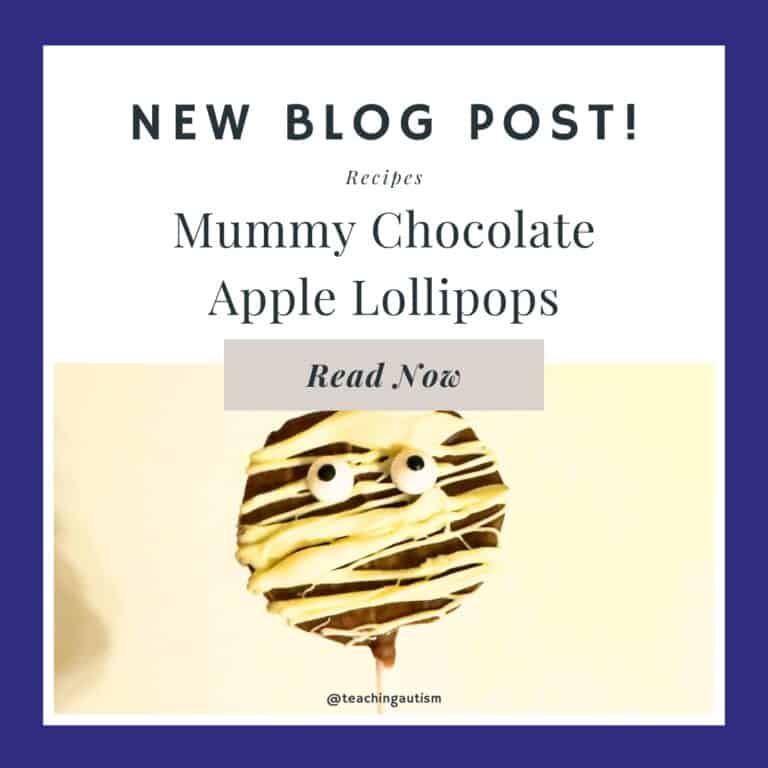
- Chocolate Apple Mummy Lollipops
- Frozen Bicarb Fizzing Ghosts
- Free Witch Spells Sensory Bin
- Graveyard Brownies Recipe
- My Favorite Halloween Activities and Resources
If you found this blog post helpful, please consider sharing it with your friends and colleagues on social media, it helps more teachers find support, and it means the world to me and my little family too.
And if you haven’t already, be sure to check out my Free Resource Library for tons of classroom tools, visuals, and printables to make your teaching life easier (and a whole lot more fun!).
P.S. Have you signed up for my VIP membership yet? If not, head on over and sign up now. You’ll get access to hundreds and hundreds of resources, templates, crafts and more being uploaded every month!
Nikki


2 Comments