Easy Paper Plate Christmas Wreath Craft for Kids
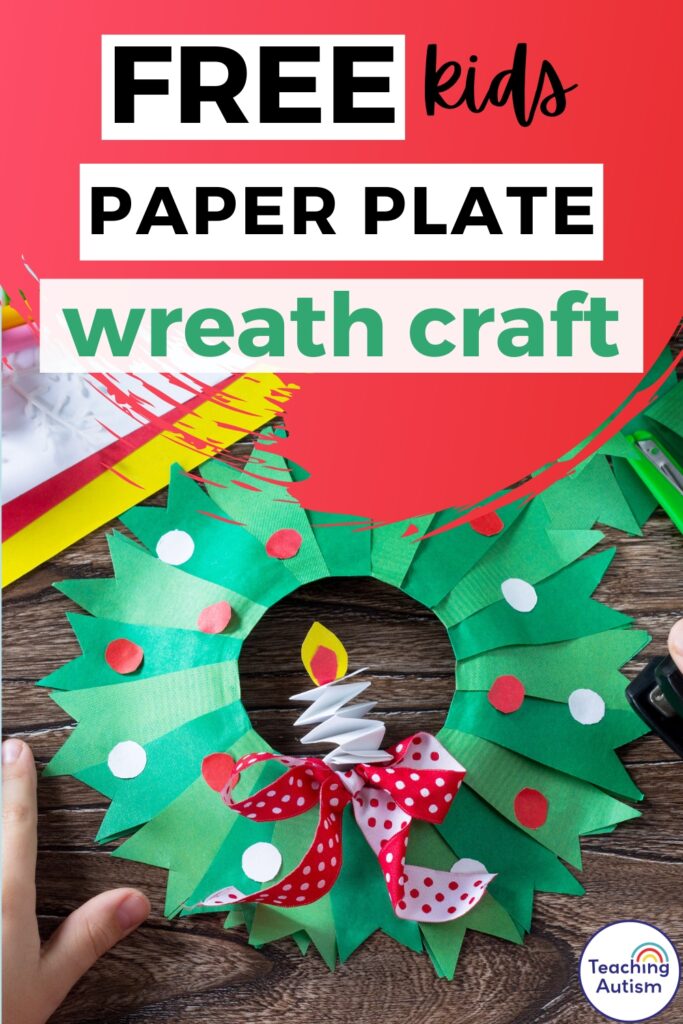
This easy paper plate Christmas Wreath craft is the kind of simple, hands-on holiday activity that brings instant joy, zero overwhelm, and plenty of opportunities for meaningful skill-building. If you’ve been around here for a while, you know I’m a big believer in crafts that are visual, structured, predictable, and actually achievable for our autistic and special education learners – and this one ticks every single box.
Whether you’re working with highly energetic students, little ones who love routine, or learners who thrive with clear steps and visual models, this Christmas wreath craft is the perfect blend of festive fun and functional learning. And honestly, it looks adorable on classroom doors, hallway displays, or sent home as a proud “I made this!” moment.
Today, I’m walking you through the full craft, step-by-step, plus sharing all the skills you’re targeting along the way. Because yes – it’s cute. But it’s also purposeful.
This blog post may contain affiliate links. This means that if you purchase an item through my affiliate link, I may receive a % of commission at no extra cost to you. This helps support me, my family and my blog to bring you great content for free!
Why This Christmas Craft Works So Well
Before we jump into the steps, I want to highlight why this craft is such a win for differentiation and engagement.
Here’s what this wreath brings to your classroom:
Predictable, repeatable steps
The layers of green paper are glued down one by one, which is brilliant for students who benefit from structured, repetitive actions.
Fine motor skill practice
Cutting (or tearing if cutting isn’t appropriate), gluing, placing dots – it’s all embedded naturally without feeling like “work.”
Visual clarity
High contrast colours, big shapes, and a clear end product make this ideal for students who need simple, uncluttered visuals.
Easy to adapt
Whether your learners need pre-cut pieces, enlarged templates, reduced steps, or added visuals, this craft can be modified in seconds.
Sensory-friendly materials
Paper, glue sticks, soft ribbons – none of the messy textures that some students avoid.
Low prep, low stress, high engagement. The dream combo.
What You’ll Need
This is the best bit.. The supply list is full of things you probably already have in your classroom cupboards.
- Paper plate with the centre cut out
- Green paper in different shades
- Red and white paper scraps
- Glue stick
- Child-safe scissors
- Ribbon (optional but adorable)
- Yellow and white paper for the candle
- Folded strip of white paper for the candle base
- Markers or paint dots (optional)
If you’re working with students who struggle with scissors, pre-cut pieces work beautifully. No need to complicate it.
Step-by-Step Instructions
Step 1: Make your wreath base
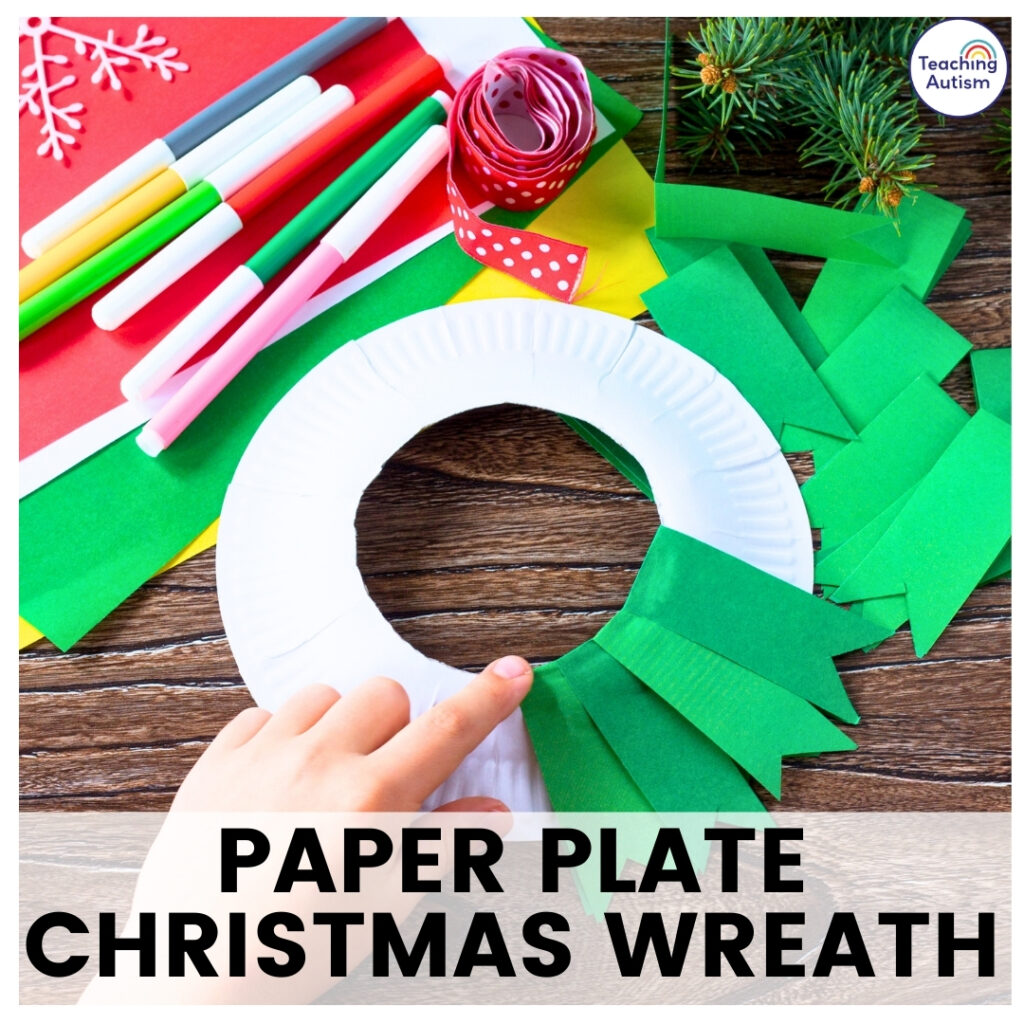
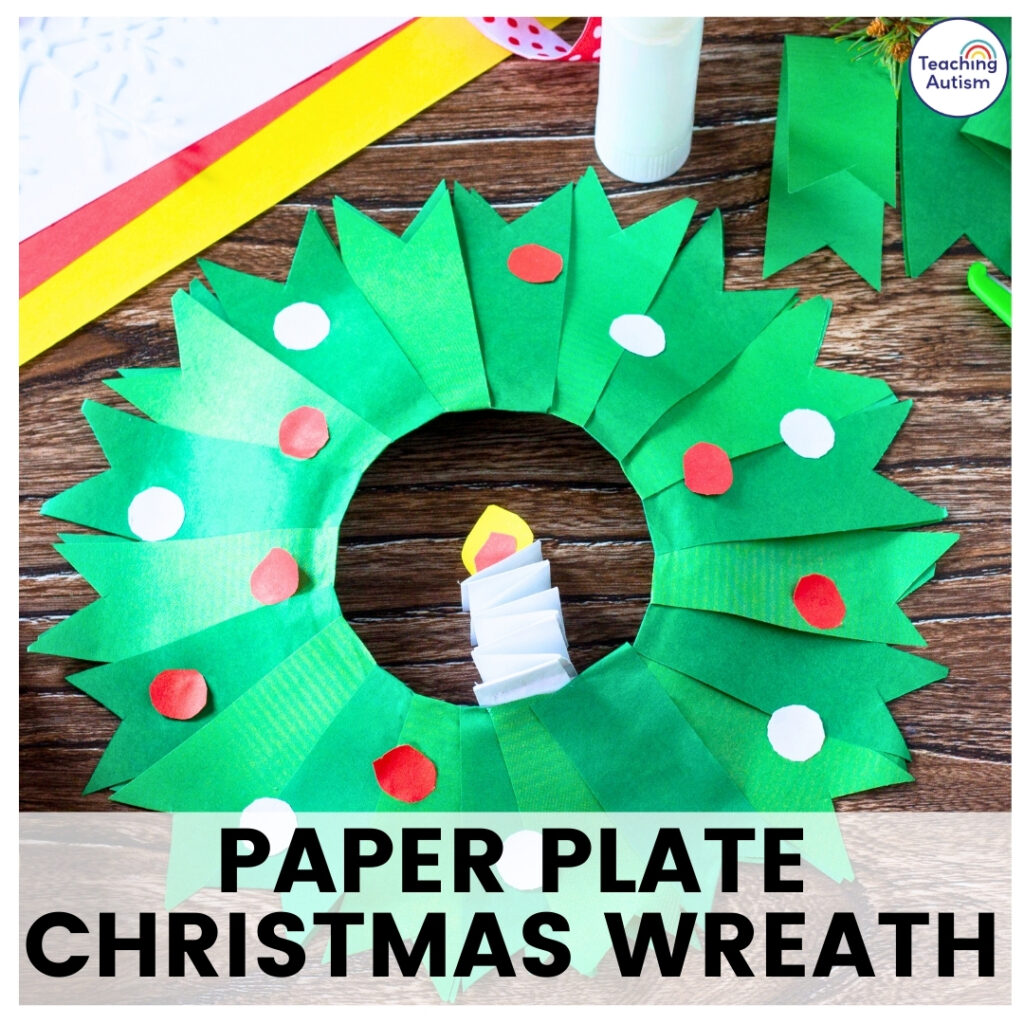
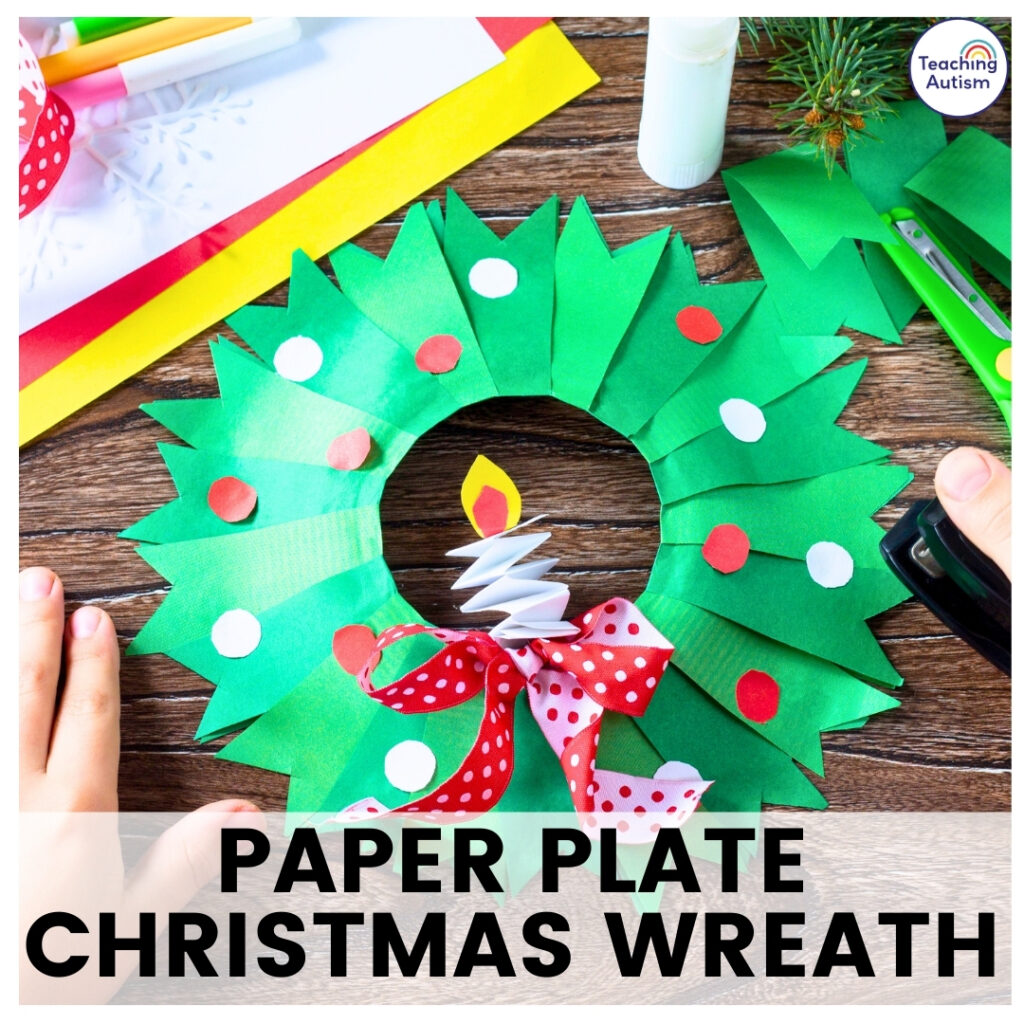
Cut the centre out of a paper plate so you’re left with a ring. This gives a sturdy foundation that’s easy for students to hold while gluing. You can pre-cut these or have confident cutters do it with supervision.
Step 2: Add the greenery
Cut strips of green paper, about the length of a finger. You can notch the ends to create a “leaf” effect, or leave them straight for simplicity.
Students glue each piece around the plate, slightly overlapping them. This repetitive action is excellent for:
- hand-eye coordination
- sequential task practice
- understanding spatial awareness
It also slowly builds the excitement as they see the wreath come to life.
Step 3: Decorate with berries
Using red and white paper, punch or cut small circles. Students glue these around the wreath like holly berries and decorations.
If fine motor skills are still developing, you can offer:
- larger circles
- dot markers instead
- stickers (a great no-mess alternative)
Step 4: Create the candle
The candle in the centre is my favourite part. Fold a strip of white paper accordion-style, glue it into the centre, and add a yellow flame on top.
This is a great way to introduce:
- folding skills
- positional language (in, on, behind, centre)
- following multistep directions
It also adds dimension and turns the wreath into a real showpiece.
Step 5: Add a bow
If you want the extra wow moment – and let’s be real, we always do – tie a simple ribbon bow and glue or staple it to the bottom.
This gives fine-motor practice, or you can pre-tie bows for students who aren’t quite ready for that skill.
How to Use This Craft in Your Classroom
This craft isn’t just a fun holiday filler. You can integrate it into:
• Morning work rotations
• Speech therapy (colour words, sequencing, requesting)
• OT sessions (cutting, gluing, folding)
• Christmas-themed literacy lessons
• Independent work stations with visuals
It also makes a brilliant take-home project. Parents absolutely love these, and it gives students a real sense of pride and ownership.
Tips for Success
- Offer two versions: pre-cut and student-cut
- Use visual step cards for independence
- Hot glue the candle and bow yourself if needed
- Model each step slowly and clearly
- Keep a sample nearby for your visual learners
And remember – it absolutely does not need to look “perfect.” The charm is in the individuality.
This Easy Paper Plate Christmas Wreath Craft is everything we love about December activities: calm, purposeful, festive, and fun without being overwhelming for our learners.
If you try it with your students, I’d love to see how their wreaths turn out. Tag me on Instagram or send a photo – it genuinely makes my day seeing your classroom magic.
If you found this blog post helpful, please consider sharing it with your friends and colleagues on social media, it helps more teachers find support, and it means the world to me and my little family too.
And if you haven’t already, be sure to check out my Free Resource Library for tons of classroom tools, visuals, and printables to make your teaching life easier (and a whole lot more fun!).
P.S. Have you signed up for my VIP membership yet? If not, head on over and sign up now. You’ll get access to hundreds and hundreds of resources, templates, crafts and more being uploaded every month!
Nikki